Horizontal and vertical fin installation – E-flite T-34 Mentor 25e ARF User Manual
Page 4
4
E-flite T-34 Mentor 25e ARF Assembly Manual
Horizontal and Vertical Fin Installation
Required Parts
Fuselage assembly Horizontal stabilizer
Vertical stabilizer
Nylon control horn (2)
4-40 locknut (2)
#4 washer (2)
#2 x 1/2-inch self-tapping screw (2)
Aft tail cone
Required Tools and Adhesives
Ruler
Phillips screwdriver: #1
Threadlock
Low-tack tape
Box wrench or nut driver: 1/4-inch
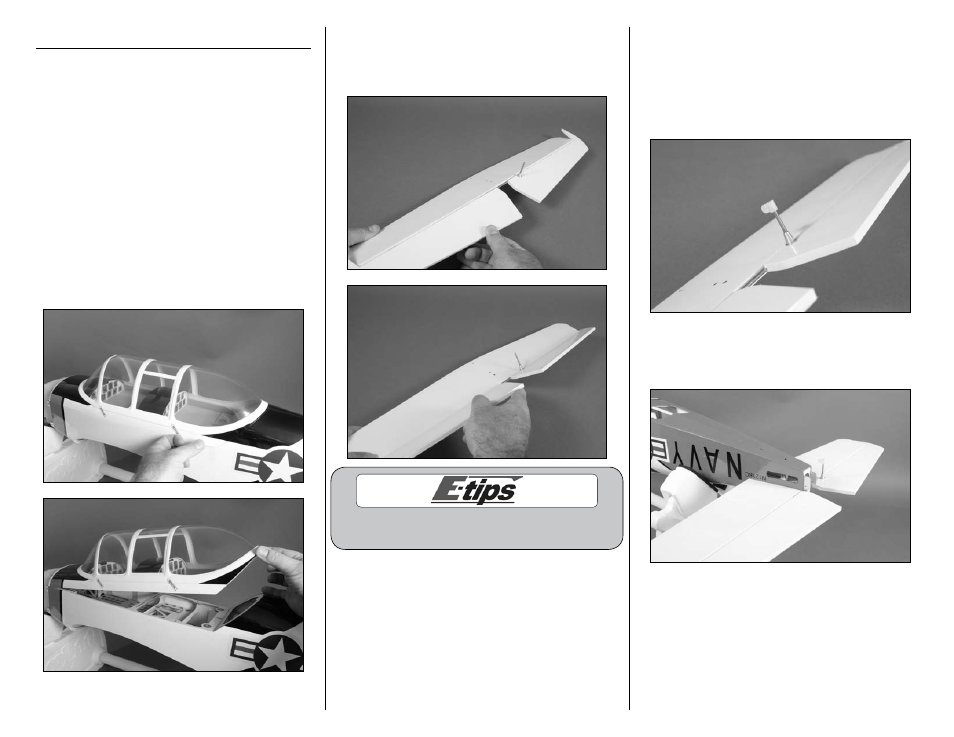
1. Carefully remove the tape that holds the canopy
hatch to the fuselage. Lift the hatch at the rear
and slide it back to remove. Set it aside in a safe
location.
2. Break in the hinges for the stabilizer by flexing
it through its range of motion a few times. This will
make it easier for the servo to operate for your first
flights.
To save time, break in all the hinges at this time,
including the rudder, ailerons and flaps.
3. Thread a nylon control horn on the threaded
control horn screw of the elevator. The top edge of
the horn will be flush with the end of the screw as
shown. The control horn is located on the bottom-
side of the elevator. You might need to use a #1
Phillips screwdriver to hold the screw while you
thread the nylon control horn on.
4. Slide the stabilizer in the slot at the rear of the
fuselage. The control horn faces the bottom of the
fuselage when installed.