Aileron servos and linkages – E-flite Sukhoi SU-26m 480 ARF User Manual
Page 9
9
E-flite Sukhoi SU-26m 480 ARF Assembly Manual
Placing a #11 hobby blade between the aileron
leading edge and wing trailing edge to position
the aileron will result in a nice free-moving
hinge for 3D throws without any binding.
4. Firmly grasp the wing and aileron and gently
pull on the aileron to ensure the hinges are secure
and cannot be pulled apart. Use caution when
gripping the wing and aileron to avoid crushing
the structure.
5. Work the aileron up and down several times to
work in the hinges and check for proper movement.
6. Repeat Steps 1 through 5 for the remaining aileron.
Aileron Servos and Linkages
Required Parts
Radio system
Wing panel (right and left)
Micro control connector (2)
2mm x 4mm machine screw (2)
3
1
/
2
-inch (89mm) pushrod (2)
Control horn (2)
Servo (2)
6-inch (150mm) servo extension (2)
Required Tools and Adhesives
Hobby knife
Pin drill
6-minute epoxy
Thin CA
Side cutters
Phillips screwdriver: #0, #1
Drill bit: 1/16-inch (1.5mm)
String or dental floss
We suggest using the long 3D servo arms for the
Sukhoi SU-26m 480. Replace all existing arms
before installing the servos as shown in Step 8.
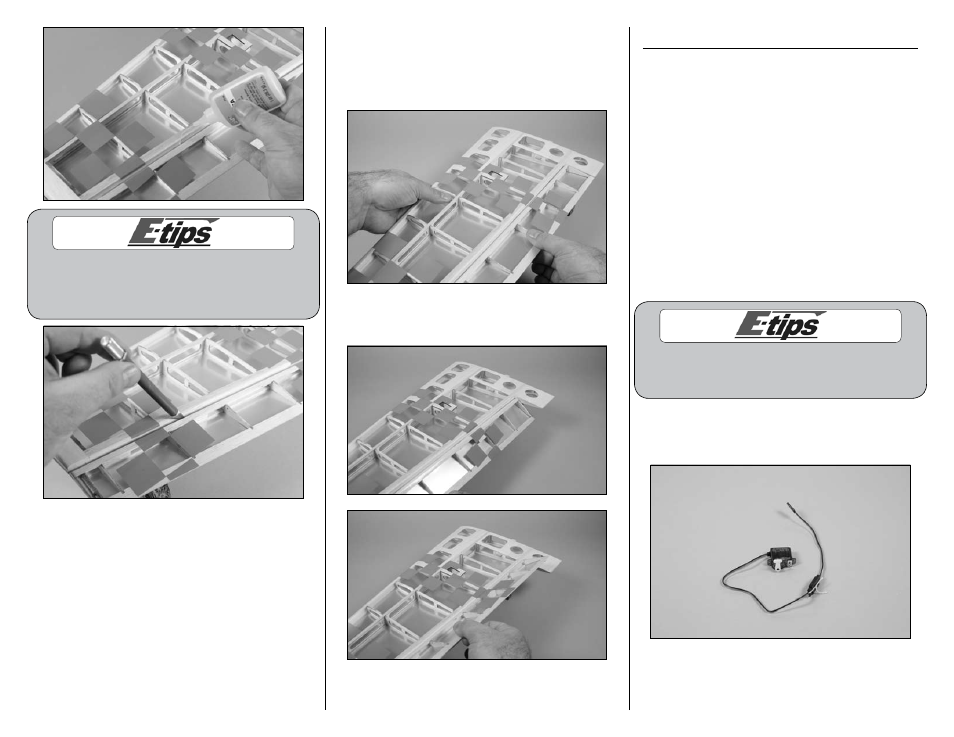
1. Attach a 6-inch (150mm) servo extension. Use
string or dental floss to secure the servo lead and
extension to prevent them from unplugging in flight.