Panel/wall mounting – Rockwell Automation 1440-REX00-04RD XM-441 Expansion Relay Module User Manual
Page 18
Rockwell Automation Publication GMSI10-UM019C-EN-P - June 2011
18 Installing the XM-441 Expansion Relay Module
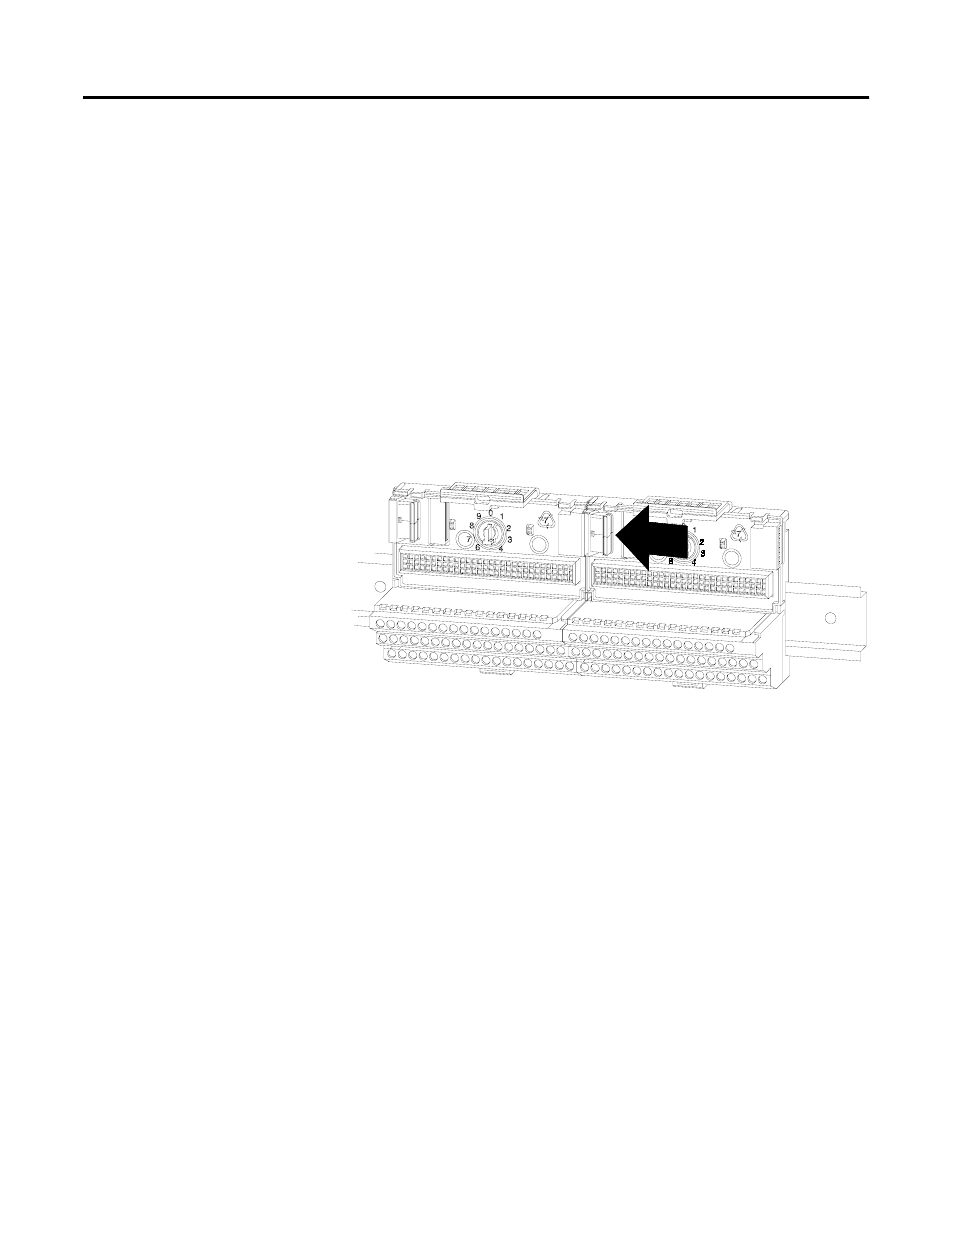
3. Slide the terminal base unit over tight against the neighboring terminal
base. Make sure the hook on the terminal base slides under the edge of
the adjacent base and the side connector is fully retracted.
4. Rotate the terminal base onto the DIN rail with the top of the rail
hooked under the lip on the rear of the terminal base.
5. Press down on the terminal base unit to lock the terminal base on the
DIN rail. If the terminal base does not lock into place, use a screwdriver
or similar device to open the locking tab, press down on the terminal
base until flush with the DIN rail and release the locking tab to lock the
base in place.
6. Gently push the side connector into the side of the neighboring terminal
base to complete the backplane connection.
7. Repeat the above steps to install another Expansion Relay terminal base
unit. Up to two Expansion Relay modules can be added to each XM-440
Master Relay module.
Panel/Wall Mounting
Installation on a wall or panel consists of:
• laying out the drilling points on the wall or panel
• drilling the pilot holes for the mounting screws
• installing the terminal base units and securing them to the wall or panel
Use the following steps to install the XM-943 terminal base on a wall or panel.