Wood’s Powr-Grip EL Series User Manual
Page 9
Rev 0.2/12-12
7
ELWC, etc: #35003
c. Once the desired mounting location is identified, the length of the main support post is
adjusted to accommodate the necessary height. Lay the Eazi Lifter down on a stable
surface and install optional extension assembly components onto the lower section of
the main support post, as necessary, using the included cotterless hitch pins. Before
installing the cotterless hitch pin into the adjustment hole just below the hand winch,
spin the threaded adjustment collar to the top of its adjustment range so the cotterless
hitch pin inserts below the collar.
33" [84 cm] to 48" [122 cm]
Short internal adjustment tube
45" [114 cm] to 60" [152 cm]
Long internal adjustment tube
59" [150 cm] to 81" [206 cm]
Long internal tube and one extension
from optional ELEK
81" [206 cm] to 103" [262 cm]
Long internal tube and both extensions
from optional ELEK
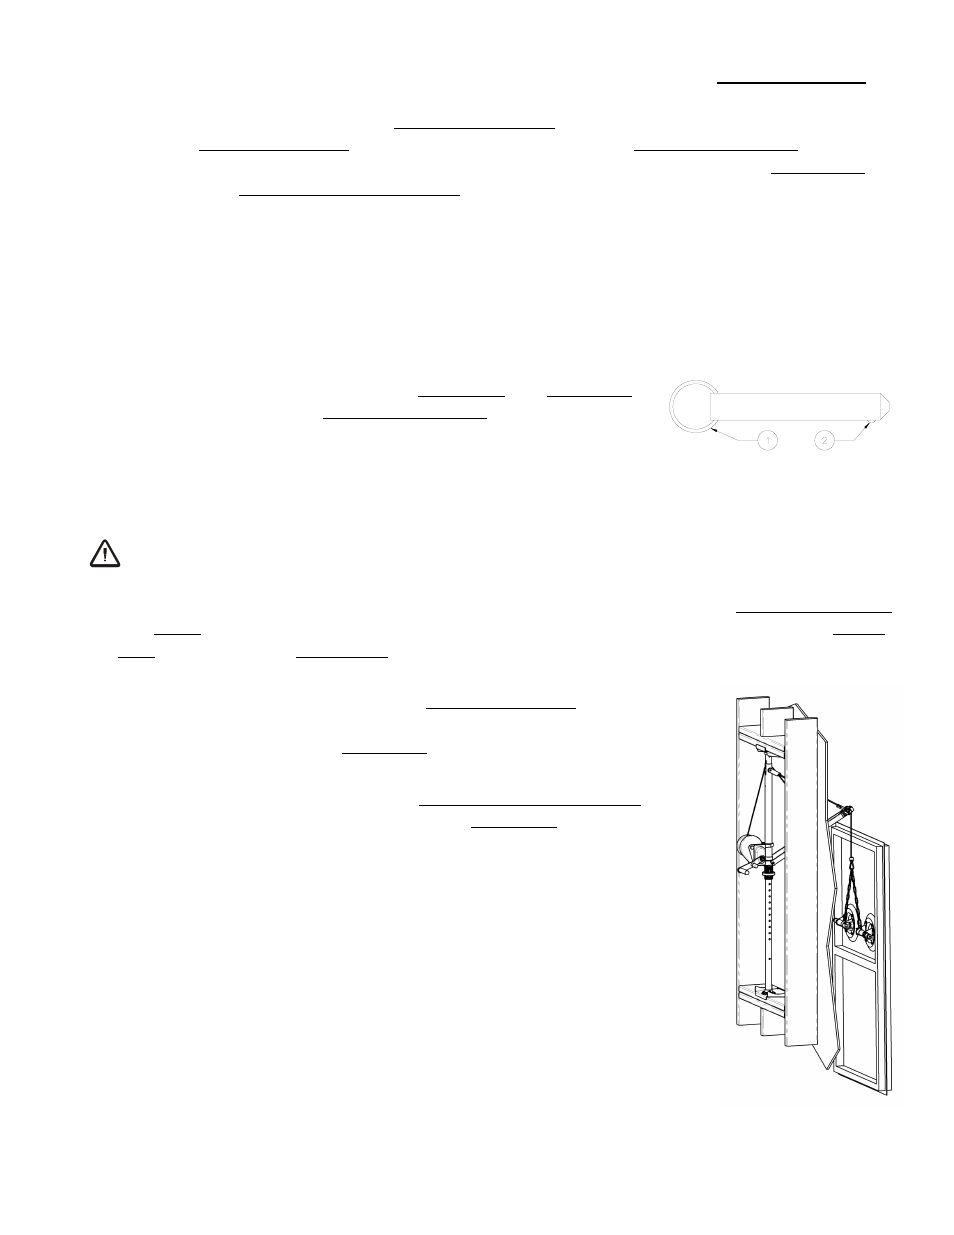
d. Install the previously selected head plate and base plate
using the supplied cotterless hitch pins. Remove the
cotterless hitch pin by pulling on the pull ring. Orient and
position the head plate or base plate, and align the holes
for the cotterless hitch pin. Secure each plate by pushing
the cotterless hitch pin through the holes until the
retaining ball emerges on the far side of the tubes.
WARNING: Only use Eazi Lifter in securely constructed window openings or on
secure flooring materials.
4) Install the Eazi Lifter into the window opening, as follows: To prevent the lifting rope thimble
and boom from swinging and hitting something inadvertently, take up the slack in the lifting
rope and engage the boom latch before erecting the Eazi Lifter (see OPERATION: T
O
R
AISE
THE
L
OAD
).
a. Erect the Eazi Lifter so the main support post is oriented
vertically. Position the crane so it is centered in the window
opening and the base plate rests on the window sill or floor.
b. If necessary, support the Eazi Lifter and remove the
cotterless hitch below the threaded adjustment collar and
raise the upper section until the head plate is close to the
upper reveal. Reinsert the pin in the adjustment tube close
to the threaded collar. The head plate must contact the
interior face of the upper reveal to prevent the crane from
falling out the window.
COTTERLESS HITCH PIN
1 PULL RING
2 RETAINING BALL