Assembly – Wood’s Powr-Grip EL Series User Manual
Page 8
Rev 0.2/12-12
6
ELWC, etc: #35003
ASSEMBLY
1) Open the shipping container and remove all materials for restraining or protecting the Eazi
Lifter.
2) Install the winch handle on the hand winch. The handle has been removed for shipping to
maintain tension on the winch during transport. Remove the washer and nylon lock nut from
the winch shaft, install the handle onto the keyed hub and secure into place by reinstalling
the washer and nut.
3) Prepare the Eazi Lifter for use as follows: The head plate and
base plate should be installed either between the upper and
lower reveal of the window opening, or the base plate can be
extended to the floor using the optional extension kit with
floor base plate. The head plate and base plate must be
selected and installed so that the main support post is
vertically mounted, not leaning from side to side or from front
to back. Additionally the head plate must contact the face of
the upper reveal so as to prevent it from falling out of the
opening.
WARNING: Make sure main support post is vertical
and head plate securely engages window opening.
a. Determine whether the rubber pads or spikes of the head plate should be used to
engage the opening: Rubber pads protect finished surfaces and provide good grip on
hard surfaces, whereas spikes can be used for surfaces such as framing boards. Turn
the standard head plate and base plate over to change between spikes and rubber
pads. Positioning the plates to use the rubber pads requires a deeper reveal to ensure
full engagement of the plate surfaces. Alternatively, optional shallow head and floor
plates may be used, since they are fitted with rubber pads for this purpose.
b. Evaluate the depth of the reveal to help select the better head plate and base plate, as
well as their orientation. A shallow reveal requires either the standard head plate and
base plate to be oriented to use the spikes, or the use of the shallow head option
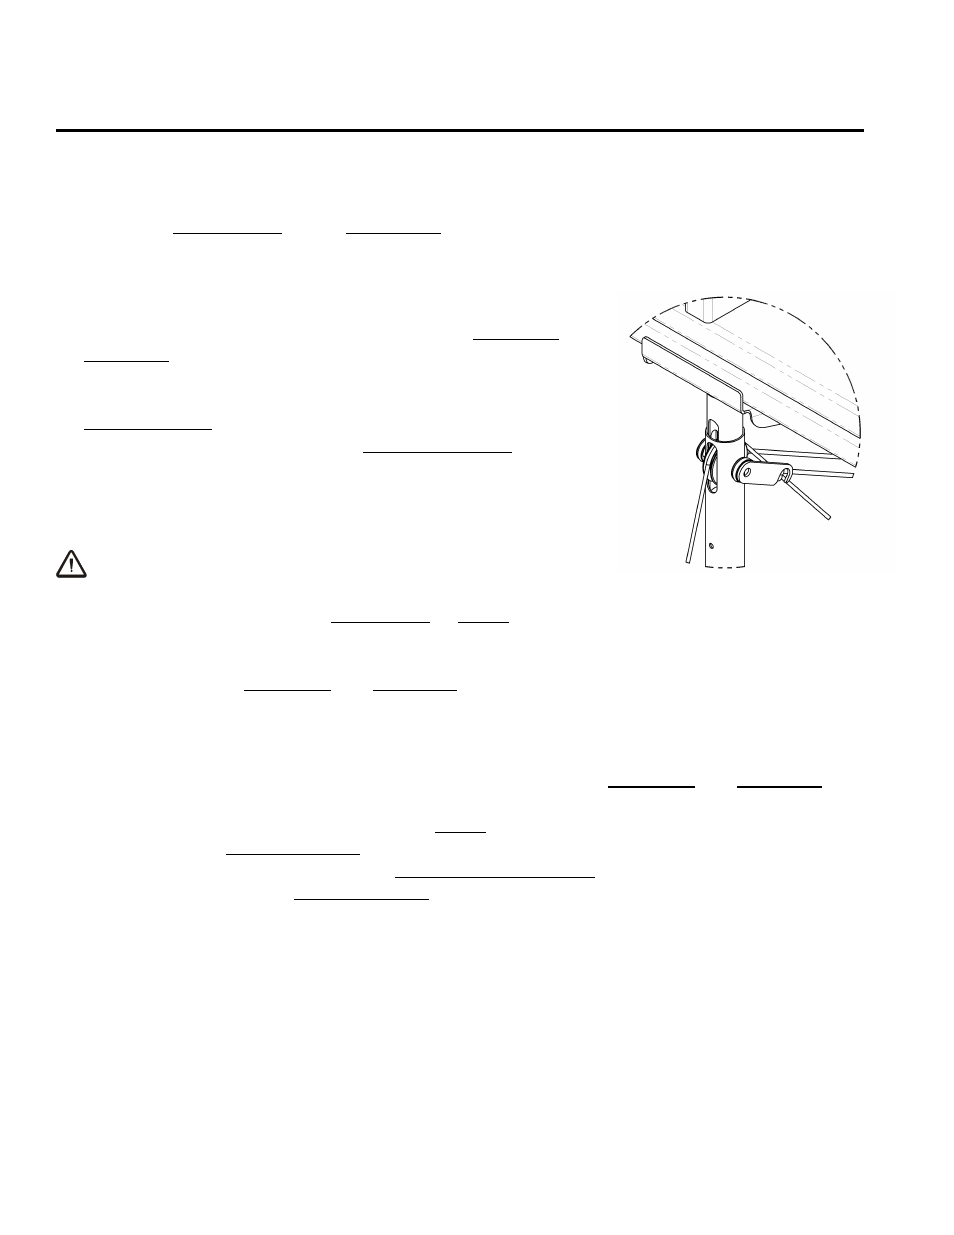
and/or the floor base plate option. For angled upper reveals, the raked angle option
(ELRA) may be installed on the spring-loaded head post prior to installing the head
plate. Position the multi-angle tube to match the reveal angle and insert the cotterless
hitch pin into the aligned hole to fasten into place.