RaySafe i2 Installation Manual User Manual
Page 8
8
RaySafe i2 Installation and maintenance manual – Installation
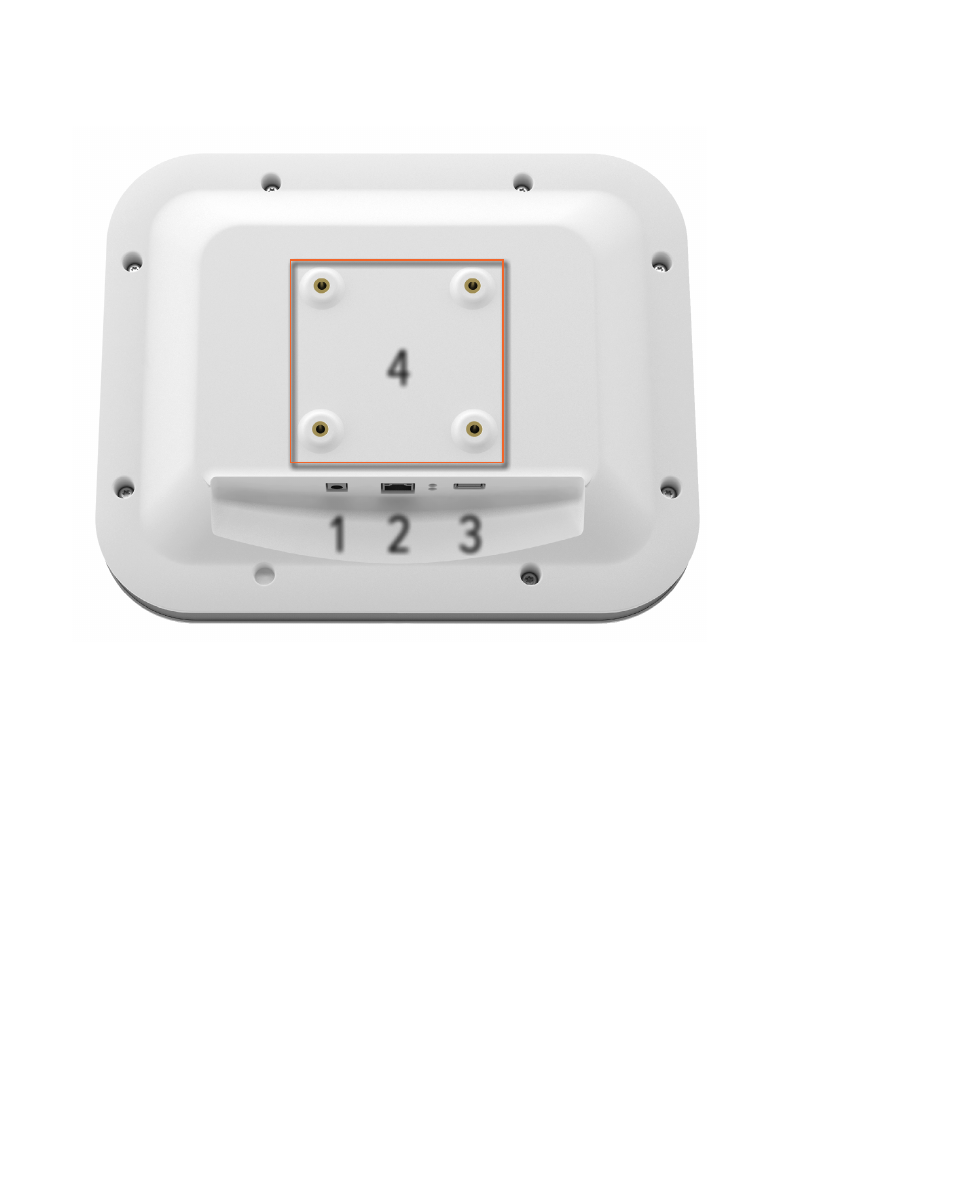
ReAl tIme dISPlAy InteRfACeS
2
1
3
4
Figure 2. The real time display interfaces: 1: 12 V DC, 2: ethernet connection, 3: USB connection, 4: VESA
75 interface
moUnt tHe ReAl tIme dISPlAy
the wall support kit contains:
• one veSA 75 wall mounting plate
• one veSA 75 real time display mounting plate
• fixation screws and plugs for the wall mounting plates
follow the steps below to mount the real time display on a wall:
1. mount the veSA 75 real time display mounting plate to the real time display using the screws provided with
the real time display. Use 8 washers.
2. Place the veSA 75 wall mounting plate on the wall and mark the location of the mounting screws through
the plate’s mounting holes.