Change out the beacon pcb, Finishing touches – ETC Sensor CE Rack (ESR) ECEM to CEM3 Retrofit User Manual
Page 14
12
CEM3 Sensor ESR Rack Retrofit Manual
Change out the Beacon PCB
Step 1:
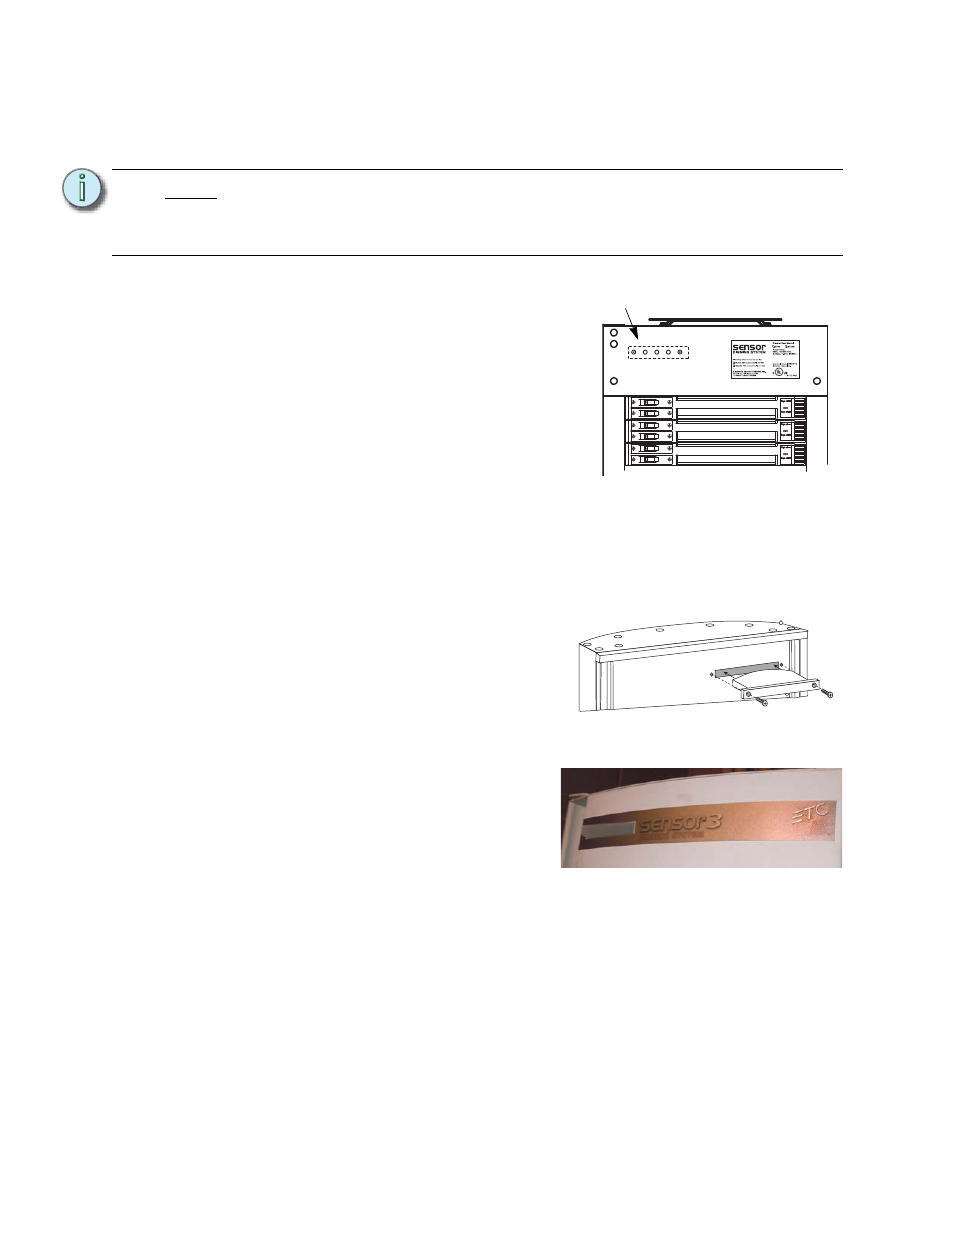
Remove the top four dimmer modules from the rack to allow access to the PCB.
Step 2:
Remove the two screws that hold the beacon PCB in the face of the rack.
Step 3:
Pull the PCB down from inside the rack
case. (The wire harness will only allow a
few inches of movement).
Step 4:
Note the orientation of the connector and
unplug the wire harness from the old
beacon PCB.
Step 5:
Attach the wire harness to the new
beacon PCB making sure the connector
is in the same orientation as before.
Step 6:
Install the new beacon PCB (ETC Part #
7141B5109) with two screws (ETC Part #
HW222) (two new screws of the same type are provided in case the old ones
were damaged during the removal process).
Finishing Touches
Step 1:
Remove the old Sensor beacon acrylic in the door by loosening the two retaining
screws with a #2 Phillips screwdriver. You may discard the beacon acrylic.
Step 2:
Install the Sensor3 beacon acrylic in
the door.
Step 3:
Carefully peel the old Sensor label
from the front of the door and discard.
Step 4:
Clean the door surface to remove any
dirt or old adhesive and wait until it is
clean and dry
Step 5:
Apply the new Sensor3 label to the
front of the door. Line up the label
around the opening for the acrylic in
the door and be sure the label is
straight. Press and wipe with a piece
of cloth or paper towel to make sure
the label is flat & smooth and properly
adhered to the rack door.
N o t e :
Be sure to use a properly sized screw driver (#2 Phillips) and a good amount of
force as these screws are kept in place with thread locker. Don’t worry about
damaging the existing screws (replacements are provided) or shearing off the
heads of the screws (the screw shanks are threaded into the PCB’s standoffs).
New blue-LED
beacon PCB