Pro control high warning set point, Pro control high over warn set point, Change backlight color – Auto Meter 5646 User Manual
Page 2: Power-up, Peak recall, Full dial warning, Pro control low over warn set point, Pro control low warning set point
pro Control High warning Set point
To adjust the high warning set point, press and release the wARN
button. The warning light will begin to flash and the pointer will move
to the previous high warning set point signifying that warning set
mode has been selected. Once in set mode, press the wARN button
to move the pointer down, or press the pEAK button to move the
pointer up. Three seconds after the last button press, the warning
light will stop blinking and the pointer will return to the current
reading. The warning set points are retained when power is removed
from the gauge.
pro Control High Over warn Set point
To adjust the high over warn set point, press and hold the wARN
button. After three seconds the warning light will begin to flash and the
pointer will move to the previous high over warning set point signifying
that over warn set mode has been selected. Release the warn button.
Once in set mode, press the wARN button to move the pointer down,
or press the pEAK button to move the pointer up. Three seconds after
the last button press, the warning light will stop blinking and the pointer
will return to the current reading. The over warn set points are retained
when power is removed from the gauge.
Change Backlight Color
To change the backlight color:
With power off, press and hold the warning button. Apply power to
the gauge. Release the wARN button. Press and release the pEAK
button. The pointer will move to half scale and the dial will illuminate with
the current Backlight Color. Press and hold the pEAK button to cycle
through the available colors. Once you have selected the desired color,
release pEAK and don’t press any buttons for about three seconds. The
dial will flicker white several times to indicate the desired setting has
been saved and the gauge will return to normal operation with your new
color selection. Color selections are saved when power is off.
power-Up
The pointer will move counter clockwise to the stop pin and then moves to the current gauge reading. This procedure is an auto-calibration function
and is performed on every power-up. While this test is being performed, the gauge may make a clicking sound. This is normal.
peak Recall
Press and hold the pEAK button to recall the highest temperature reading since the memory was last cleared. To clear the memory, press and hold
the pEAK button, and while still holding the pEAK button, press the wARN button. The pointer will move to the stop pin to indicate that the memory
has been cleared. Release the pEAK and wARN buttons to resume normal operation. The peak recall point is retained when power is removed
from the gauge.
full Dial warning
This gauge features full dial warning. When a warning point is reached, the entire dial illuminates in the programmed warning color. This feature is
available for both a high and low warning set point. In addition, the warning color will flash when an over warn point is reached.
pro Control Low Over warn Set point
To adjust the low over warn set point, press and hold the wARN
button, and while still holding the wARN button, immediately press and
hold the pEAK button. After three seconds the warning light will begin
to flash and the pointer will move to the previous low over warning set
point signifying that over warn set mode has been selected. Release
both buttons. Once in set mode, press the wARN button to move the
pointer down, or press the pEAK button to move the pointer up. Three
seconds after the last button press, the warning light will stop blinking
and the pointer will return to the current reading. The over warn set
points are retained when power is removed from the gauge.
pro Control Low warning Set point
To adjust the low warning set point, press and hold the wARN button,
and while still holding the wARN button, press and release the PEAK
button. The warning light will begin to flash and the pointer will move to
the previous low warning set point signifying that warning set mode has
been selected. Once in set mode, press the wARN button to move the
pointer down, or press the pEAK button to move the pointer up. Three
seconds after the last button press, the warning light will stop blinking
and the pointer will return to the current reading. The warning set points
are retained when power is removed from the gauge.
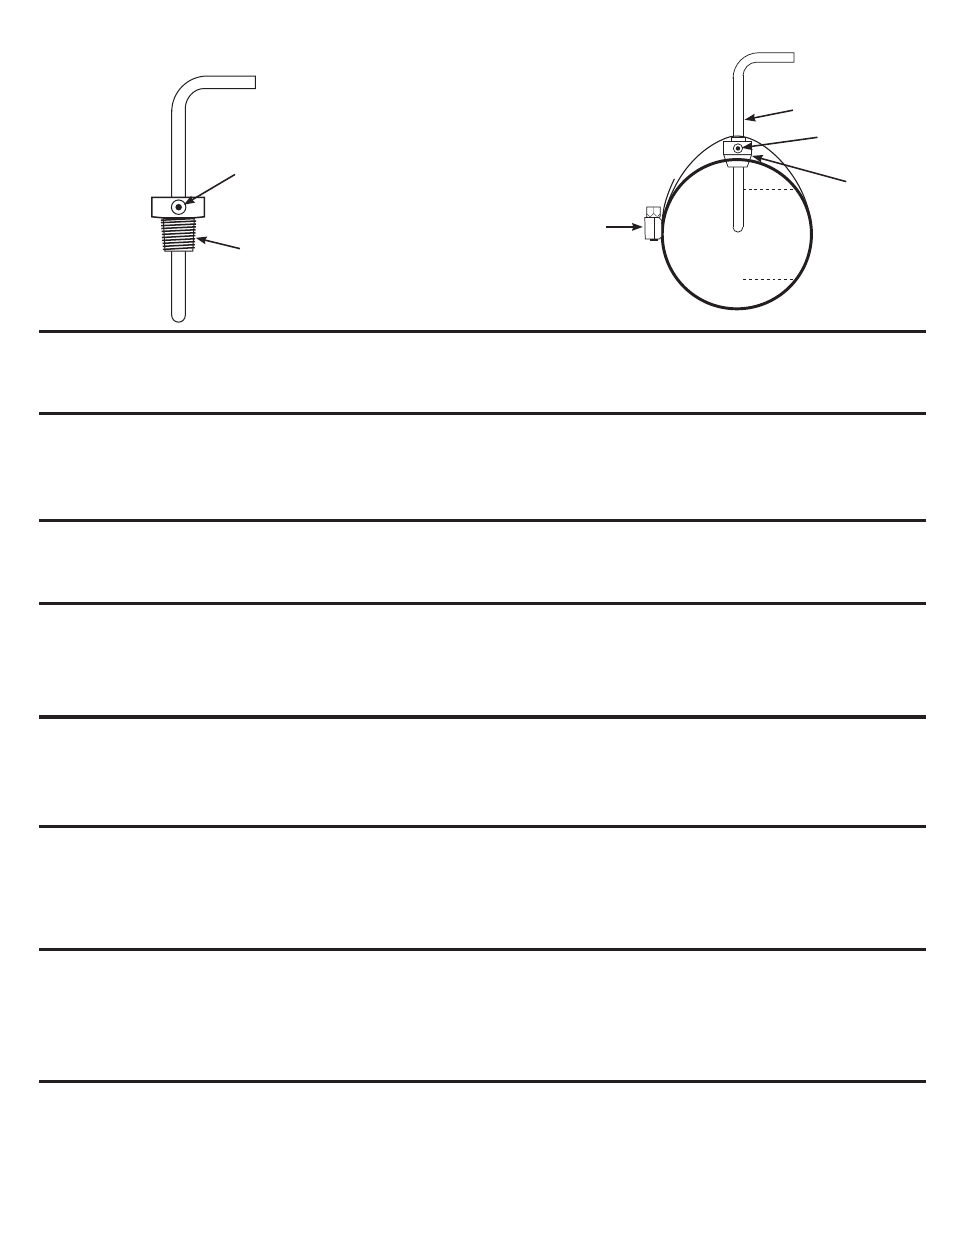
SET SCREW
1/8” NPT FITTING
A. pre-existing 1/8” NpT Threaded Hole
PROBE
SET SCREW
COLLAR
STAINLESS
CLAMP
middle 2/3
B. Stainless Clamp method