Wash rocks and gravel, Step 8, Step 9 – Aquascape MicroPond & MicroPondless Kits (99763, 99764, 99765 & 99769) User Manual
Page 9: Pd/pl
9
• You can expect to use several tons
of stone and gravel for your water
feature. Talk to your Aquascape
dealer for help choosing the
quantity and sizes of stone
and gravel.
Rocking in the pond
• Start from the bottom and set the
largest character boulders first
against the vertical walls, then
stack the smaller boulders on top.
(See fig. 27)
• Be careful when placing any large
boulders so you don’t damage
the liner.
• The opening on the front of the
MicroSkim
®
can be hidden by
placing boulders on either side
and bridging a stone across,
creating a cave effect.
Note: Make sure the boulders
do not block the waterflow into
the skimmer.
• Cover all remaining flat surfaces
with a couple inches of decora-
tive gravel. This will help lock the
boulders in place, as well as cover
the remaining liner, protecting it
from ultraviolet rays, and giving
bacteria a place to colonize, not
to mention it just looks better.
• This is also a good time to add
lilies to the plant pockets. Remove
the lily from the pot and place it
into the lily pocket. Top-dress the
lily with a layer of gravel to hold
the soil into place. Lilies, if not
on hand at this time, can be
added after the pond is filled.
(See fig. 28)
Fig. 28 Loose gravel should be
placed in around the lily to keep
the soil from being stirred up in the
pond after the water is added.
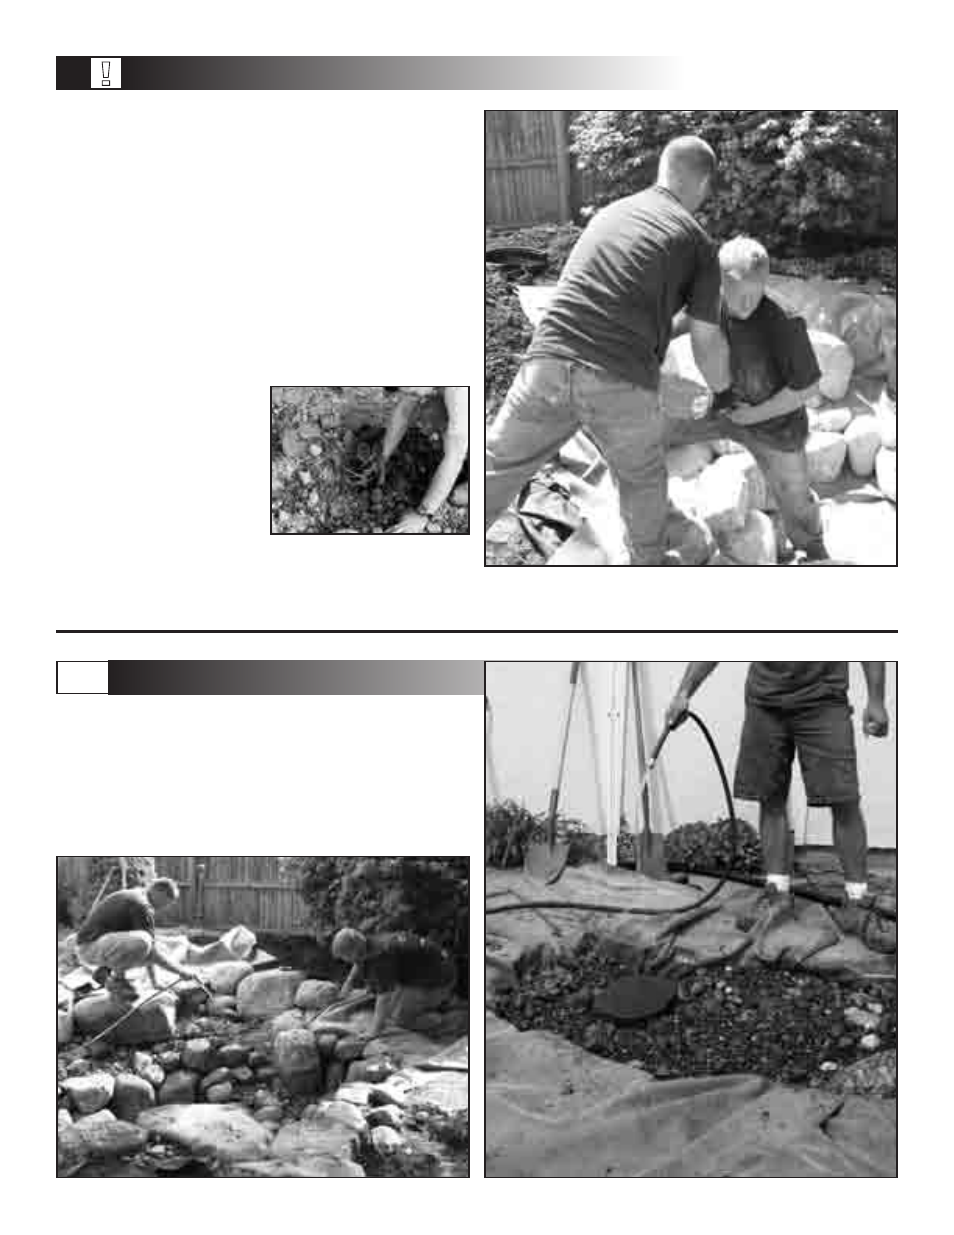
Fig. 27 Starting at the bottom set the largest character boulders first then
fill in with the smaller ones.
Wash rocks and gravel
Wash the rock and gravel down in
order to remove the dust and dirt.
Use the pump provided with the
kit attached to a scrap section of
kink-free pipe. The pump can be
temporarily set in the MicroSkim
®
or
MicroSnorkel
™
Vault, and the water
discharged to a drainage area in
the yard.
STEP 8
0
PD
STEP 9
PD/PL
!