Card reader connection, Card reader mounting, Mounting – electrical installation 2.3 – 2N Helios IP User manual, 1510 v1.13 User Manual
Page 35: Caution
Mounting
– Electrical Installation
2.3
35
Card Reader Connection
2N
®
Helios IP (Part Nos. 91371…U) can be equipped with an internal multifunction
module including an RFID card reader (Part No. 9137430E). This module enhances the
2N
®
Helios IP functions with an EM41XX RFID card reader, two relays for external load
switching, two logical inputs and RS-485 and Wiegand interfaces. The current
2N
®
Helios IP software version, however, supports the card reader and relays only.
Caution
The 2N
®
Helios IP modules ending with U (i.e. 91371…U) can only be
equipped with the card reader.
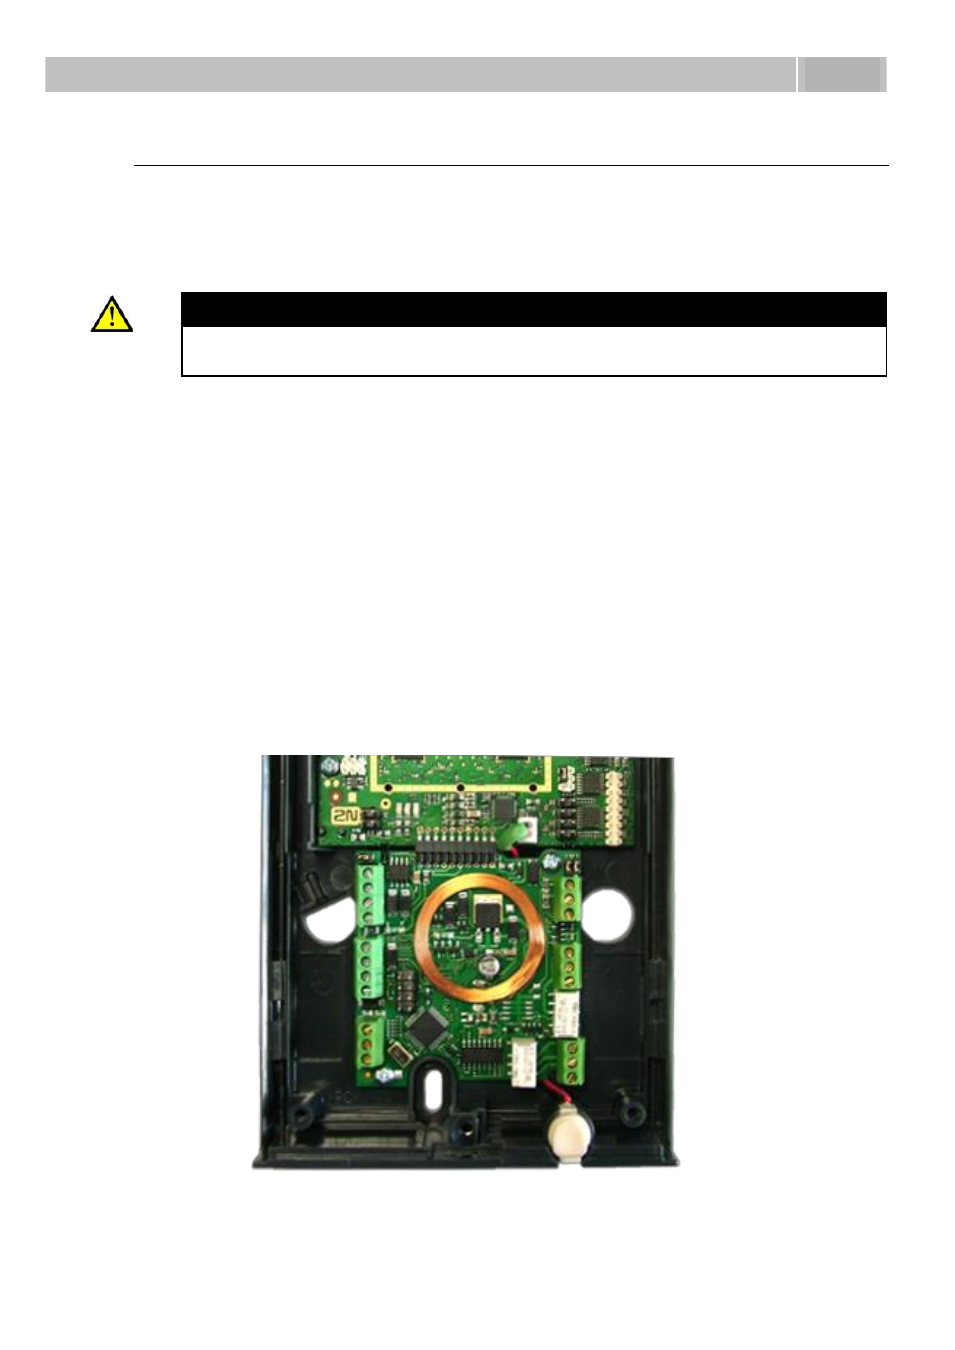
Card Reader Mounting
1. Power off 2N
®
Helios IP.
2. Use a hexagonal wrench to unscrew and remove the metal cover.
3. Use a cross-head screwdriver to unscrew and remove the plastic cover.
4. Connect the reader module into the 2N
®
Helios IP basic unit bottom connector
making sure that the microphone cable lies under the module.
5. Use the enclosed screws to fix the reader module to the 2N
®
Helios IP plastic
base.
6. Connect the wires for the reader module interface(s) if necessary.
7. Replace and fix the plastic cover using cross-head screws.
8. Replace and screw back the metal cover.