Google Postini Message Security Using Postini with Google Apps Education Edition User Manual
Page 12
12
Using Postini Message Security with Google Apps Education Edition
5. Under
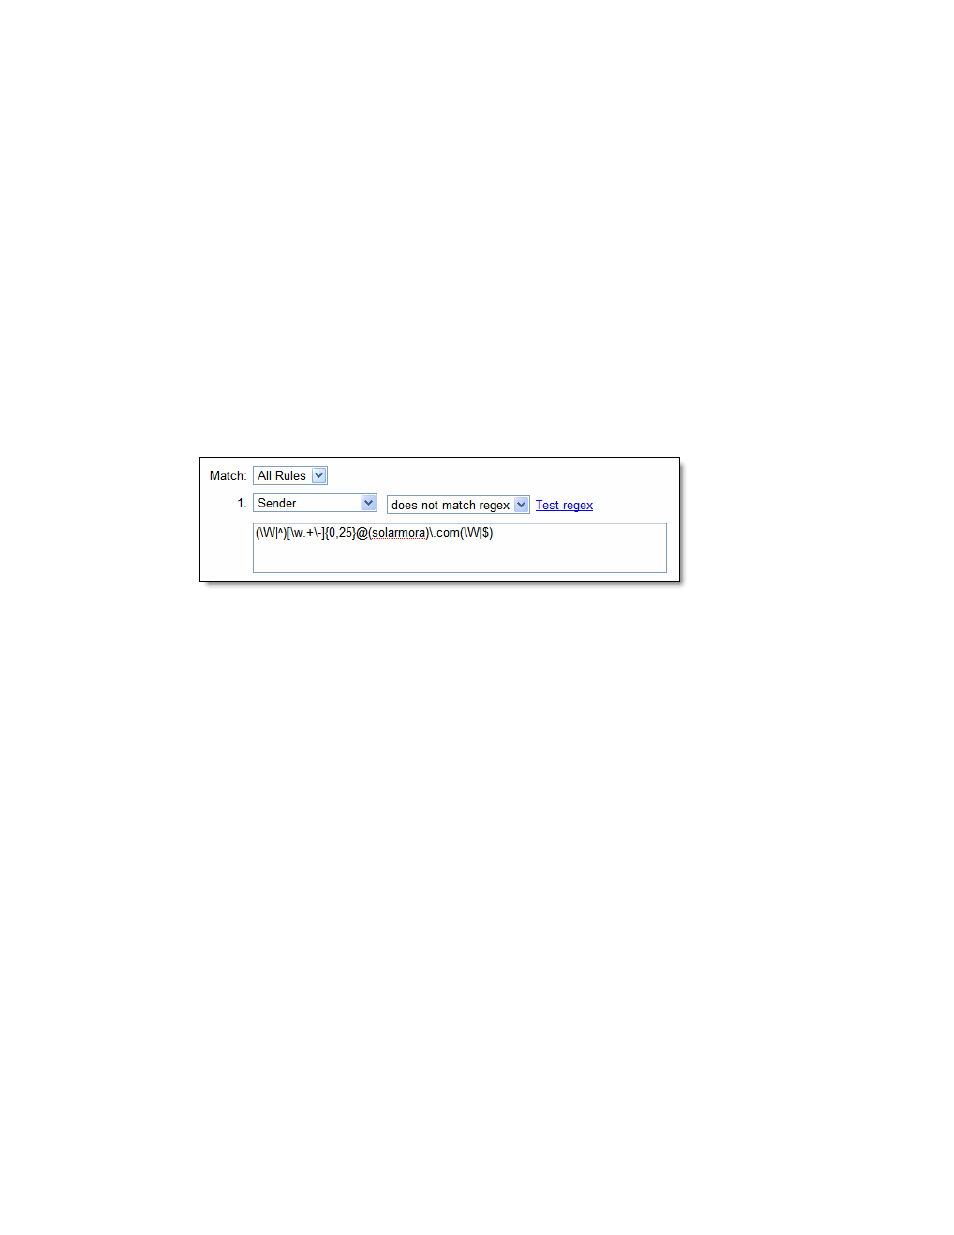
Rules
, in the
Match
drop-down list, choose whether Content Manager executes
this filter’s disposition if an email message contains a match for any rule or all rules you
specify.
6. Specify up to three rules for this filter. For each rule, enter the following:
•
Location: The part of the message to scan. Note that Entire Message also scans
content in file attachments. Choose “Sender”.
•
Filter Type: Choose “does not contain”.
•
Enter this value (a regular expression) and replace yourdomain with the name of your
Google Apps Education Edition domain. If your domain ends in “.com” or another top-
level domain, enter this instead of “.edu”. This expression filters out any messages
from senders who don’t have an email address in your domain.
(\W|^)[\w.+\-]{0,25}@(yourdomain)\.edu(\W|$)
For example, if your organization’s domain is solarmora.edu, you would enter:
(\W|^)[\w.+\-]{0,25}@(
solarmora
)\.
edu
(\W|$)
7. Under
Routing
, choose how you want messages that match the filter (in this case
messages not sent within your domain) to be handled.
Choose Bounce. This rejects the message and returns an error message to the sender.
When an external users attempts to send a message to a user, the message will be
bounced back with an error message of “582- This message violates our email policy”.
8. Your administrator can also receive a copy of the message. This may be useful if you’d
like to monitor who’s attempting to send mail to your students.
Under Copy to Quarantine, click Add quarantine address to send a copy of the
message to another user:
a. Quarantine Administrator: Sends a copy of the message to the Message Center
quarantine of the administrator you specified when enabling Content Manager. We
recommend that you start with this option so you can monitor which message
trigger your filters.
b. Recipient: Places the message in the recipient's quarantine in the Message Center
(option available with only Inbound Content Manager). Do not choose this option as
this will place the incoming messages that trigger the filter in the student’s quarantine.
c. Other User: Places the message in the quarantine of the user you specify. In the box,
you can enter the email address of any user account that resides in a user
organization for which you have Content Manager administrator authorization.
9. Click
Save
.