Advance Adapters 713091 User Manual
Page 2
ADVANCE ADAPTERS INC.
P/N: 713091
P.O. Box 247, 4320 Aerotech Center Way
New Item: (08/02)
Paso Robles, CA 93447
PAGE 2 OF 4
Telephone: (800) 350-2223
Fax: (805) 238-4201
Page Rev. Date:
09-18-02
SPECIAL NOTE:
The components packaged in this kit have been assembled and machined for specific type of conversions. Modifications to any of the components will void
any possible warranty or return privileges. If you do not fully understand modifications or changes that will be required to complete your conversion, we strongly recommend that
you contact our sales department for more information. This instruction sheet is only to be used for the assembly of Advance Adapter components. We recommend that a service
manual pertaining to your vehicle be obtained for specific torque values, wiring diagrams and other related equipment. These manuals are normally available at automotive dealerships
and parts stores.
CHEVY V8 TO JEEP TJ WELD-IN MOUNT
REPLACING THE STOCK 6 CYL.
alignment pin, C-clamp the mounts to the inside of the frame (the front-to-back angle of the mounts will be determined
later).
Install the new Chevy rubber mounts onto the engine block and install the saddle mount. As you set the Chevy block
into the TJ frame rails you'll notice that you will have about an inch window for front-to-rear mounting options.
Place the engine in the engine compartment. The forward-to-rear location of the engine is to be determined by you
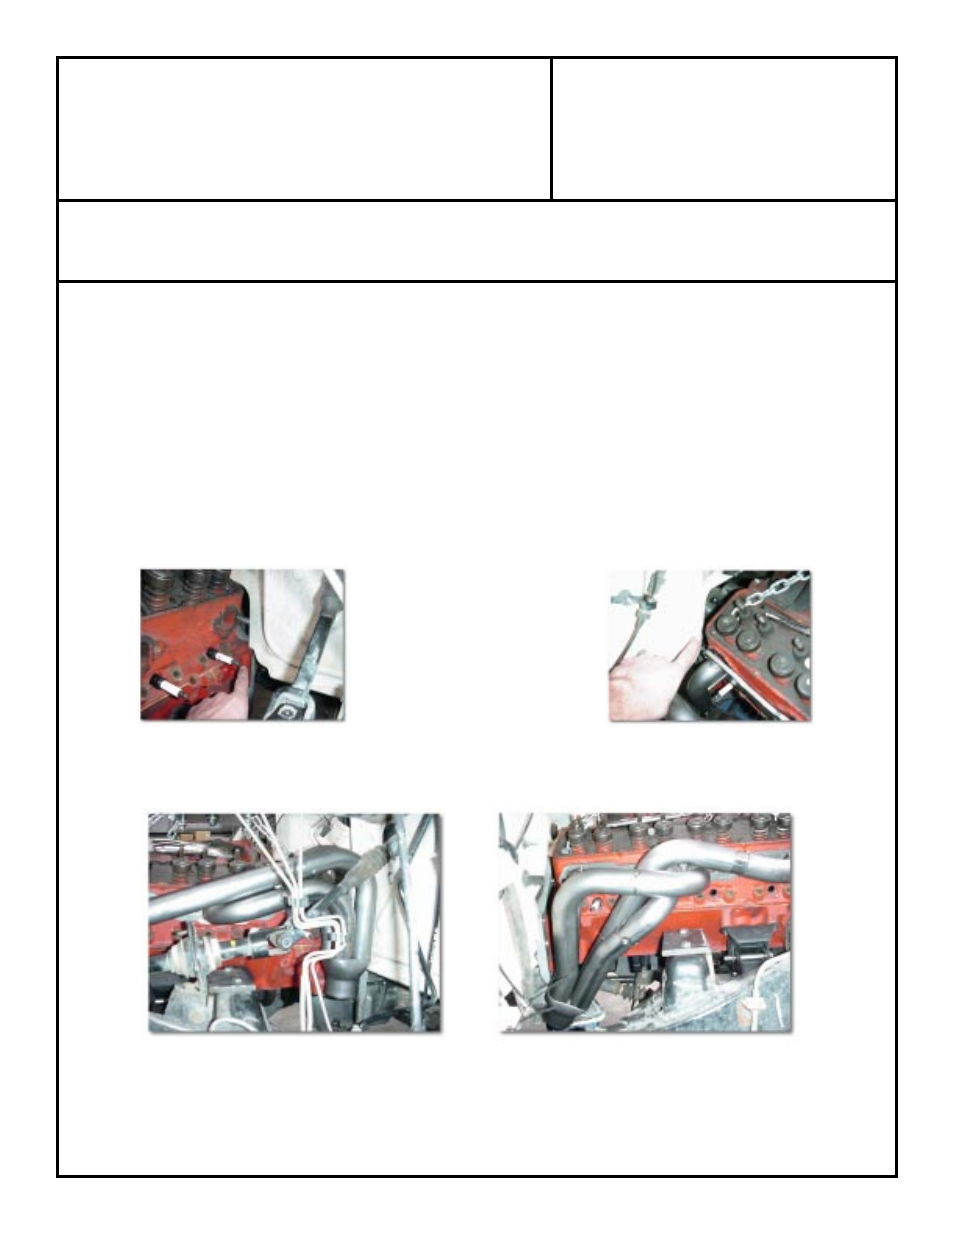
and by the drivetrain you have chosen. Also, keep in mind header or manifold clearance when positioning the engine.
When a suitable location is found, rotate the doweled frame mounts so they hit parallel to the engine saddle mount
mounting flange. Tighten the C-clamp and/or tack weld them in place. The frame brackets must also have two holes
drilled for mounting to the saddle mount. Before removing the engine, mark the two hole locations on both frame
brackets where the saddle meets the frame brackets. These holes need to fit a 3/8" bolt. Remove the engine
assembly and fully weld the mounts to the frame, then drill the mounting holes.
Headers will require firewall modifications in the furthest back location, but work great in the forward location. Also,
the passenger side header may require some clearance with certain starters (on solenoid housing). A heat shield and/
or a mini hi-torque starter is recommended.
Both the driver's side and
passengers side firewall to
tunnel seam will need to be
cut or folded over for both
transmission and exhaust
clearance.
P/N 717090 headers installed.