Adding and adjusting fades, Adding, And adjusting fades – Apple Using WaveBurner Logic Pro 7.1 User Manual
Page 22
22
If several regions are selected, you can choose to either; maintain the relative volumes
of the regions (deactivate the Normalize Each Region Individually option), or you can
normalize each individually (click on the Each track Individually option). Although the
latter option results in higher volume levels, it also may cause a change in the relative
volumes between regions.
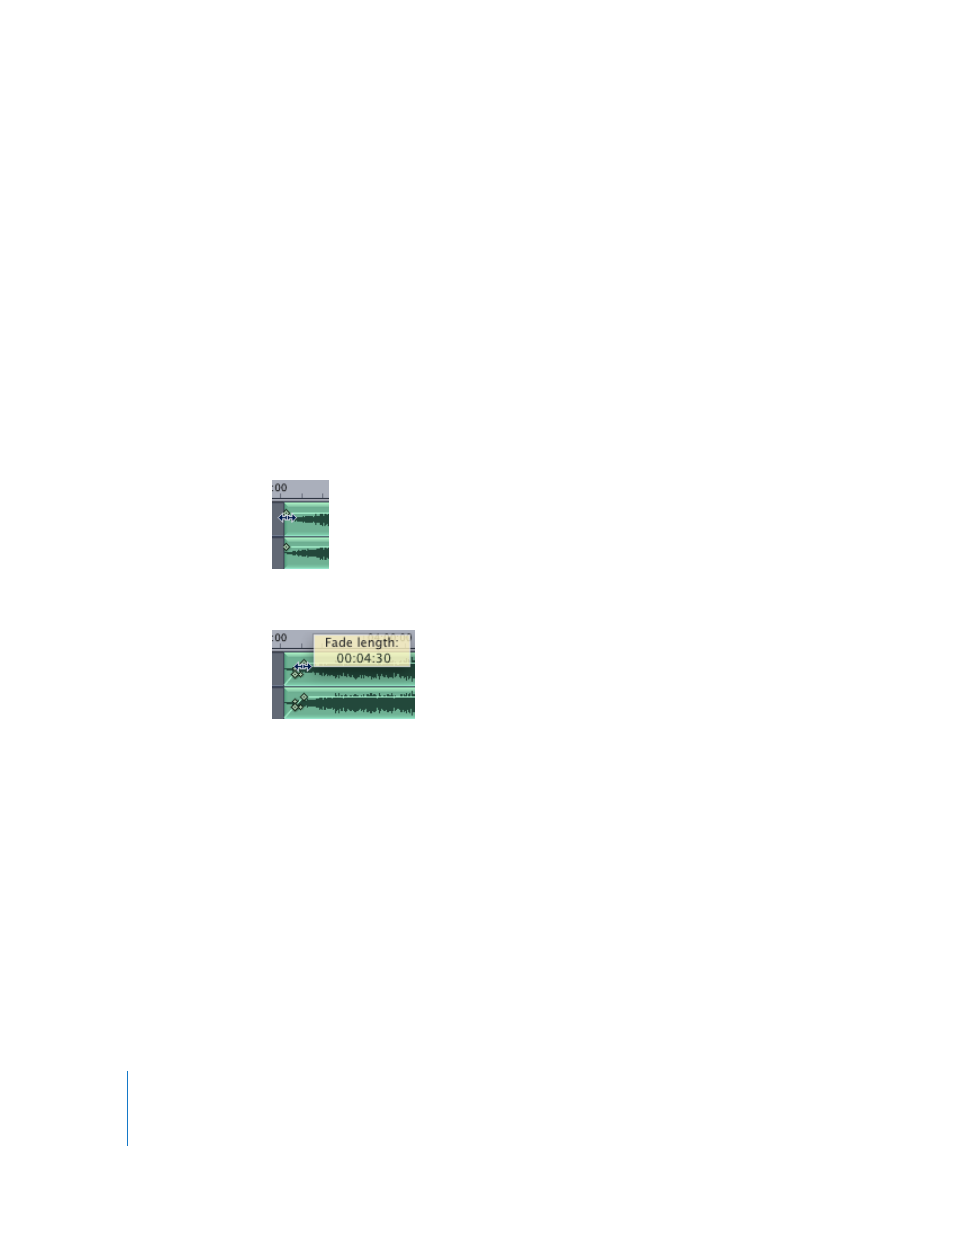
Adding and Adjusting Fades
Fade-ins and fade-outs are commonly used at the beginning and end of songs in music
production. Commercially recorded albums make frequent use of these types of edits
to create a sense of continuity when moving from one track to the next.
To add a fade-in:
1
Move the pointer over the fade-in handle located on the volume envelope—at the left
edge of the region.
The pointer changes to a left-right arrow.
2
Drag the envelope point to the right to set the length of the fade-in.
As you drag, the envelope changes to show the length of the fade.
To add a fade-out:
1
Move the pointer over the fade-out handle located on the volume envelope—at the
right edge of the region.
The pointer changes to a left-right arrow.
2
Drag the envelope point to the left to set the length of the fade-out.
As you drag, the envelope changes to show the length of the fade.
When you drag a region in the Wave View area so that it overlaps an adjacent region,
the overlapping portions of the regions are automatically crossfaded. That is, a fade-out
is added to the earlier region, and a fade-in is added to the later region.
Note: This automatic fade functionality only applies if you haven’t already created a
fade manually.