Installing the simm –8, Installing the simm – Brother HL-1060 Series User Manual
Page 45
USER’S GUIDE
CHAPTER 4 –8
The following type of SIMMs can be installed:
• 1 MByte HITACHI HB56D25632B-6A, -7A
• 2 MByte HITACHI HB56D51232B-6A, -7A
• 4 MByte HITACHI HB56A132BV-7A, 7AL, -7B, -7BL
• 8 MByte HITACHI HB56A232BT-7A, -7AL, -7B, -7BL
• 16 MByte TOSHIBA THM324000BSG-70
• 32 MByte TOSHIBA THM328020BSG-70
This printer can accept the following types of SIMMs;
Speed
60 nsec - 80 nsec
Pin Type
72 pin
Height
25.4 mm (1") or less
Output
32 bit or 36 bit
✒ Note
The printer has only one slot for a SIMM upgrade.If you want to increase
your printer memory again after you have installed a SIMM module into
the slot, you will need to remove the previously installed SIMM first. For
example if you have previously increased your memory from the standard
2 MB to 4 MB by adding a 2 MB SIMM and you wish to increase your total
memory to 6 MB, you need to remove the installed 2 MB SIMM and install
the new 4 MB SIMM into the printer.
Installing the SIMM
When you install the SIMM, follow these steps:
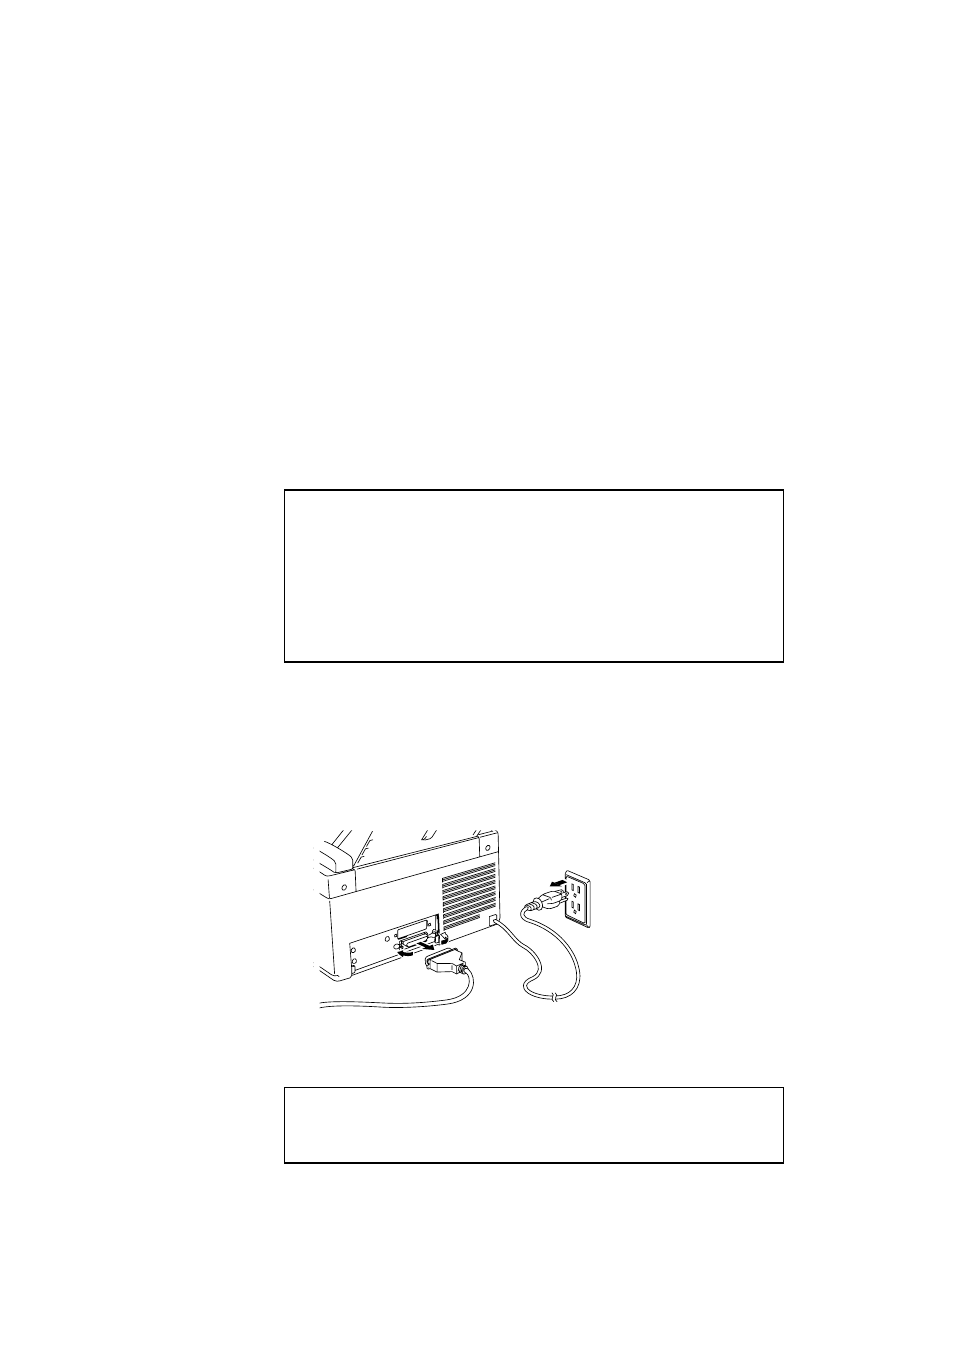
1. Turn off the power switch and unplug the power cord from the AC
outlet. Then, disconnect the interface cable from the printer.
Fig. 4-3 Unplug the power cord and
disconnect the interface cable
✒ Note
Be sure to unplug the power cord to the printer before installing or
removing the SIMM and the main controller board.