Operation – Pulsafeeder Chem-Tech Series XP TIMER EN User Manual
Page 6
REV. A PN J63143
- 6 -
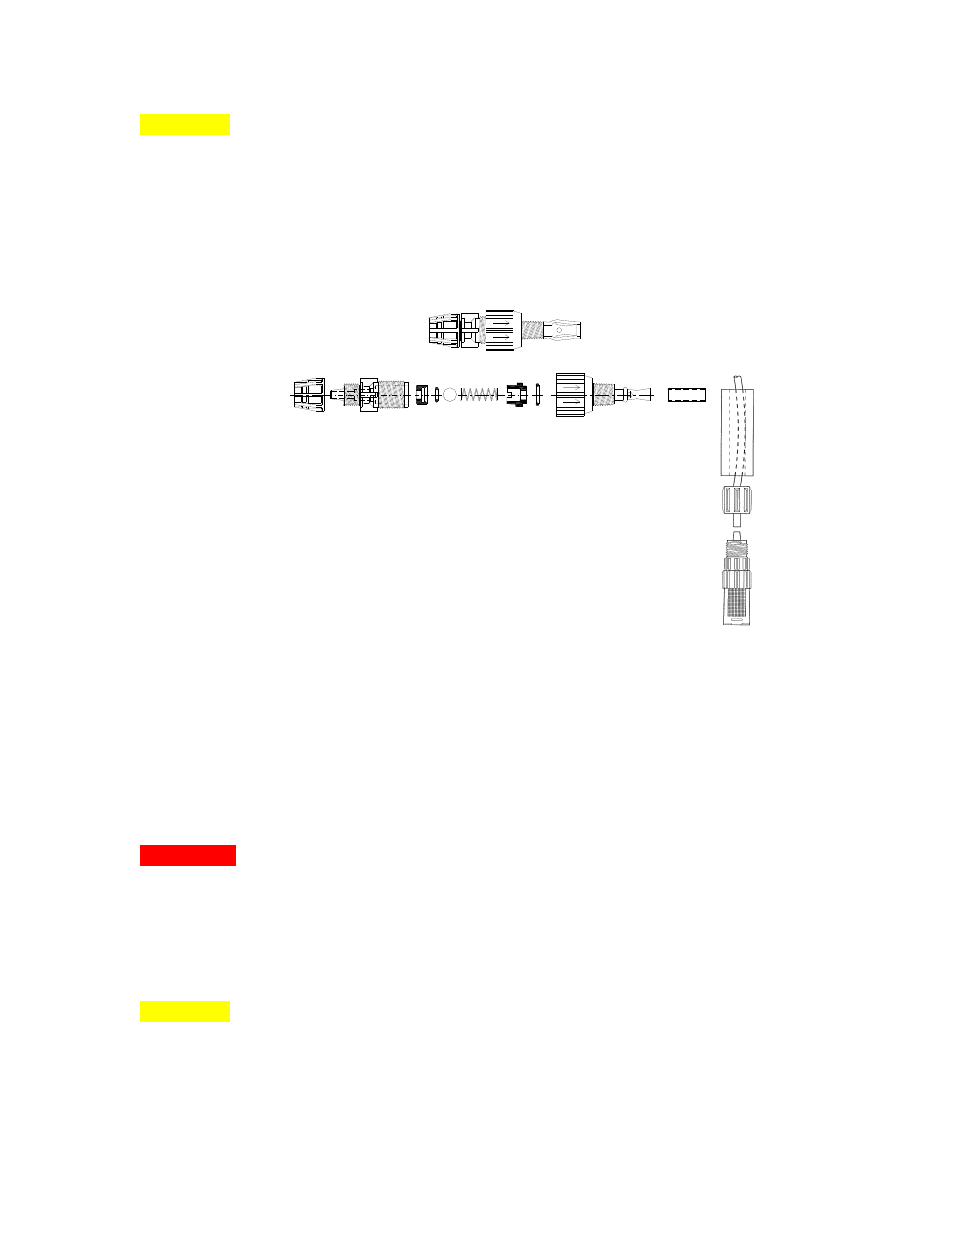
4) Apply Pipe tape to the injection fitting threads and install into piping system.
Do not remove the plastic sleeve on the tip of the fitting; it is a functional
part – see Figure 4.
CAUTION: Inspect the piping system and eliminate piping cross-connections to
prevent feeding chemical to areas not needing treatment.
To install tubing remove the compression fitting’s coupling nut and slide onto
tubing. Place tubing onto fitting and hand tighten the coupling nut. NOTE:
Immerse tubing in hot water to soften prior to pushing on to fitting. Hand-tighten
only, do not use wrenches.
Figure 4: Injector valve
5) Referring to Figure 5 slide ceramic strainer weight on
suction tubing first then remove the coupling nut from the
strainer and slide onto tubing next. Push the end of the
tubing onto the strainer and hand tighten the coupling nut.
Hand-tighten only, do not use wrenches. Note: Immerse
tubing in hot water to soften prior to pushing on fitting.
6) Install the strainer so it is off the bottom of the chemical
container (1 to 2-inches (25-50mm)) and measure suction tubing length required.
Cut tubing ends square and install on suction fitting of the pump. Hand-tighten
only, do not use wrenches.
5. Operation
WARNING:
Always make sure the voltage on the pump data plate matches the
installation voltage before plugging the pump into a wall outlet or hooking up to
an electrical supply. If you are unsure, have a licensed electrician inspect and
install your pump.
5.1. 7 Day Electronic Timer
CAUTION: Before plugging your pump into a wall outlet take a moment and
locate the control panel of your pump. The control panel is located on top of the
pump. The pump is equipped with a 3-position mode selector switch in the upper
left side of the control panel. Verify the switch in is the off-position before
plugging your pump into a wall receptacle – see Figure 6.
Figure 5: Ceramic-
Weighted Strainer