P. 16), Putting the telephone into service (t3 ip only) – Avaya T3 (IP) Comfort User Manual
Page 16
Putting the telephone into service (T3 IP only)
16
Familiarize yourself with your telephone
Connecting the telephone and logging in (T3 IP only)
After connecting the unit to the LAN (Local Area Network) and to the power supply
(only if the telephone is not powered via the LAN), the telephone software will first be
activated and after that a search for a gatekeeper (responsible for access authorisa-
tion) will start automatically. A gatekeeper will normally be found. If this is the case,
the log-in window will then appear:
...
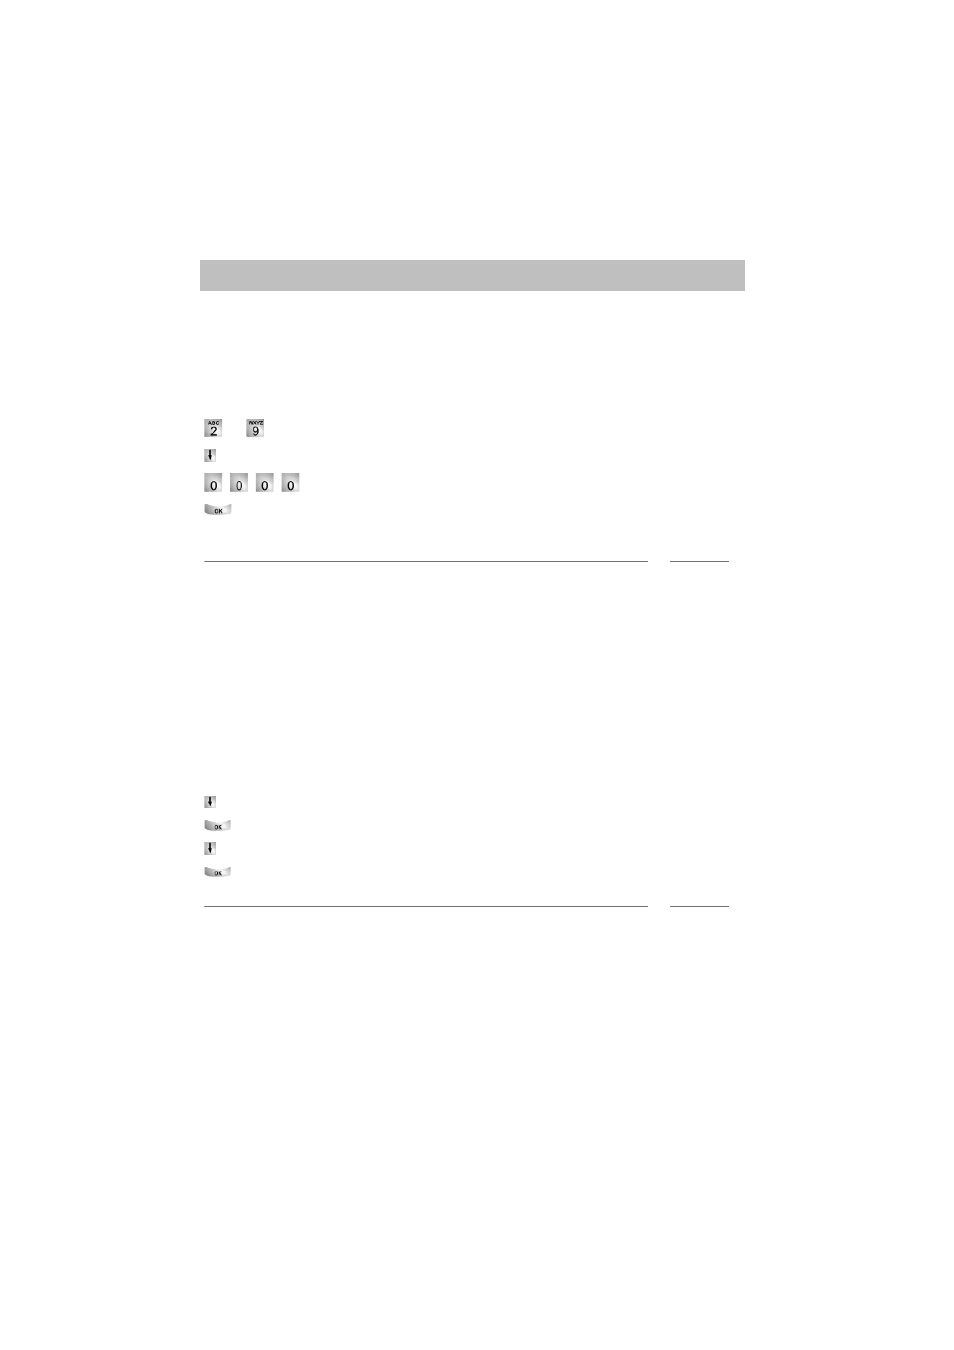
Enter extension number.
Scroll to the PIN menu item.
Enter PIN The factory setting is "0000".
Confirm your selection. The idle display appears next. You will now also be
available under the entered call number (extension number).
i
Note
• You can change the language for the log-in procedure. (
• The log-in PIN is the same as the PIN you can use to unlock your locked tele-
phone. You can change this PIN in the Lock (
p. 63) menu
• If you have cancelled a log-in procedure (i.e. you have left the log-in window using
the Escape key) in order to change or view settings in the menu, you can then log
back in again via the User administration menu option.
Modifying language for the log-in procedure and IP settings
If your telephone is not yet logged in, you can choose between six different langua-
ges (German/English/French/Italian/Spanish/Dutch):
Press the "Menu" function key.
Scroll to the "Switch language" menu option.
Confirm your selection.
Select language, e.g. English.
Confirm your selection.
i
Note
• When first setting up your telephone you can choose your preferred language in
other ways: When the log-in window appears, press the Escape key twice. "D/GB/
F/I/E/NL" appears. Then select your preferred language. "D/GB/F/I/E/NL" disap-
pears when the language has been changed.