Installing the switch in a rack – Allied Telesis AT-8088/xx (MT and SC) User Manual
Page 53
AT-8000 Series Fast Ethernet Switches Installation Guide
53
Installing the Switch in a Rack
Perform the following procedure to install the switch in a standard
19-inch rack. If you are not installing the switch in a rack, proceed to
”Installing an Optional GBIC Module” on page 55.
1.
Place the unit upside down on a level, secure surface.
2.
Using a flat-head screwdriver, remove the snap-on plastic feet from
the bottom of the switch, as shown in Figure 18.
Figure 18. Removing the Feet
3.
Turn the switch over.
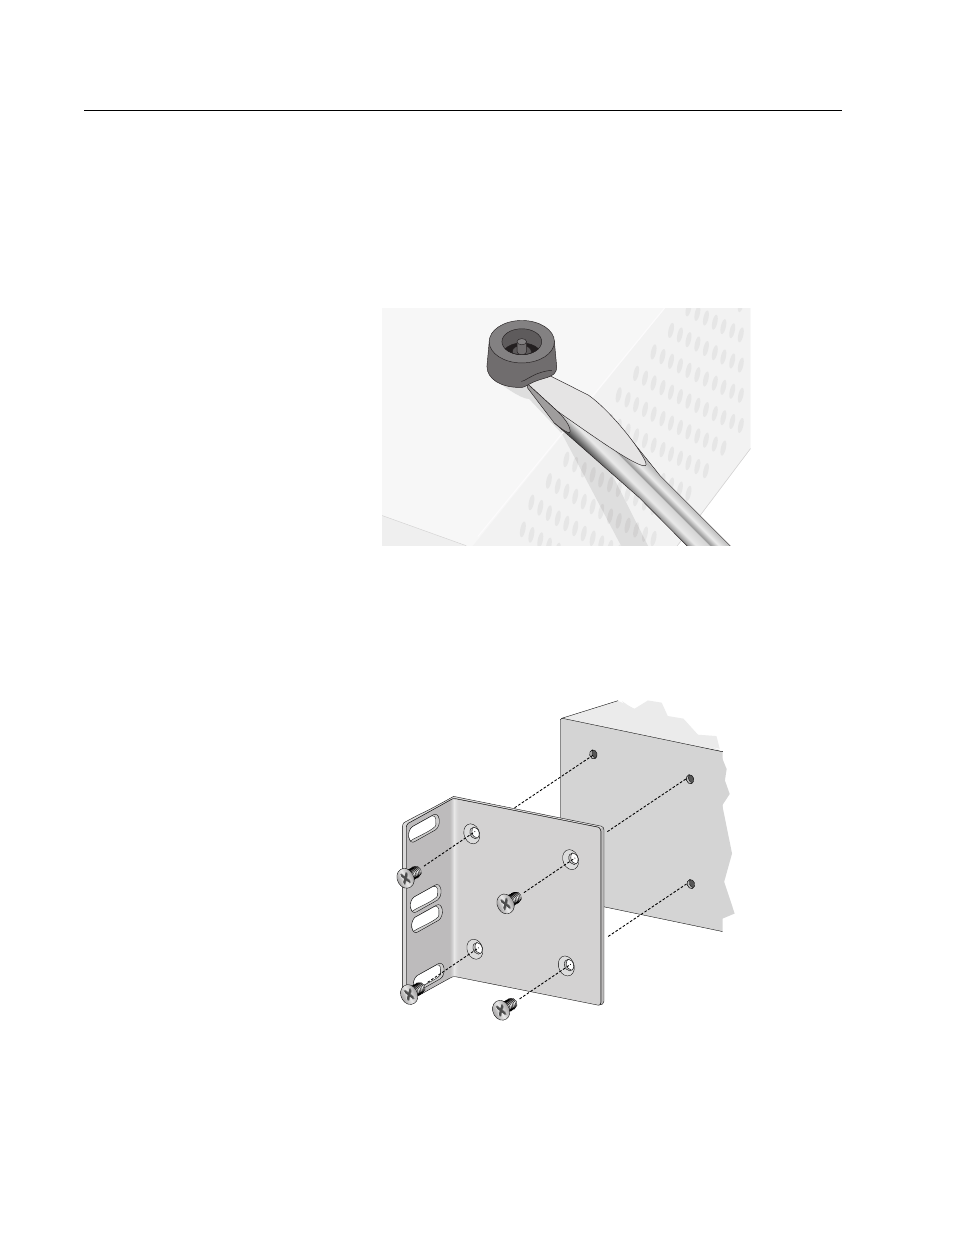
4.
Attach a rackmounting bracket to one side of the switch using four
of the screws that came with the switch. See Figure 19.
Figure 19. Attaching Rackmounting Brackets
This manual is related to the following products: