Installing the at-mc602 provider unit, Using the provider unit on a desktop – Allied Telesis AT-МС602 User Manual
Page 28
AT-MC601, AT-MC602 Installation and User’s Guide
28
Installing the AT-MC602 Provider Unit
The AT-MC602 Provider unit can be installed in an AT-MCR12
rackmount chassis, used as a desktop device, or mounted onto a wall using
the keyholes on the bottom of the unit. The screws and plastic anchors used
for mounting the unit are provided.
Warning
To prevent exposure to electric shock, the AT-MC602 Provider Unit
must be installed in a RESTRICTED ACCESS LOCATION and
performed by QUALIFIED SERVICE PERSONNEL.
Note
For Finland, Norway, and Sweden – When the AT-MC602 and the
AT-MCR12 are used, a permanent ground conductor must be installed
on the AT-MCR12 chassis.
For installation instructions of this ground conductor, refer to the AT-
MCR12 Media Converter Rackmount Chassis Installation Manual
(PN 613-10725-00).
Using the
Provider Unit on
a Desktop
To use the Provider unit on a desktop, perform the following procedure:
1. Remove all equipment from the package and store the packaging
material in a safe place.
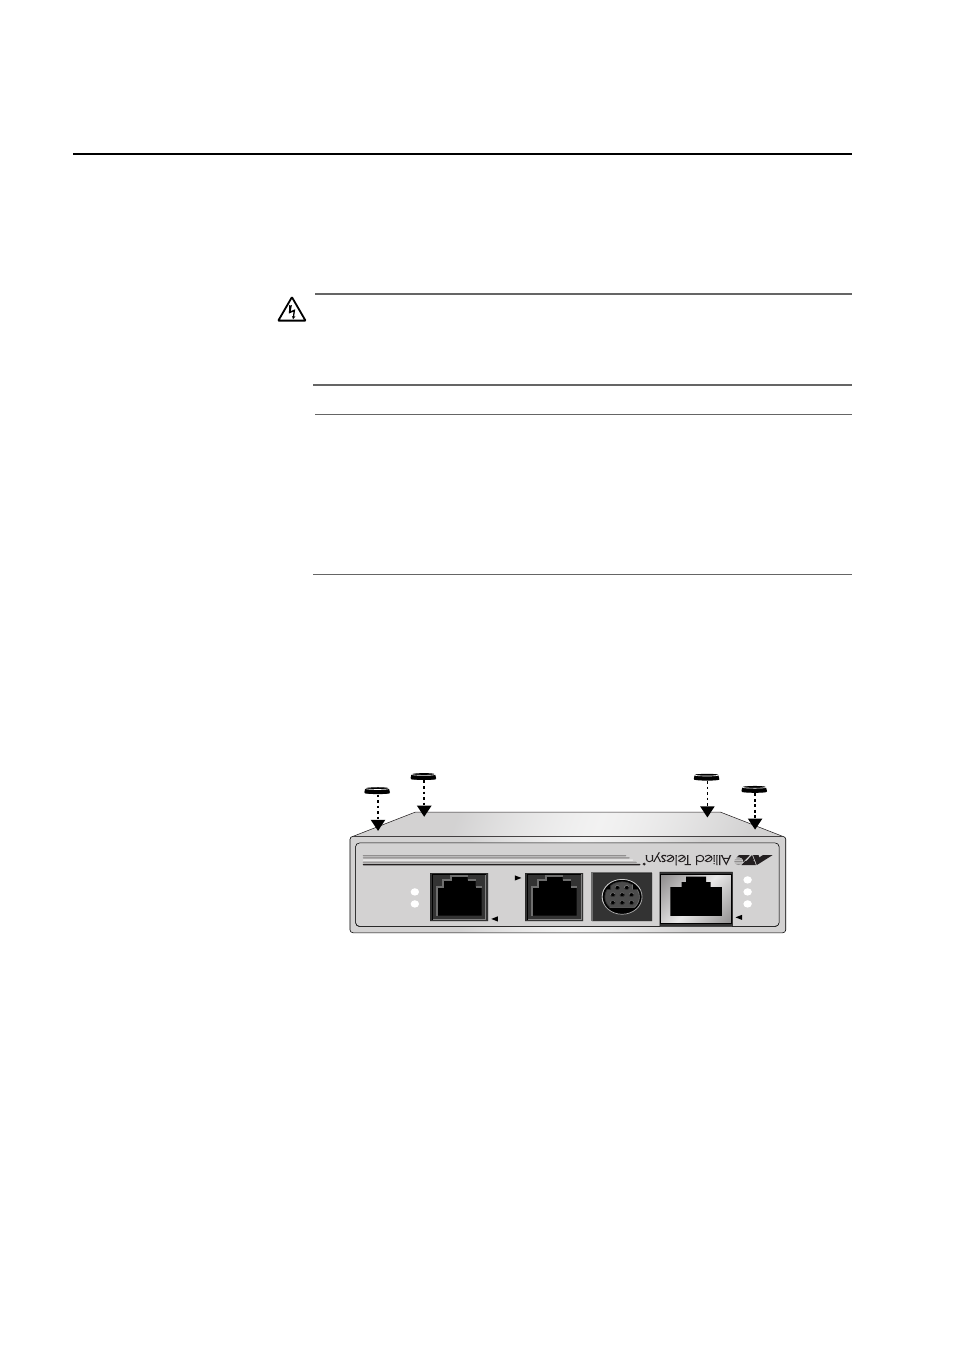
2. Attach the four protective feet (provided) to each corner of the bottom
of the unit, as illustrated in Figure 6.
Figure 13 Attaching Protective Feet to the Provider Unit
LINE
10
BaseT
/
100Base
TX
PSTN
LINK
ACT
PWR
ERR
LINK
MGMT
A T-MC602
VDSL EXTENDED ETHERNET