C.1.2 installing the access tube – Campbell Scientific EnviroSCAN Sentek Water Content Profile Probe User Manual
Page 33
Appendix C. Access Tube Installation
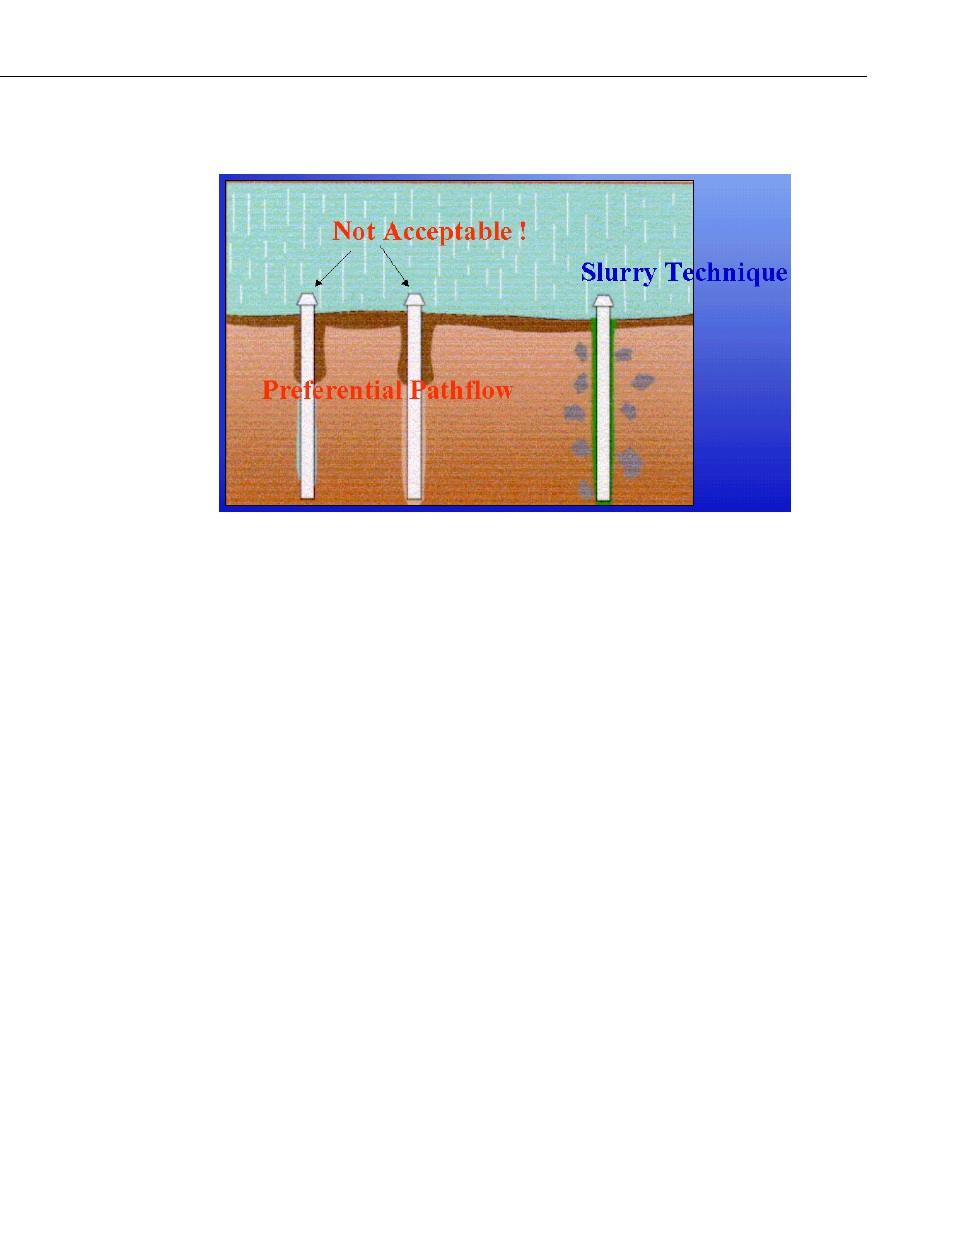
C.1.2 Installing the Access Tube
Figure C-1. Incorrect Installation
To install the access tube, follow these steps (requires tool kits #1 and #2):
1. Put on the gloves.
2. Put on the safety goggles.
3. Select the 47 mm regular auger head.
4. Select the required extension rods and screw the auger head and the
t-handle to the extension rods. The length of assembled auger must exceed
the length of the access tube by at least 20 cm.
5. Insert the auger into the access tube while the tube is lying on the ground
until the auger head protrudes by 20 cm.
6. Use a marking pen to mark the auger extension rod at the point where it
disappears into the top of the access tube.
7. Remove the auger from the tube.
8. Select the yellow cutting edge and push it into the end of the access tube
ensuring it fits squarely. Note: If you experience difficulties fitting the
cutting edge onto the tube (1) turn the cutting edge on its side and, with a
twisting motion, shave a layer of PVC from the lip of the access tube; and
(2) carefully bounce the access tube and the partially fitted cutting edge on
the side of the sledgehammer head.
9. Insert the access tube with fitted cutting edge into the tripod guide tube.
10. Select dolly no. 1 or dolly no. 2 and insert it into the top of the access tube.
C-3