Campbell Scientific CM6/CM10 Tripod Weather Station Installation User Manual
Page 21
Section 2. CM6/CM10 Tripod Installation
2. Slide the top plate down the crossarm mount so that it rests on the bell
reducer.
3. Attach the 3 bottom plates to the tripod feet with the existing tripod foot
bolts. Make certain that each bottom plate is oriented such that the second
hole is above the tripod foot.
4. Extend each turnbuckle to its functional limit
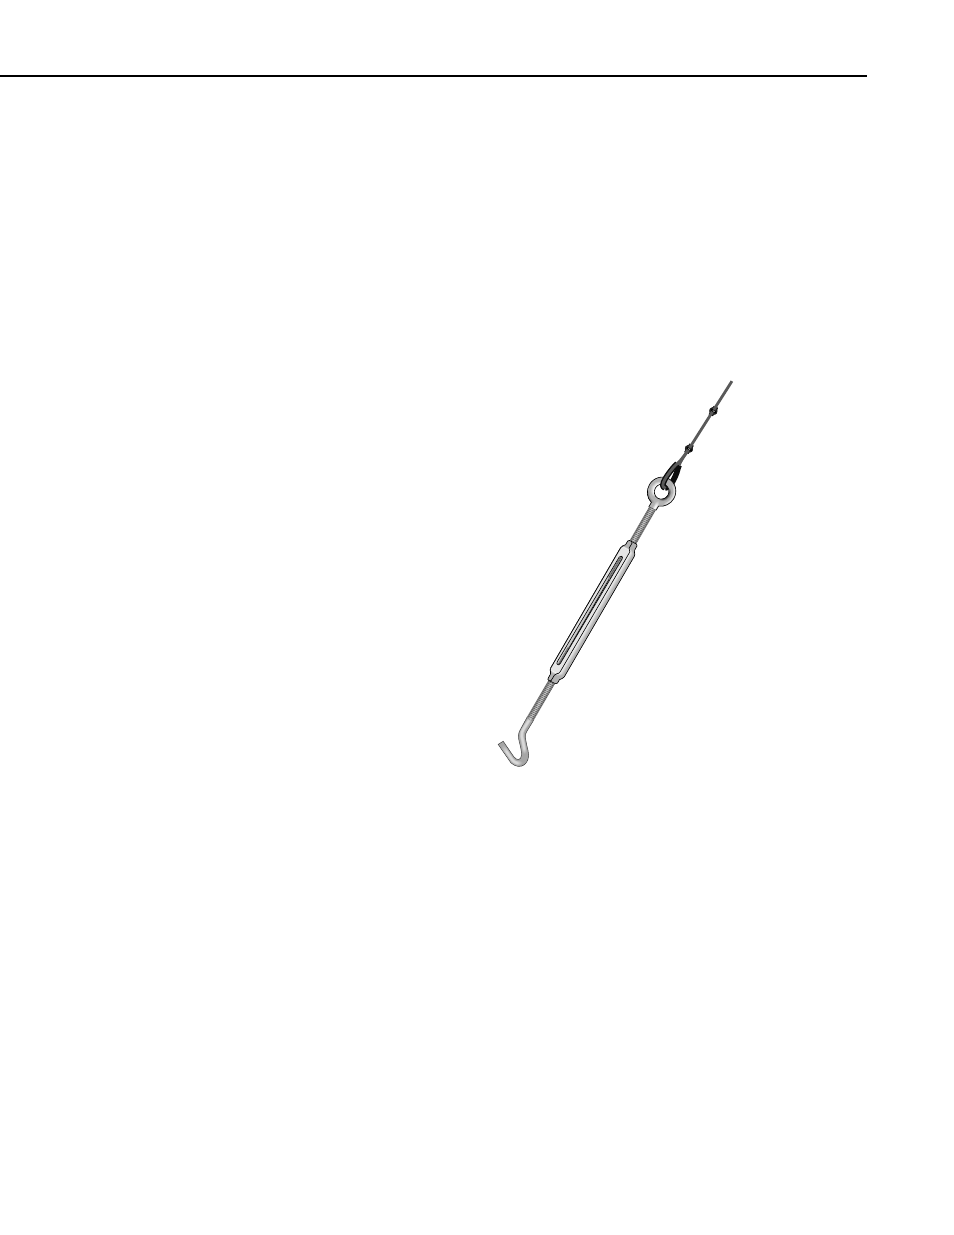
5. Attach the loop-end of the turnbuckles to the free end of each wire rope as
shown in Figure 2-8. Use the remaining thimbles and u-bolts as done in
step 1. Only finger-tighten the u-bolts, however.
FIGURE 2-8. Turnbuckle Assembly
6. Place the hook-end of each turnbuckle into a bottom plate, in an orderly
fashion, so that each wire rope spans to the top plate untangled and
unobstructed.
7. Sequentially pull the free end of the wire ropes to tighten each turnbuckle
loop. When each is as hand tight as possible, tighten the u-bolts to secure
the clamps.
8. Tighten the turnbuckles sequentially, one turn per cycle. Only tighten the
turnbuckles until the wire rope is taught. DO NOT OVER TIGHTEN!
The turnbuckles and wire rope are strong enough to buckle the mast if
over tightened.
9. Check plumbness of the mast and adjust the guy wire tightness as needed.
2-9