Other external components – Kenwood DDX4025BT User Manual
Page 26
26
OTHER EXTERNAL COMPONENTS
OTHER EXTERNAL COMPONENTS
Using external audio/video
players—AV-IN
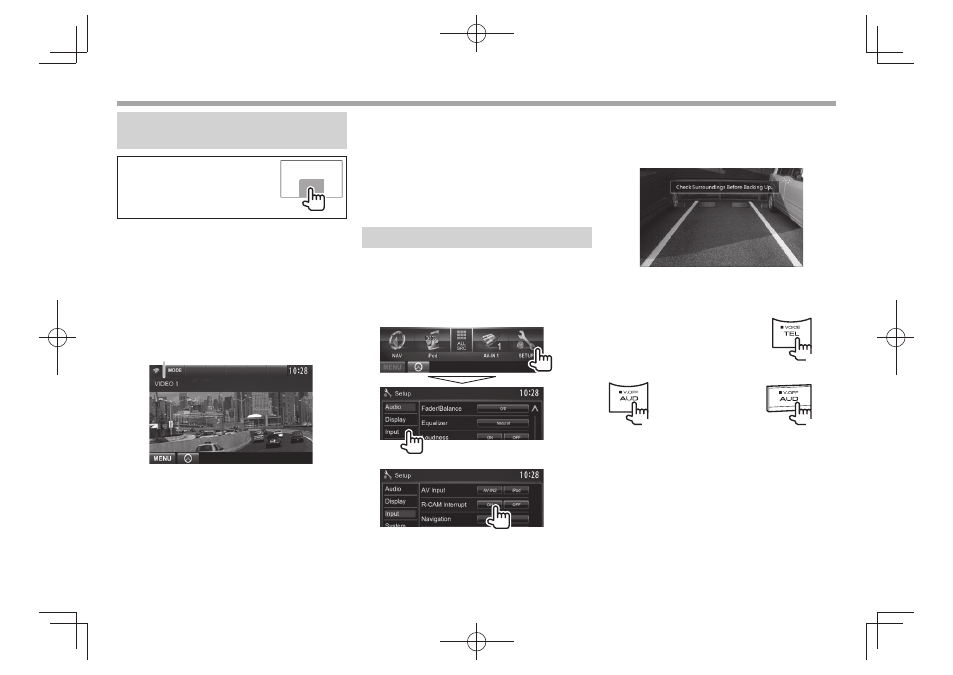
When the operation buttons are
not displayed on the screen, touch
the area shown on the illustration.
You can connect an external component to the
AV-IN1 and iPod/AV-IN2 input terminals. (Page 52 )
Preparation:
If you want to use “AV-IN2”, select [AV-IN2] for
Input> setting. (Page 43)
• No preparation is required for “AV-IN1”.
R
Indications and buttons on the source
control screen
AV-IN name
Operation buttons
[MODE]
Changes the AV-IN name.
• Press [H] or [I] to select an AV-IN
name.
• This setting does not affect the
source name “AV-IN 1”/ “AV-IN 2”
displayed on
[MENU]
Displays the
R
Starting playback
1
Connect an external component to the
AV-IN1 and iPod/AV-IN2 input terminals.
2
Select “AV-IN1” or “AV-IN2”as the source.
(Page 9)
3
Turn on the connected component and
start playing the source.
Using a rear view camera
• To use a rear view camera, a REVERSE lead
connection is required. (Page 51 )
R
Activating the rear view camera
1
Display the setting screen.
On the
2
To deactivate: Select [Off] for
R
Displaying the picture from the rear
view camera
The rear view screen is displayed when you shift the
gear to the reverse (R) position.
• To erase the caution message, touch the screen.
To display the picture from the rear view camera
manually
DDX4025DAB/DDX4025BT/
DDX4055BT*
1
(Hold)
(Hold)
(Hold)
DDX3025/DDX3055*
2
DDX355*
2
• When displaying the picture from the rear view
camera manually, you can change the setting
of the picture using [Zoom]/[Aspect]/[Adjust].
(Page 37)
To exit the rear view screen: Press and hold the
same button again.
*
1
This operation works only when
set to [R-CAM]. (Page 44)
*
2
This operation works only when
set to [R-CAM]. (Page 44)
DDX_Entry_E.indb 26
DDX_Entry_E.indb 26
2013/10/30 13:54
2013/10/30 13:54