Start-up and operation sequence of operation, Fire or explosion hazard – State GPG 81 370NEA User Manual
Page 23
23
7. If the Ignition Control does not sense the flame during the
4 second ignition trial period, the Ignition Control shuts the Gas
Valve and turns off the Spark Igniter. The control is locked out,
the power to the unit must be cycled to restart the Ignition
Control.
8. If the ignition control senses flame during the 4 seconds trial for
ignition period, the gas control remains open and the burner on
until the call for heat ends.
9. The Ignition Control monitors the Flame Sensor during the
heating cycle. If the flame signal is lost, the Ignition Control shuts
the main Gas Valve and re-starts the ignition process at
step 4.
10. Once the unit is satisfied, the Ignition Control will shut off the
main Gas Valve and the unit will be in standby mode until another
call for heat is initiated by the thermostat.
See the flow chart on page 24 for more information.
• Attach a gas pressure gauge or manometer to upstream side
of main gas cock and a gas pressure gauge or manometer to
the manifold pressure tapping.
• Check voltage at disconnect switch to make certain that it
matches that shown on the burner label.
• Apply a few drops of No. 20 SAe non-detergent oil to the
motor bearings.
• Drill max. 5/16" hole in breeching as close as possible to flue
connection on heater to install stack thermometer and
combustion analyzing equipment. (See Figure 11).
• you are now ready to begin the burner start up procedure.
Installation and start up of this water heater requires abilities and
skills equivalent to that of a licensed tradesman in the field involved,
see qualifications on page 6.
Do not place the water heater in operation if any part has been under
water. Immediately call a qualified service technician to inspect the
water heater and to replace any part of the control system and any
gas control which has been under water.
light the water heater in accordance with the lighting and Operation
Instruction label on the water heater and in this manual on pages 25.
Before attempting start up, thoroughly study and know the exact
Sequence Of Operation. See written Sequence Of Operation on
page 23 and Sequence Of Operation Flow Chart on page 24.
Be certain that the water heater is full of water, that air is purged from
the gas and water lines and that there are no leaks in the gas and
water lines. ensure all inlet water valves are open.
filling the water heater
Follow these steps to fill the water heater prior to start up.
1. Close the heater drain valve.
2. Open a nearby hot water faucet to permit air in system to escape.
3. Fully open the cold water inlet valve allowing the piping and
water heater to fill with water.
4. Close hot water faucet opened in Step 2 as water starts to flow.
read SequeNCe OF OPerATION section of this manual prior
to lighting and operating this water heater.
With above conditions satisfied, start the unit in accordance with the
instructions on the operating label attached to the heater. For your
convenience a copy of the instructions are shown on pages 25.
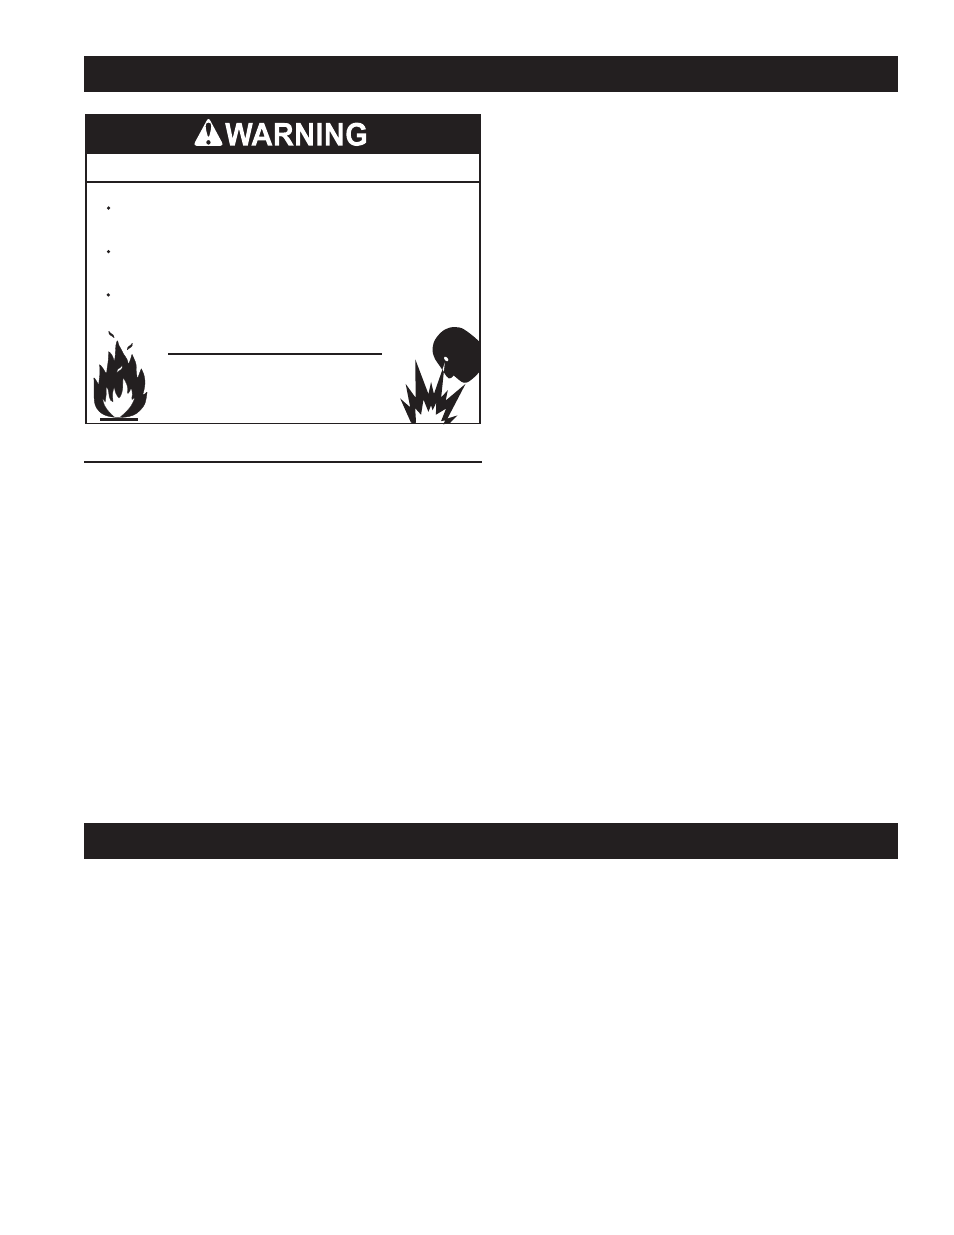
Fire or Explosion Hazard
Read instruction manual before
installing, using or servicing
water heater.
To avoid risk of fire or explosion purge discharge must not
enter into confined areas or spaces where ignition can occur.
The area must be well ventilated and all sources of ignition
must be deactivated or removed.
Gas line purging is required with new piping or systems in
which air has entered.
prior to start up
This product requires a formal Start-up by an authorized service/
start-up provider that has been approved by the manufacturer for
this specific product. Call 1-800-527-1953 to locate the nearest
authorized start-up provider and arrange a factory start-up. Please
provide as much notice as possible, preferably 2 weeks. Please
have the model and serial number ready when you call.
This start-up is required to activate the warranty and ensure safe,
efficient operation.
Warranty on this product is limited and could be void in the event
the unit is not installed per the instructions in this manual and/or not
started up by an authorized factory trained service/start-up provider.
The following test equipment should be on hand: (all test equipment
must be acclimated to ambient temperature before calibration and use.)
1. CO2 indicator (Fyrite or similar) or O2 analyzer
2. CO indicator (monoxor or similar)
3. Stack thermometer
4. Draft Gauge or inclined manometer
5. Two u-tube manometers or calibrated 0-10" and 0-35" w.c.
pressure gauges.
6. Combination volt/ammeter.
start-up and operation
seQuence of operation
The following information will describe the Sequence of Operation
for this water heater.
1. Switch power on to unit.
2. Thermostat calls for heat.
3. On a call for heat, 24V is applied to motor start relay and air
switch. Once the fan motor reaches operating rpm combustion
air pressure is sensed by the air proving switch and closes the
switch contacts energizing the S89 ignition module. The ignition
module performs diagnostic self check on system components.
4. The Ignition Control begins the trial for ignition after 30 seconds
prepurge is completed.
5. The Ignition Control turns on the Spark Igniter and opens the Pilot
Gas Valve.
6. The Ignition Control monitors the Flame Sensor during the ignition
trial period.