Warning – State GS6 75 YRVHTL User Manual
Page 24
Note: The purpose of a temperature-pressure relief valve
is to prevent excessive temperatures and pressures in
the storage tank. The T&P valve is not intended for the
constant relief of thermal expansion. A properly sized
thermal expansion tank must be installed on all closed
systems to control thermal expansion, see “Closed Water
Systems” and “Thermal Expansion” section.
Temperature-Pressure Relief Valve and Pipe
Insulation
The T&P valve installed on this water heater is covered by
insulation to minimize heat loss. The insulation has a hole
on the bottom side to accommodate the valve outlet and
allow for the piping connection. Do not restrict the outlet
opening of the T&P valve.
T&P Relief Valve
T&P Relief Valve
Drain Line
Manual Relief Lever
T&P Relief Valve Insulation
(Outlet opening on underside)
Figure 24.
Locate the temperature and pressure relief valve on the
water heater (also known as a T&P relief valve). See
Figure 24.
1. Locate the slit running the length of the T&P relief
valve insulation.
2. Spread the slit open and fi t the insulation over the T&P
relief valve. See Figure 24. Apply gentle pressure to
the insulation to ensure that it is fully seated on the T&P
Relief Valve. Once seated, secure the insulation with
duct tape, electrical tape, or equivalent. IMPORTANT:
The insulation and tape must not block the discharge
opening or hinder access to the manual relief lever
(Figure 24). Ensure a discharge pipe is installed into
the T&P valve discharge opening per the instructions
in this manual.
3. Locate the hot water (outlet) & cold water (inlet) pipes
to the water heater.
4. Locate the slit running the length of a section of pipe
insulation.
5. Spread the slit open and slip the insulation over the
cold water (inlet) pipe. Apply gentle pressure along
the length of the insulation to ensure that it is fully
seated around the pipe. Also, ensure that the base
of the insulation is fl ush with the water heater. Once
seated, secure the insulation with duct tape, electrical
tape, or equivalent.
6. Repeat steps 5 and 6 for the hot water (outlet) pipe.
7. Add additional sections of pipe insulation as needed.
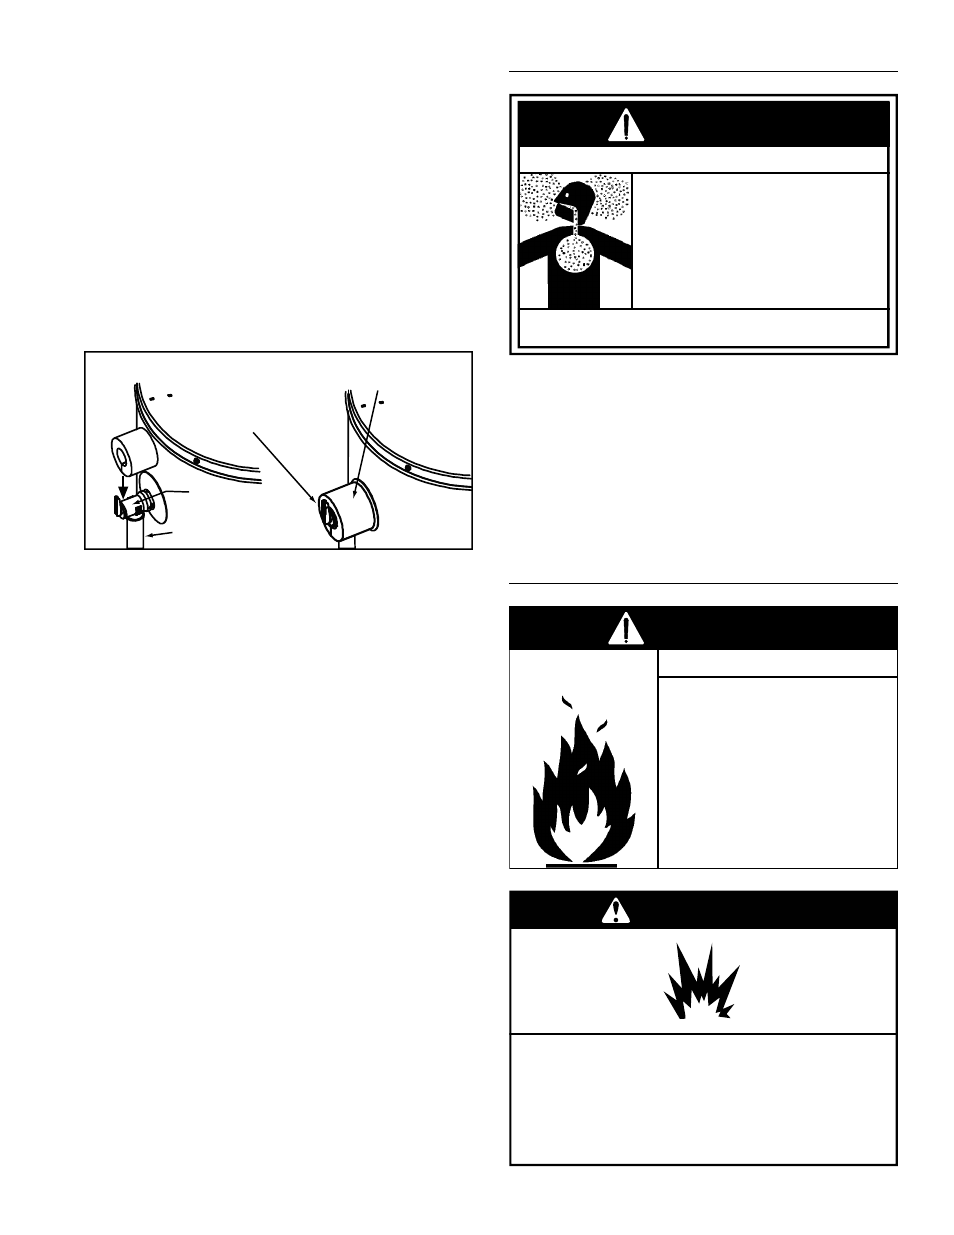
HIGH ALTITUDE INSTALLATION
Breathing carbon monoxide can cause brain damage or death.
Always read and understand instruction manual.
• For operation above 10,100 ft.
(3,079 metres) a high altitude
orifice must be installed.
• Contact a qualified installer or
service agency.
Breathing Hazard - Carbon Monoxide Gas
WARNING
This heater is approved for operation up to 10,100 feet
without alteration.
Failure to replace standard orifi ce with a high altitude
orifi ce when installed above 10,100 feet could result
in improper and ineffi cient operation of the appliance,
producing carbon monoxide gas in excess of safe limits,
which could result in serious injury or death. Contact
your gas supplier for any specifi c changes which may be
required in your area.
GAS PIPING
• Do not use water heater with
any gas other than the gas
shown on the rating plate.
• Excessive pressure to gas
control valve can cause serious
injury or death.
• Turn off gas lines during
installation.
• Contact qualified installer or
service agency.
Fire and Explosion Hazard
WARNING
Explosion Hazard
Have a qualified technician make sure that the L.P.
gas operating pressure does not exceed 13" water
column.
Failure to do so can result in death, explosion, or
fire.
WARNING
24 www.statewaterheaters.com