BMR Suspension KM003 User Manual
Page 2
CONT.
22. Reinstall alternator. Reinstall serpentine belt.
23. If retaining the OE power rack and pinion, mount the rack to the K-member. Tighten both bolts to 80 ft/lbs. If installing a BMR
manual rack conversion kit, refer to those instructions and skip step 24, 26, and 28 below.
24. Attach steering shaft to rack and pinion and tighten bolt. There is an additional 11mm bolt at the top of the steering shaft that
may
also be loosened to allow steering shaft
length adjustment, if necessary.
25. Install both motor mount bolts from the
rear (from the factory they are installed
from the front) and tighten. This may
require using a jack or pry-bar to
lift/lower the motor in order to insert
the motor mount bolts.
26. Reconnect both power steering lines
and tighten.
27. Insert all 4 A-arm mounting bolts. If
vehicle must be driven to an alignment
shop, roughly center all mounting
points in the adjustment slots and
tighten all 4 bolts. If vehicle is at an
alignment shop, leave loose until
installation is complete.
28. Insert tie rods into spindles and tighten both castle
nuts. Insert new cotter pins.
29. Reinstall starter.
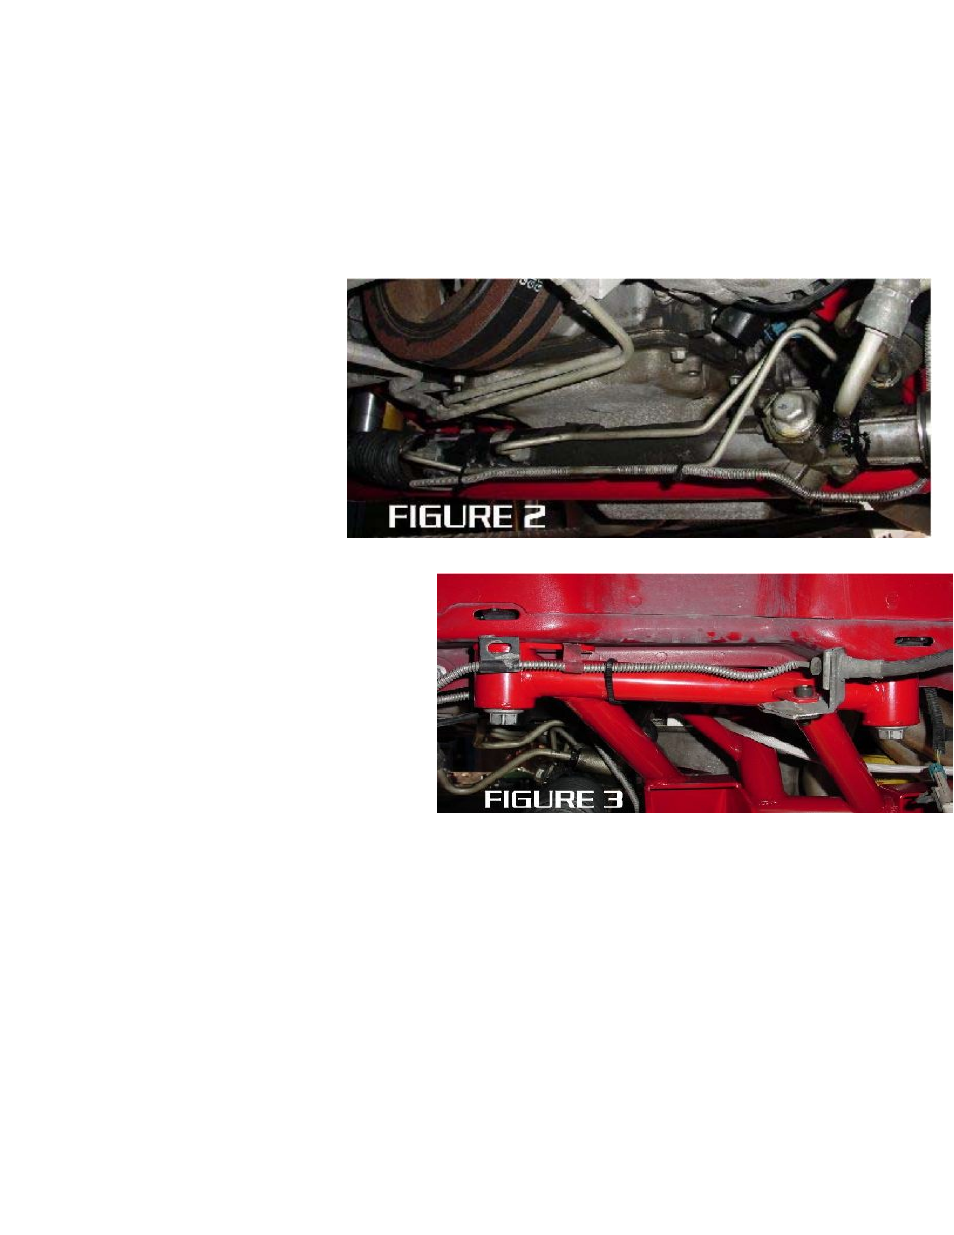
30. Slightly bend the factory brake lines to conform to
the new k-member and zip-tie into place. Brake lines
should look similar to figure 2 when finished.
31. Bend the ends of the brake lines in such a way that
the mounting brackets line up with the brake line
mounting tabs on the k-member. You may also have
to cut the brackets and re-bend them in order to fit
properly. Insert bolts and tighten. Once connected,
brake lines should look similar to figure 3 below.
32. Reinstall sway bar.
33. Lower vehicle and reconnect battery.
34. Take to an alignment shop and align the front suspension.
NOTE: For manual rack versions of this K-member, just disregard the OE rack re-installation steps and refer
to the installation instructions from the appropriate rack conversion kit.
WWW.BMRFABRICATION.COM
This product is an aftermarket accessory and not designed by the vehicles manufacturer for use on this vehicle. As such, buyer
assumes all risk of any damage caused to the vehicle/person during installation/use of this product.
PAGE 2