Pj link notice, Attaching the filter cover to the projector, Attaching the filter cover to the projector 77 – Canon LV-8320 User Manual
Page 77: Appendix
Appendix
77
Appendix
This projector is compliant with PJLink Standard Class 1 of JBMIA (Japan Business Machine and
Information System Industries Association). This projector supports all commands defined by PJLink
Class 1 and is verified conformance with PJLink Standard Class 1.
For PJ Link password, see the user’s manual of “Network Set-up and Operation.”
PJLink is a registered trademark of JBMIA and pending trademark in some countries.
Pj Link Notice
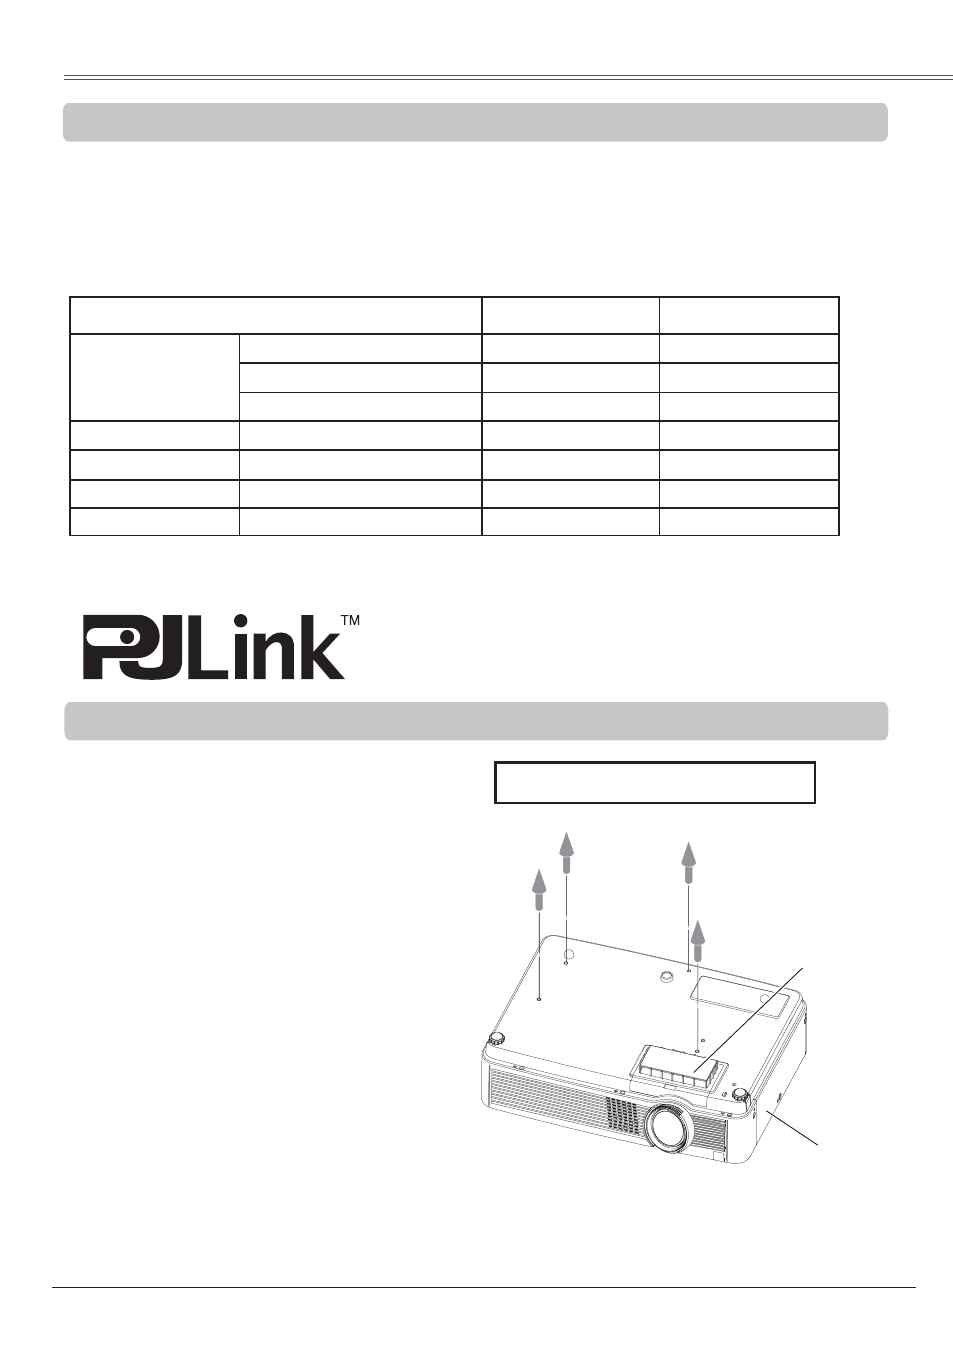
Attaching the Filter Cover to the Projector
The supplied filter cover is designed for
preventing dust accumulation on the filter when
mounting the projector on the ceiling.
To Ceiling Mount
Filter
Cover
(supplied)
Projector
For attaching the filter cover to the projector,
push the cover as the picture shown. (For
removing the filter cover, push the cover to
the opposite direction.)
Turn over the projector.
1
3
Attach the projector to the ceiling mount in
accordance with the instruction manuals
which come with the ceiling mount.
4
2
Before attaching the filter cover to the
projector, removing the filter cover (bottom)
first. See page 63 for removing.
Note:
- Please keep the filter cover (bottom) for later use.
- If the LV-CL16 Projector Attachment is applied, the supplied filter cover is unnecessary.
Projector Input
PJLink Input
Parameter
COMPUTER 1
ANALOG PC
RGB 1
11
COMPONENT
VIDEO 2
22
SCART
RGB 2
12
COMPUTER 2
ANALOG PC
RGB 3
13
HDMI
RGB(Digital)
DIGITAL 3
33
VIDEO
VIDEO
VIDEO 1
21
S-VIDEO
S-VIDEO
VIDEO 5
25