Ch. 3 functions, Fu nc ti on s, Or hold down d and press 5) – Brother PT-9600 User Manual
Page 53: If a barcode was selected in step, This step is skipped
39
Ch. 3 Functions
Fu
nc
ti
on
s
To print labels using the Numbering func-
tion:
1 Hold down
d and press 5. The mes-
sage “SELECT START POINT” appears.
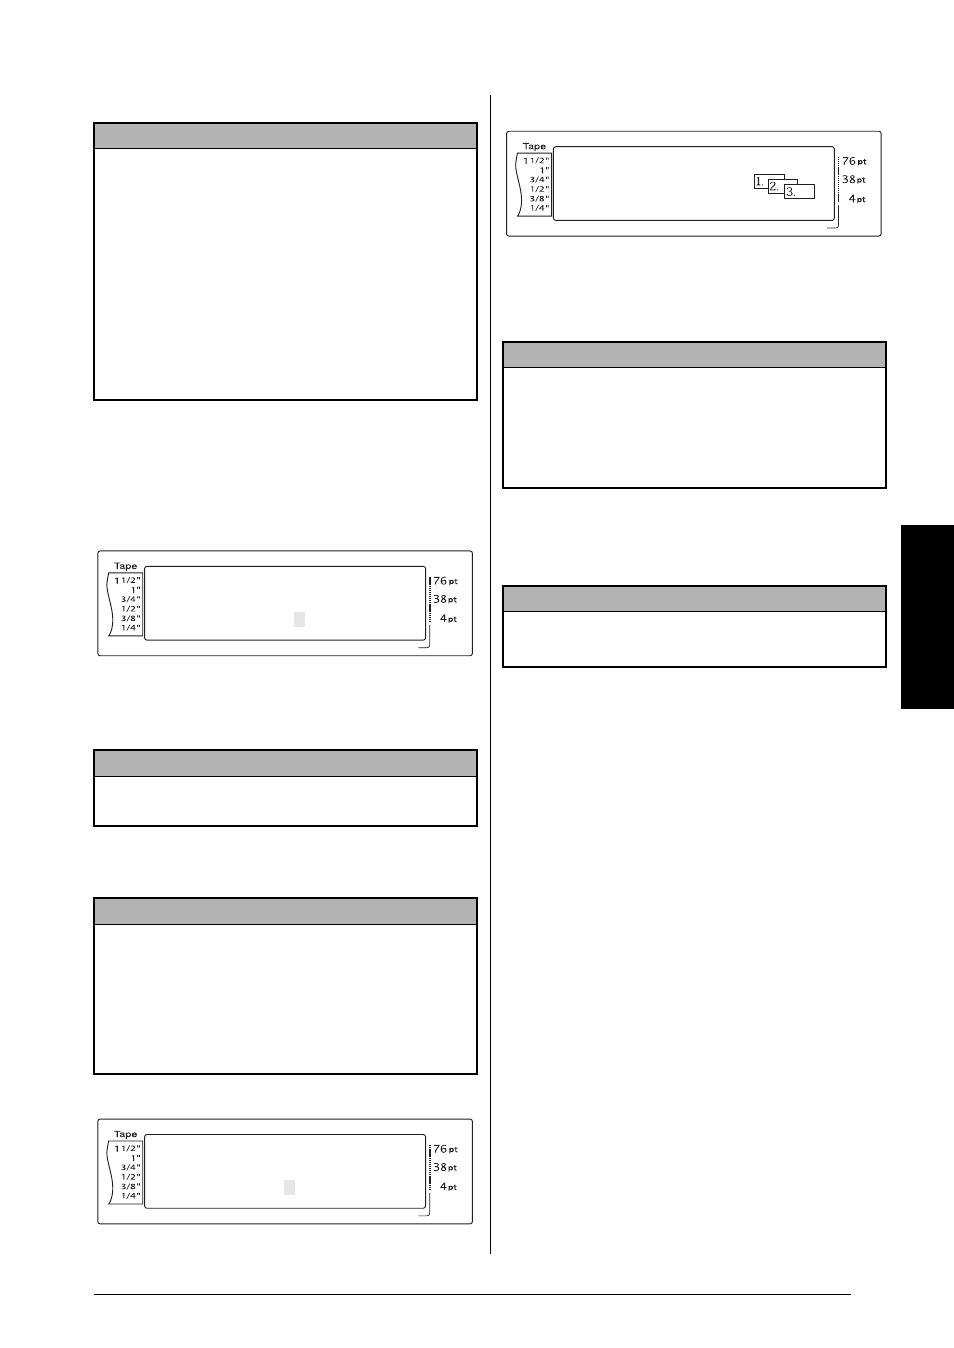
2 Press
m, g, j or k until the first char-
acter that you wish to include in the num-
bering field is flashing.
3 Press
n. The message “SELECT END
POINT” appears.
4 Press
n. The NUMBER screen appears.
5 Press
m or g until the desired setting is
displayed, or use the number keys to type in
the desired number of copies.
6 Press
n to begin printing the set number
of labels. The number of each copy is dis-
played while it is being printed.
NOTE
☞
Only one numbering field can be selected from
any text.
☞
If you include a non-alphanumeric character
such as a symbol in the numbering field, only
the letters and numbers in the numbering field
will be increased when the labels are printed,
or just one label will be printed if the field only
contains a non-alphanumeric character.
☞
When a barcode is selected as the numbering
field, only the numbers in the barcode data are
increased.
NOTE
To quit the Numbering function, press
e
(OR
hold down
d and press 5).
NOTE
☞
If a barcode was selected in step
2
, this step is
skipped.
☞
A numbering field must be located entirely
within one line of text of a single block.
☞
A maximum of five characters can be selected
for the numbering field.
Length
Margin
Font
Width
Size
1
2
3
4
5
6
7
8
9
A
B
C
D
E
F
K
Q
Q
Q
Q
Q
Q
Q
Q
Q
Q
Q
Q
Q
Q
Q
Q
Q
Q
Q
Q
Q
Q
Q
Q
R
R
R
R
R
R
G
H
I
J
AUTO
1.10
HELSINKI
A
AUTO
L
M
NO
SELECT START POINT
1:STUDIO 101
Length
Margin
Font
Width
Size
1
2
3
4
5
6
7
8
9
A
B
C
D
E
F
K
Q
Q
Q
Q
Q
Q
Q
Q
Q
Q
Q
Q
Q
Q
Q
Q
Q
Q
Q
Q
Q
Q
Q
Q
R
R
R
R
R
R
G
H
I
J
AUTO
1.10
HELSINKI
A
AUTO
L
M
NO
SELECT END POINT
1:STUDIO 101
NOTE
☞
To select the default setting (1), press the space
bar.
☞
To change the setting in steps of 5, hold down
either
m or g, and then release the key when
the desired setting is displayed.
NOTE
After printing with the Auto Cut function set to 5, 6,
7 or 8, press
f to feed the tape, then cut it.
Length
Margin
Font
Width
Size
1
2
3
4
5
6
7
8
9
A
B
C
D
E
F
K
Q
Q
Q
Q
Q
Q
Q
Q
Q
Q
Q
Q
Q
Q
Q
Q
Q
Q
Q
Q
Q
Q
Q
Q
R
R
R
R
R
R
G
H
I
J
1.3
1.10
HELSINKI
A
AUTO
NUMBER
1
L
M