Connecting the power supply, Installing the label tray – Brother QL-1060N User Manual
Page 11
9
STEP
1
STEP
2
STEP
3
Fo
r Windows
®
For Macint
osh
®
STEP
4
Connect the power cord to the
QL-1060N and then plug the power
cord into a electrical outlet.
•
Check that the electrical outlet is
220V-240V AC before plugging the
power cord.
•
Unplug the power cord from the
electrical outlet after you have finished
using the QL-1060N.
•
Do not pull the power cord when
unplugging it from the electrical outlet.
The wire in the power cord may
become damaged.
•
Do not connect the QL-1060N to the
computer until directed to do so when
installing the printer driver.
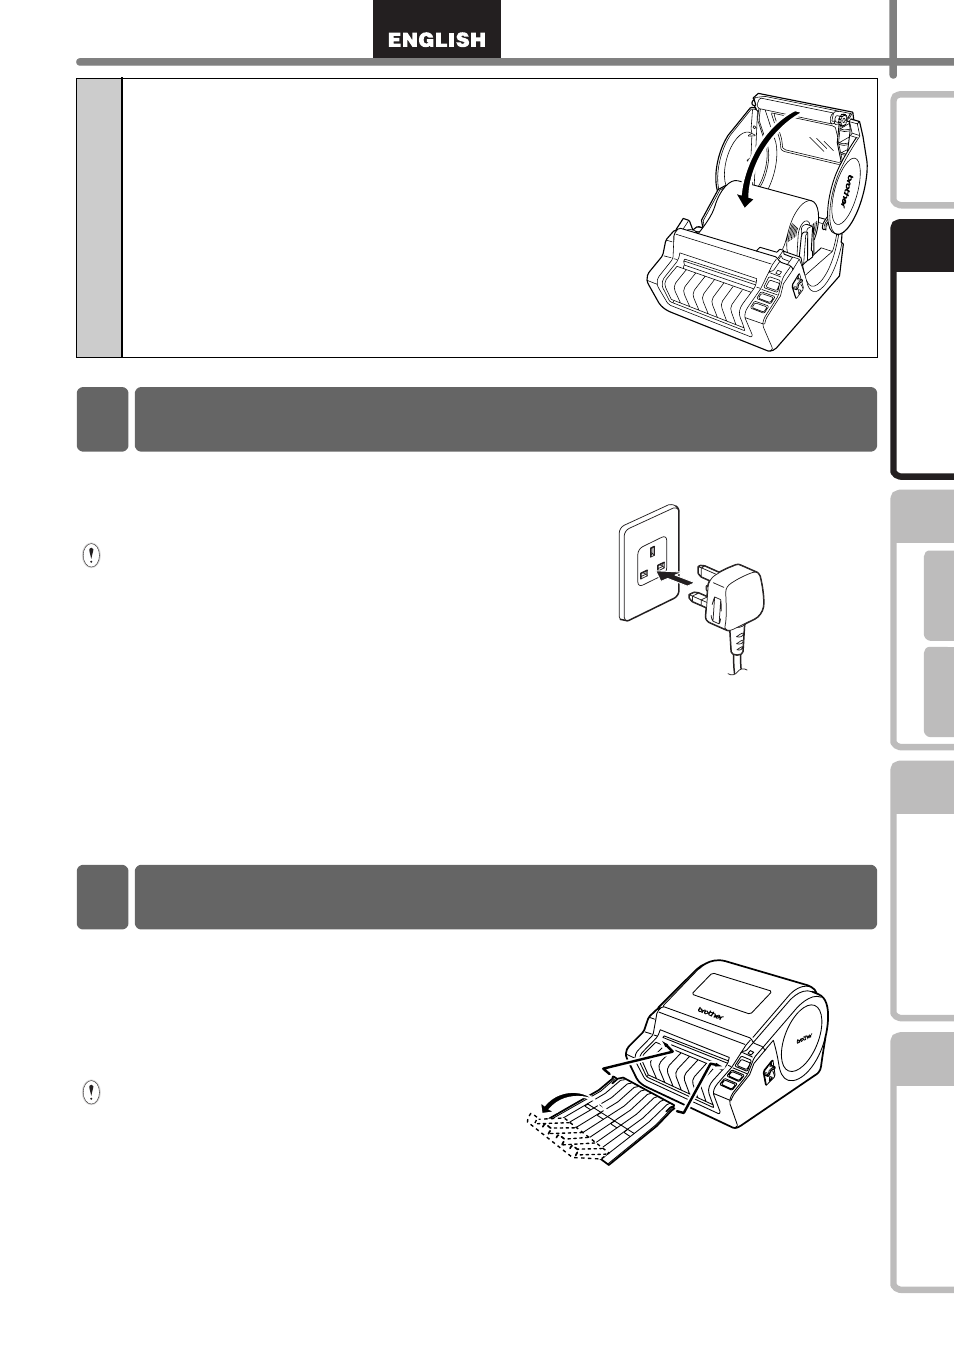
The machine contains a label tray
which can hold up to 10 individual
label sheets.
As shown right, install the label tray
to the front face of the machine.
•
When printing more than 10 labels
continuously using the auto cut
function, remove the paper guide to
prevent a paper jam.
4
Close the DK Roll compartment cover until it
clicks on both sides.
4 Connecting the Power Supply
5 Installing the Label Tray