Changing the state of a single alarm, Viewing & printing alarm details, Preview tab – Milestone Central 3.7 User Manual
Page 22
Milestone XProtect Central 3.7; User’s Manual
Tip: The window will inform you how many alarms you have selected.
4.
Specify a new state for the selected alarms.
5.
When ready, click OK.
Changing the State of a Single Alarm
To change the state of a single alarm, do the following:
1.
Open the Alarm Detail window with details about the required alarm. There are three ways
of doing this:
•
From the Alarm Overview section: Make sure the required alarm is displayed in the
list of alarms. Then click the required alarm’s Edit icon .
•
From the Information section’s Preview tab (see page 22): Click the required alarm
preview’s Edit icon .
•
From the Map section (see page 33): (Only possible if the required alarm is the
latest received alarm from a server, camera or other device) Right-click the
required server/camera/other device on a map, then select Open Latest Alarm.
2.
In the Alarm Detail window, click the New Entry button. This will give you access to
additional fields in the window.
3.
In the New State field, select the required state for the alarm.
Tip: If required, you can also add information to the alarm history, specify a new owner,
and/or specify a new priority.
4.
When ready, click the Save button.
Viewing & Printing Alarm Details
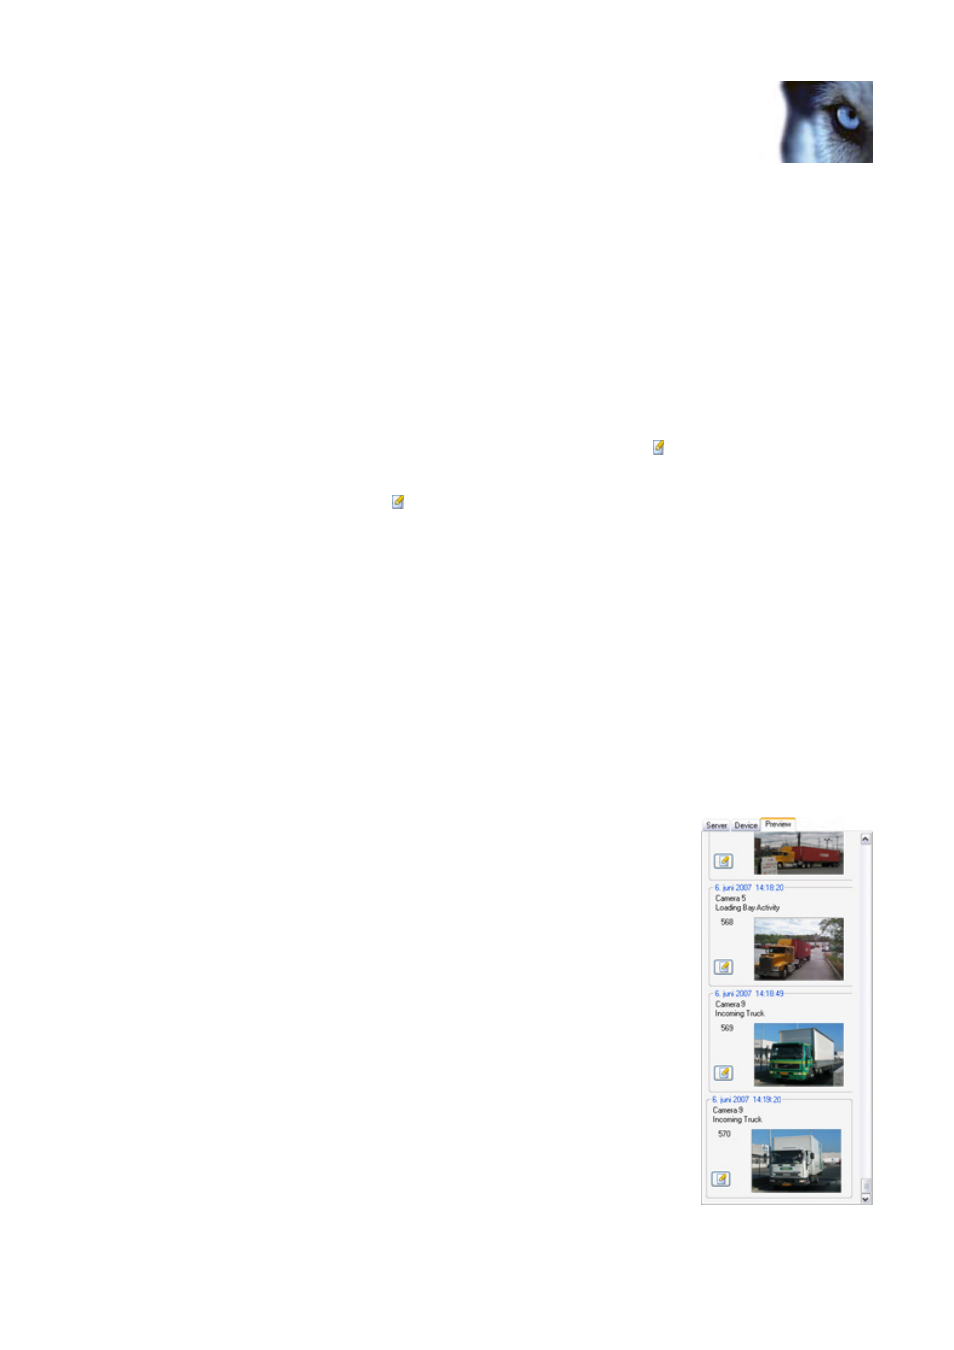
Preview Tab
The Information section’s Preview tab provides single image previews of
the last 25 received alarms.
Note: If you cannot see the Preview tab in your Client, read User Rights
Determine Access to Client’s Features on page 13.
Each alarm preview provides information about:
•
The date and time of the alarm
•
The device on which the alarm was triggered
•
The unique ID number of the alarm
When the Preview tab displays several alarm previews, the latest alarm
preview is always displayed at the bottom of the tab.
www.milestonesys.com Page
22
Alarms