Sp1 6.20 l – Thermo Fisher Scientific Alpha DO 1000 User Manual
Page 27
19
7.5.1
Entering the Set point 1 (or Set point 2) sub-function
1. Enter Advanced Set-up mode. Push the ENTER key
and (use
▲ or ▼ keys to) scroll to Advanced Set-up
security code “22”. Push the ENTER key again.
2. Press
the
▲ or ▼ keys to scroll until the upper
display shows SP1 (or SP2).
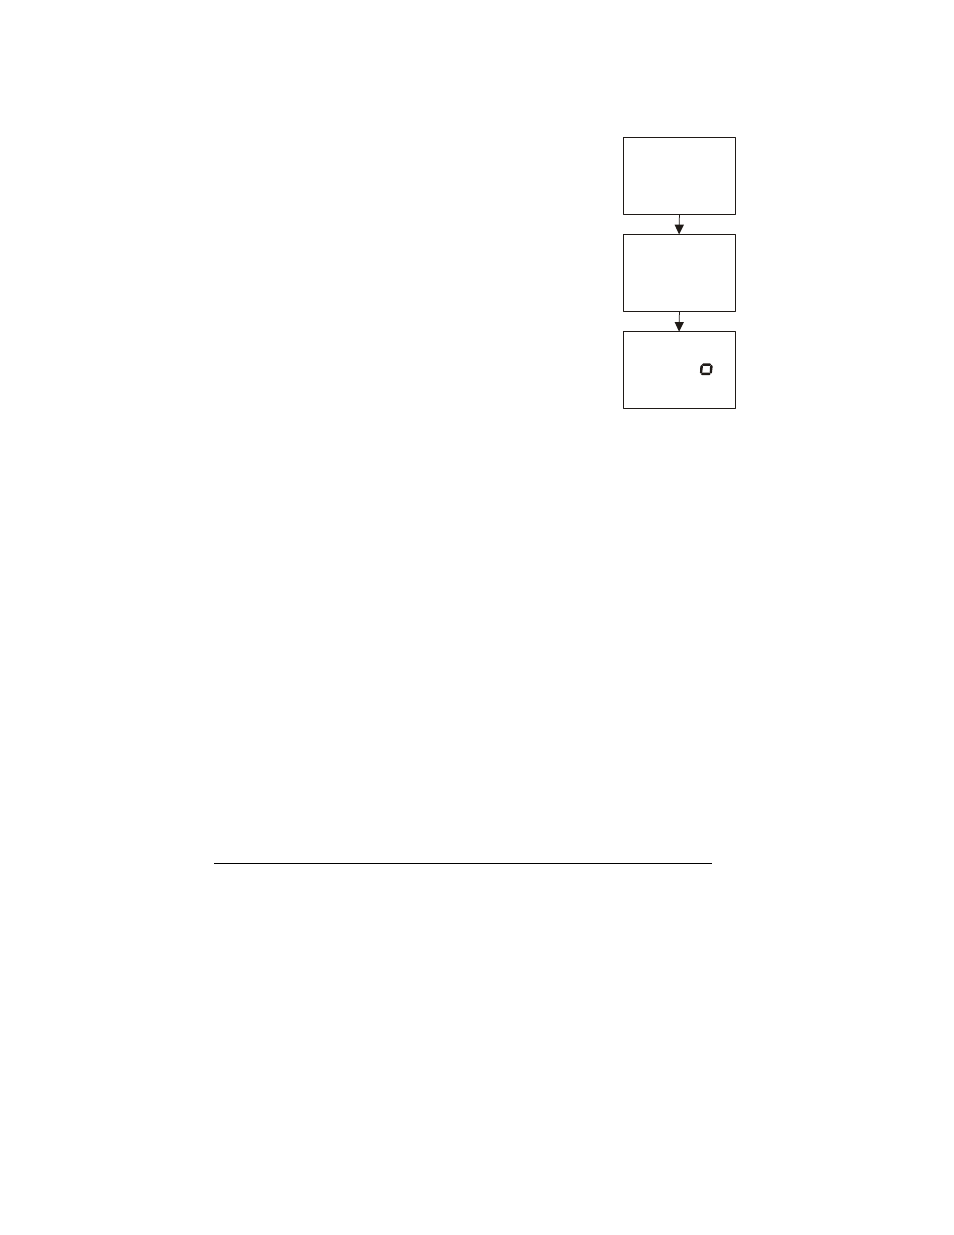
7.5.2
Selecting the Set Point Values
This lets you choose the value that will cause your controller to
activate (Default: SP1 = 6.20mg/l; SP2 = 4.00mg/l).
1. Follow directions in 7.5.1 to enter Control Relay mode.
If you are in this mode, skip to step 2.
2. Press the ENTER key. The upper display shows the
current set point values and the lower display shows
SP1 (SP2).
3. Press
the
▲ or ▼ keys to select your value for Set
point 1 (Set point 2). Your controller will activate at the value you select.
4. Press the ENTER key to confirm your selection.
5. Proceed to 7.5.3, or return to Measurement mode by pressing the
▲ or ▼
keys simultaneously (escape).
7.5.3
Choosing High or Low Set-points
Select “low” activate controller when the dissolved oxygen value undershoots the
set point; select “high” activate controller when the value overshoots the set point.
Using both SP1 and SP2, you can select Lo/Lo, Lo/Hi, Hi/Lo, or Hi/Hi set points
(Default: SP1 = Lo; SP2 = Lo).
1. Follow directions in 7.5.1 to enter Control Relay mode. If you are in this
mode, skip to step 2.
2. Press the ENTER key until the upper display shows Lo or Hi and the lower
display shows SP1 (SP2).
3. Press
the
▲ or ▼ keys to select low (lo) or high (hi) for SP1 (SP2).
4. Press the ENTER key to confirm your selection.
5. Proceed to 7.5.4, or return Measurement mode by pressing the
▲ or ▼
keys simultaneously (escape).
Sp1
Sp1
mg/l
HOLD
HOLD
HOLD
SETUP
SETUP
SETUP
Sp1
6.20
L