5 view alarm history, 6 view tag information, View alarm history – Detcon 6400-N1P User Manual
Page 21: View tag information, Figure 23 view alarm history
1600/6400-N1P
1600/6400-N1P- Instruction Manual
Rev. 1.1
Page 17 of 38
and the Fault condition. These are presented as Press Keys that can be set from one to the “total # relays
activated”. They must be pressed to increment up (there is no down scrolling, once the top number is reached
the count will reset to the first relay). Below each Relay number block is the present set-up for the relay state
as it pertains to latching/unlatching, energized/non-energized, and silenceable/non-silenceable. These are
presented as LES blocks. LES blocks can only be adjusted as described in section 5.3.2
NOTE: Relay output assignments can be set as discrete or common and a relay can be used as many
times as desired. However, relay outputs can only be set up one way (relative to latching, energized,
silence able) and will be applied in that way for every function they are assigned.
The next set-up involves the alarm level concentrations for ALM1 ALM2 and ALM3. They are set using the
up and down arrow keys, directly below the corresponding alarm, to scroll to the target value. Note the lowest
alarm level set point is limited to 5% of the full-scale range for that channel.
The final part of the alarm set-up involves the selection of each gas alarm level as ascending or descending.
This is activated by depressing the Press Key below each alarm. This will toggle between Ascend and
Descend. Press the ‘ENTER’ key after the completed set-up selections for each gas channel are made.
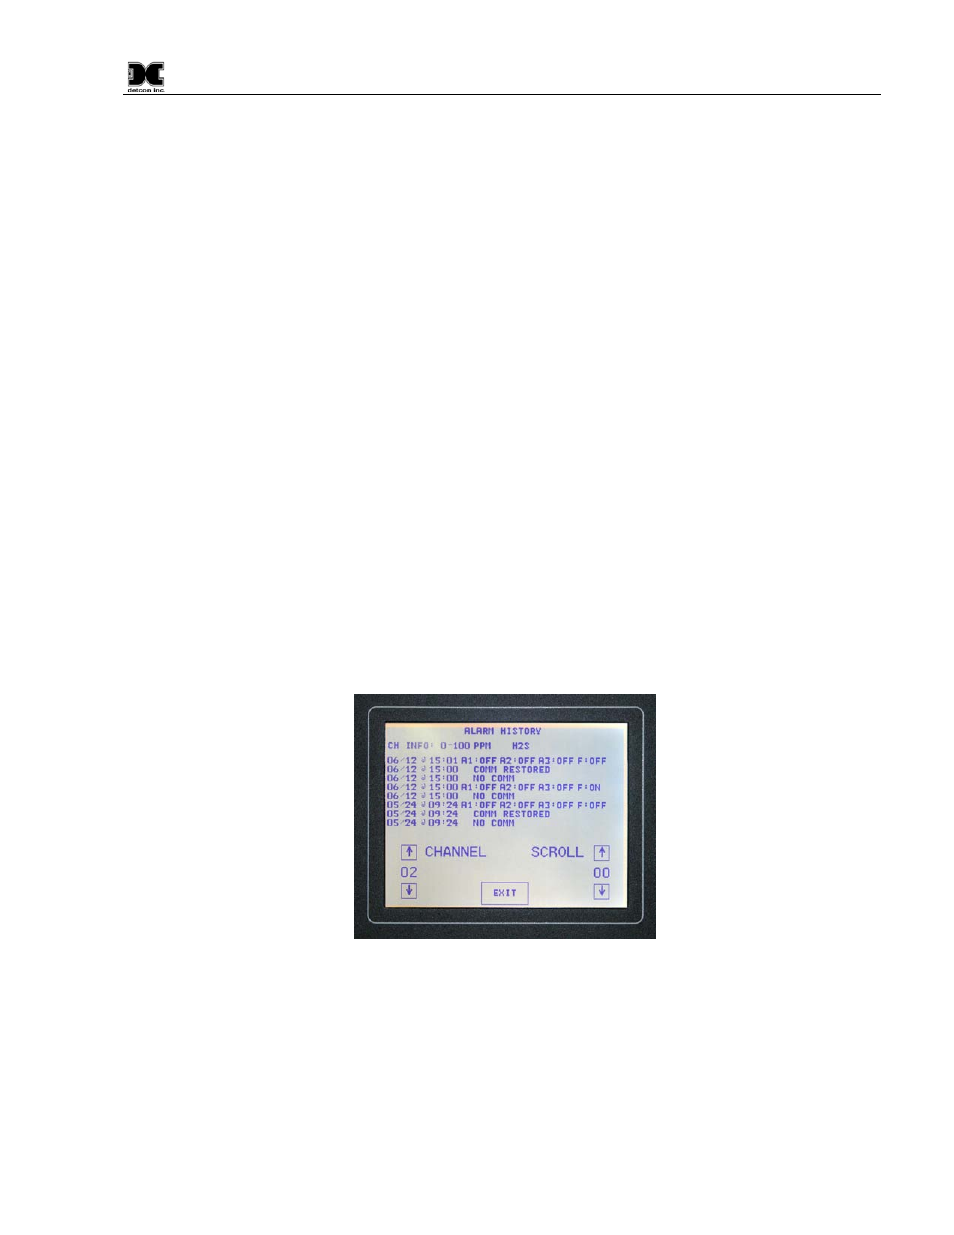
5.3.5 View Alarm History
View Alarm History shows the logged incident history of each gas channel. Select the gas channel of interest
using the up and down arrows for Channel. The history log will show all recorded events including alarms,
faults and maintenance records. These are displayed from most recent to last. They are displayed in blocks of
eight entries. Entries will show the date/time and the specific condition of when the incident was started. It
will then show the date, time, and specific condition of when the incident ended. The readings are recorded in
chronological order. By inspection the user can determine the start time, finish time, and duration of every
incident. To scroll further back in time, use the up arrow adjacent to Scroll. The unit will scroll in blocks of
eight entries. The unit has the capability to record up to 1000 events. When the log is full, the oldest events
will be discarded.
Figure 23 View Alarm History
5.3.6 View Tag Information
The View Tag Information screen displays the current tag names assigned to each active gas channel. To add
or change a Tag Name, press on the line. An alphanumeric screen showing 10 characters will appear. Use the
up and down scrolling arrows to set the tag name. When each entry is complete, press the ‘ENTER’ key to
save the entry.