Paasche Airbrush LAC-PL User Manual
Lac#3, Abrasive guns
INSTRUCTIONS AND PARTS LIST LAC-8/31/21011
Supersedes Instructions & Parts list LAC-6/16/2010
WARNING: Read instructions for proper care in
handling and operation. Always wear a Respirator and
Goggles when using the LAC#3 Abrasive Gun. Use in
Well Ventilated Area to remove dust. Always read and
follow, Cautions and Warnings on materials being
sprayed. M a x i m u m A i r P r e s s u r e 1 0 0 P. S . I .
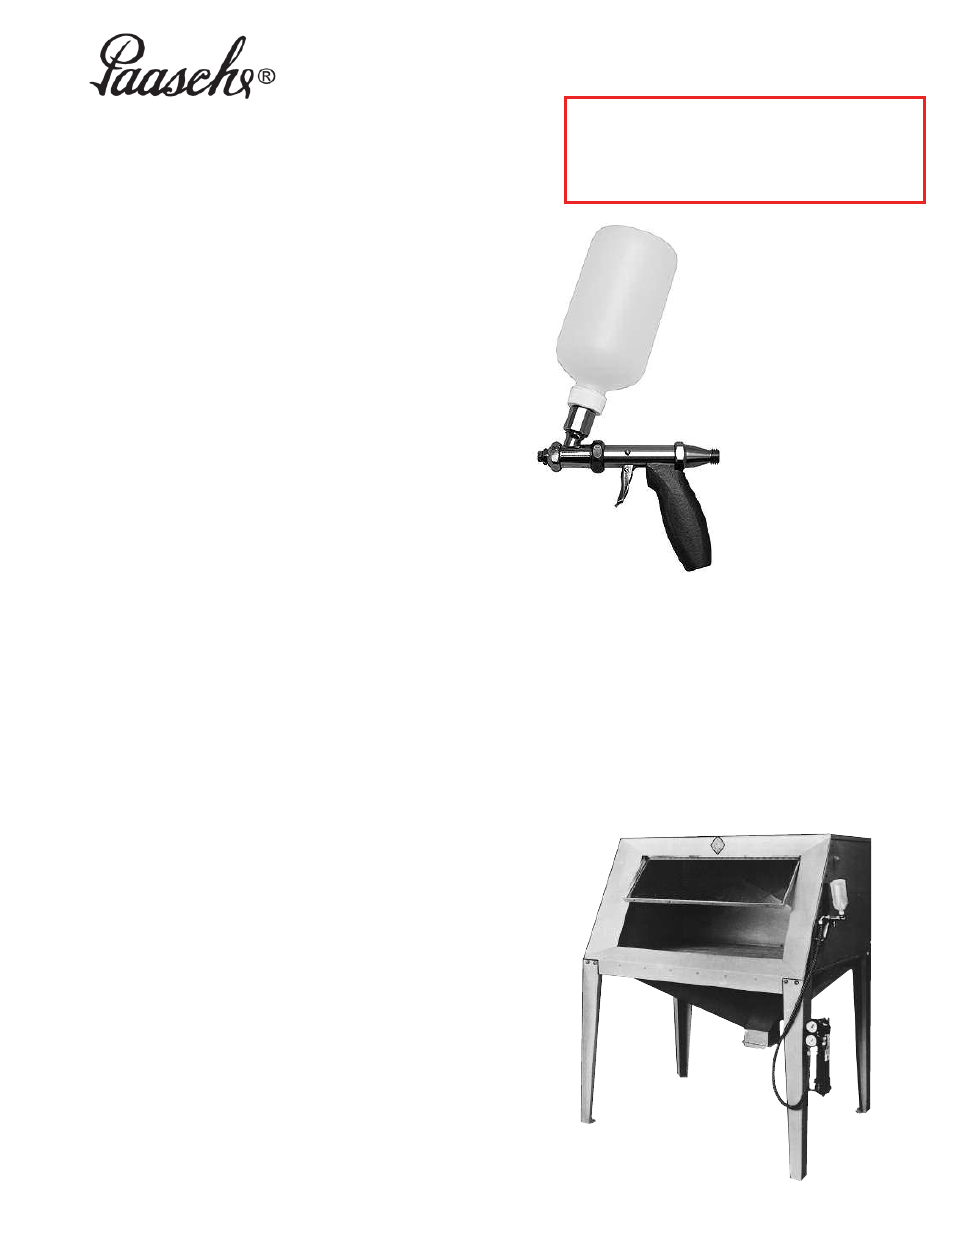
LAC#3
ABRASIVE GUNS
OPERATING INSTRUCTIONS & REPLACEMENT PARTS
LAC#3 is suitable
for heavier spray
r e q u i r e m e n t s .
LAC#3 Abrasive
Gun has a steel tip
with Carbide insert
for longer life.
APPLICATIONS:
The LA Abrasive Gun has almost unlimited uses as an etching
tool for directory panels, directional signs and name plates; for
applying designs to plate glass and glassware, colored and
transparent plastics, stone, silver and other metals.
The application of such design on glass and metal, which is now
being used for wall surfaces, opens a new field for the decorator
equipped with an LA Abrasive Gun.
Stencils for production purposes may be rubber or metal. For a
single stenciling operation, stencil paper fastened with rubber
cement will prove adequate. Paint and art supply stores carry
necessary materials.
INSTRUCTIONS:
1. Abrasive guns can direct a limited amount of abrasive or a
strong blast when treating larger surfaces.
a. Trigger controls volume of air.
b. The nozzle can be adjusted and locked for material
control.
2. To operate: Fill polyethylene bottle 3/4 full of selected
abrasive. Use Aluminum Oxide, Pumice, Starch or other
abrasive that will pass through 30 to 100 mesh screen,
depending on etching speed and surface effect desired.
3. To adjust abrasive feed turn LAC-3 Aircap clockwise for
less feed, counter clockwise for more feed. Lock position
of aircap by tightening D-60 Locknut.
4. Air pressure of 30 to 100 lbs. is used depending upon
speed, texture and result desired.
5. With stencil design or mask properly placed on glass,
metal or other material to be treated, point LA Abrasive
Gun at the surface 2" to 6" from and directly above the
stencil. Pull trigger and spread abrasive evenly over the
part to be etched or blasted.
a. For a sharper line move gun closer to working surface.
b. Greater depth can also be obtained by continued
coverage of the part to be blasted, or by using sharper
abrasive.
6. For faster deeper cutting, or greater production, increase
air pressure and abrasive feed.
AIR CONNECTIONS:
Air connections are 1/4" Standard Pipe Thread.
1. Attach air hose to outlet of compressor and blow out airline
to remove all foreign particles before connecting to
Abrasive Gun.
Paasche Airbrush Company
4311 North Normandy Avenue
Chicago, IL 60634-1395
Phone: 773-867-9191 • Fax: 773-867-9198
Website: paascheairbrush.com
E-Mail: [email protected]
Printed in the U.S.A.
SBB-4 SANDBLAST BOOTH-
(31" Shelf Height Above Floor,
3'6" x 2' Inside Dimensions) Abrasive material is confined within
the booth and falls through an expanded metal shelf to the bottom
where it is recovered. The tilting glass eye shield permits full view
of work area. The booth is constructed of 18 gauge galvanized
sheet steel, and can accommodate top or back exhaust. It is
available in standard sizes or can be manufactured to fit your
special requirements. SBB- Booth is furnished without an
exhaust system allowing the purchaser to furnish their own “Dust
Collection System” if desired. SBBV- Booth is furnished with a
Ventilating Unit to pull air and abrasive into the booth. Regulator
Moisture Condenser Unit and Abrasive Gun are optional
equipment, please specify your requirements.