Handset settings, Elect. 3. press, Elect to move on to set the time. 6. press – AT&T CL83201 User Manual
Page 19
13
Telephone settings
Handset settings
�et date/time
The answering system announces the day and time of each message prior
to playing it. Before using the answering system, set the date and time as
follows. If you subscribe to caller ID service, the day, month and time are
set automatically with each incoming call. The year must be set so that the
day of the week can be calculated from the caller ID information. You can
turn off the date and time settings of the caller ID service and set the date
and time manually (see
Use caller ID to automatically set date and time
on page 18).
After a power failure or handset registration, the system prompts you to set
the date and time.
To set the date and time manually:
1. When the handset is in idle mode, press
MENU/
�ELECT
to
enter the main menu.
2. Press
q
CID
or
p
DIR
to scroll to
>�et date/time and then
press
MENU
/�ELECT.
3. Press
q
CID
or
p
DIR
to select the month, then press
MENU
/�ELECT, or enter the number using the dialing keys.
4. Press
q
CID
or
p
DIR
to select the day, then press
MENU
/�ELECT, or enter the number using the dialing keys.
5. Press
q
CID
or
p
DIR
to select the year, then press
MENU
/�ELECT, or enter the number using the dialing keys,
then press
MENU
/�ELECT to move on to set the time.
6. Press
q
CID
or
p
DIR
to select the hour, then press
MENU
/�ELECT, or enter the number using the dialing keys.
7. Press
q
CID
or
p
DIR
to select the minute, then press
MENU
/�ELECT, or enter the number using the dialing keys.
8. Press
q
CID
or
p
DIR
to highlight
AM or �M, or press 2 for AM or
7 for �M. Then press
MENU
/�ELECT to confirm. There is a confirmation
tone and the screen returns to the previous menu.
NOTE: If the clock is not set when a message is recorded, the system announces, “Time and
day not set,” before it plays the message.
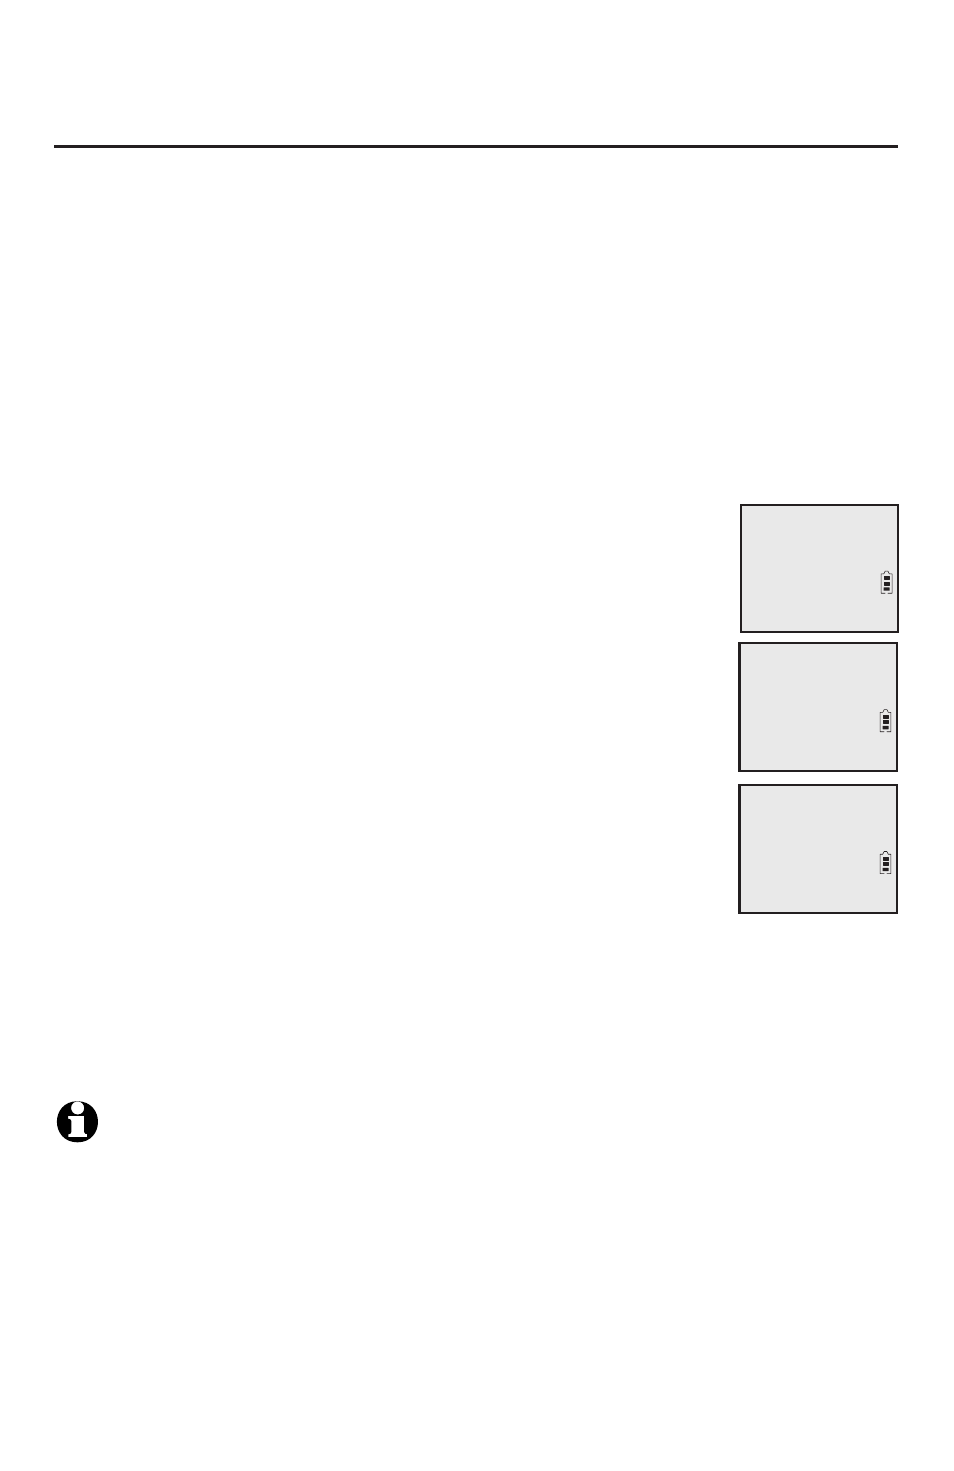
SET DATE
MM/DD/YY
p
q
SET TIME
HH:MM --
p
q
Ringers
>Set date/time
p
q