0 initial power up – LEESON Micro Series Compact Inverters User Manual
Page 29
12.0 INITIAL POWER UP
Hazard of electrical shock. Disconnect incoming power and wait three minutes before servicing
the drive . Capacitors retain charge after power is removed .
Before attempting to operate the drive, motor, and driven equipment be sure all procedures pertaining to
installation and wiring have been properly followed .
Severe damage to the drive can result if it is operated after a long period of storage or inactivity
without reforming the DC bus capacitors!
If input power has not been applied to the drive for a period of time exceeding 6 months (due to storage,
etc), the electrolytic DC bus capacitors within the drive can change internally, resulting in excessive leakage
current . This can result in premature failure of the capacitors if the drive is operated after such a long
period of inactivity or storage .
In order to reform the capacitors and prepare the drive for operation after a long period of inactivity, apply
input power to the drive for 2 hours prior to actually operating the drive/motor system .
Disconnect the driven load from the motor. Verify that the drive input terminals (L1, L2, and L3) are wired
to the proper input voltage per the nameplate rating of the drive .
DO NOT connect incoming AC power to output terminals T1, T2, and T3! Do not cycle input
power to the drive more than once every two minutes . Damage to the drive will result .
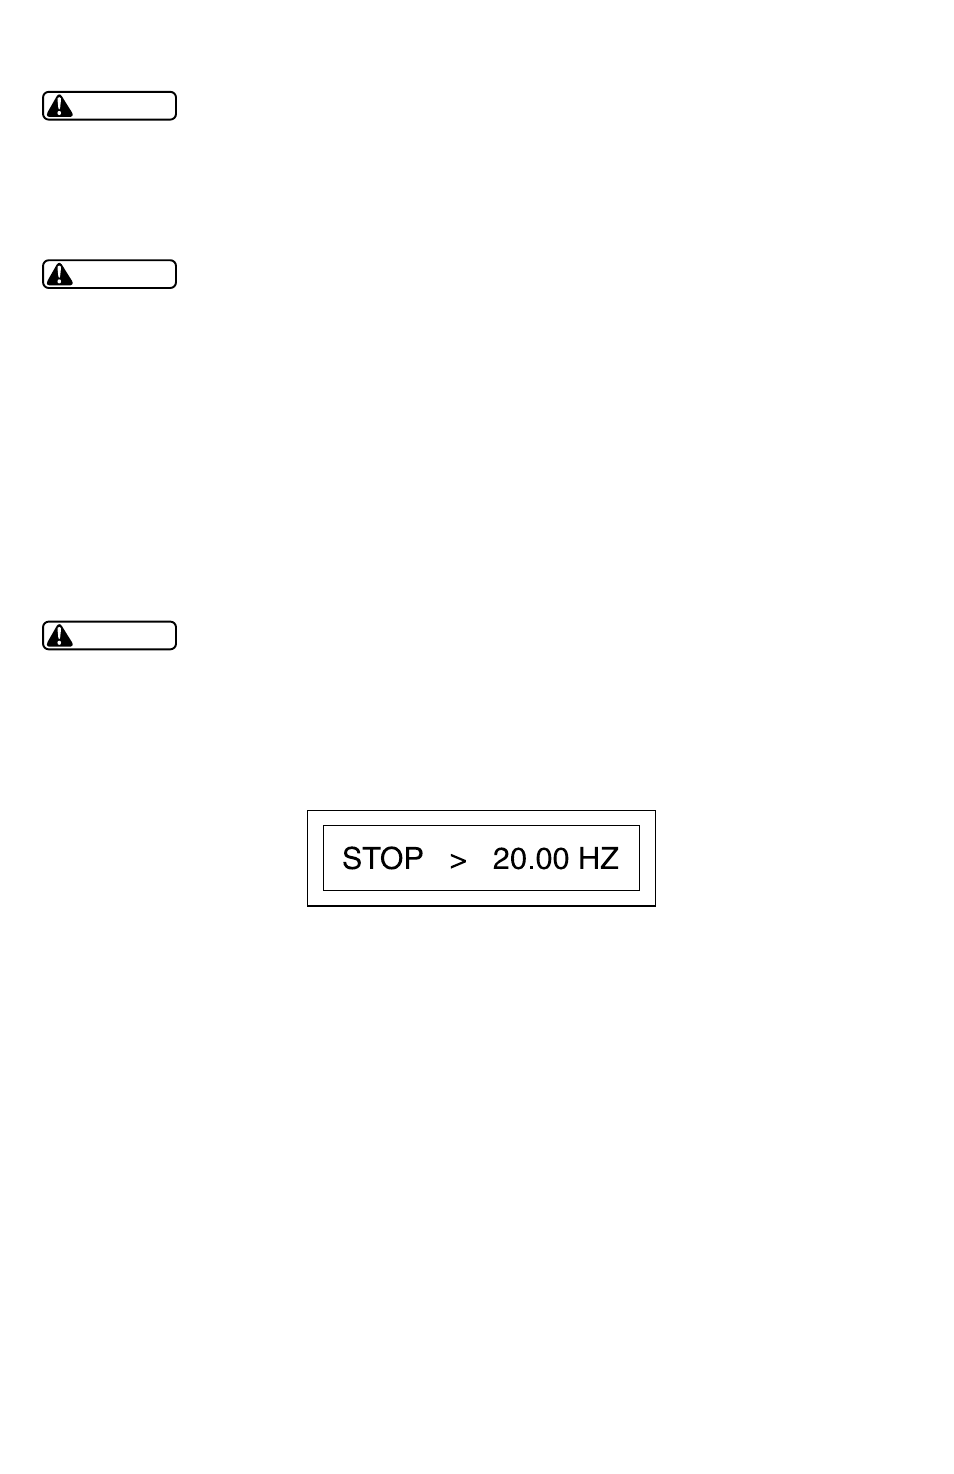
Energize the incoming power line. The LCD display should light and flash “TESTING” and then show
the voltage and horsepower rating of the drive. The display should then show “STOP >20.00 HZ” which
indicates that the drive is stopped, forward direction is selected, and the speed set point is 20.00 Hz:
If the display does not appear, remove the incoming power, wait three minutes for the bus capacitors to
discharge, and verify correct installation and wiring . If the wiring is correct, re-apply incoming power and
note the display for drive status . If the display still does not appear call the factory for assistance . If the drive
powers up correctly, follow the procedure given below to check the motor rotation:
1. Use the “Down” arrow key to decrease the speed set point to the minimum value allowed (.50 Hz if
Parameter 10 - MIN FRQ has not been changed).
2. Press the “START” key. The drive should indicate RUN, but if the speed set point is .50 Hz, the
motor may not rotate. Press the “UP” arrow key to increase the speed set point until the motor starts
to rotate .
27
WARNING
WARNING
WARNING