Surface doweling – General Tools and Instruments 841 User Manual
Page 3
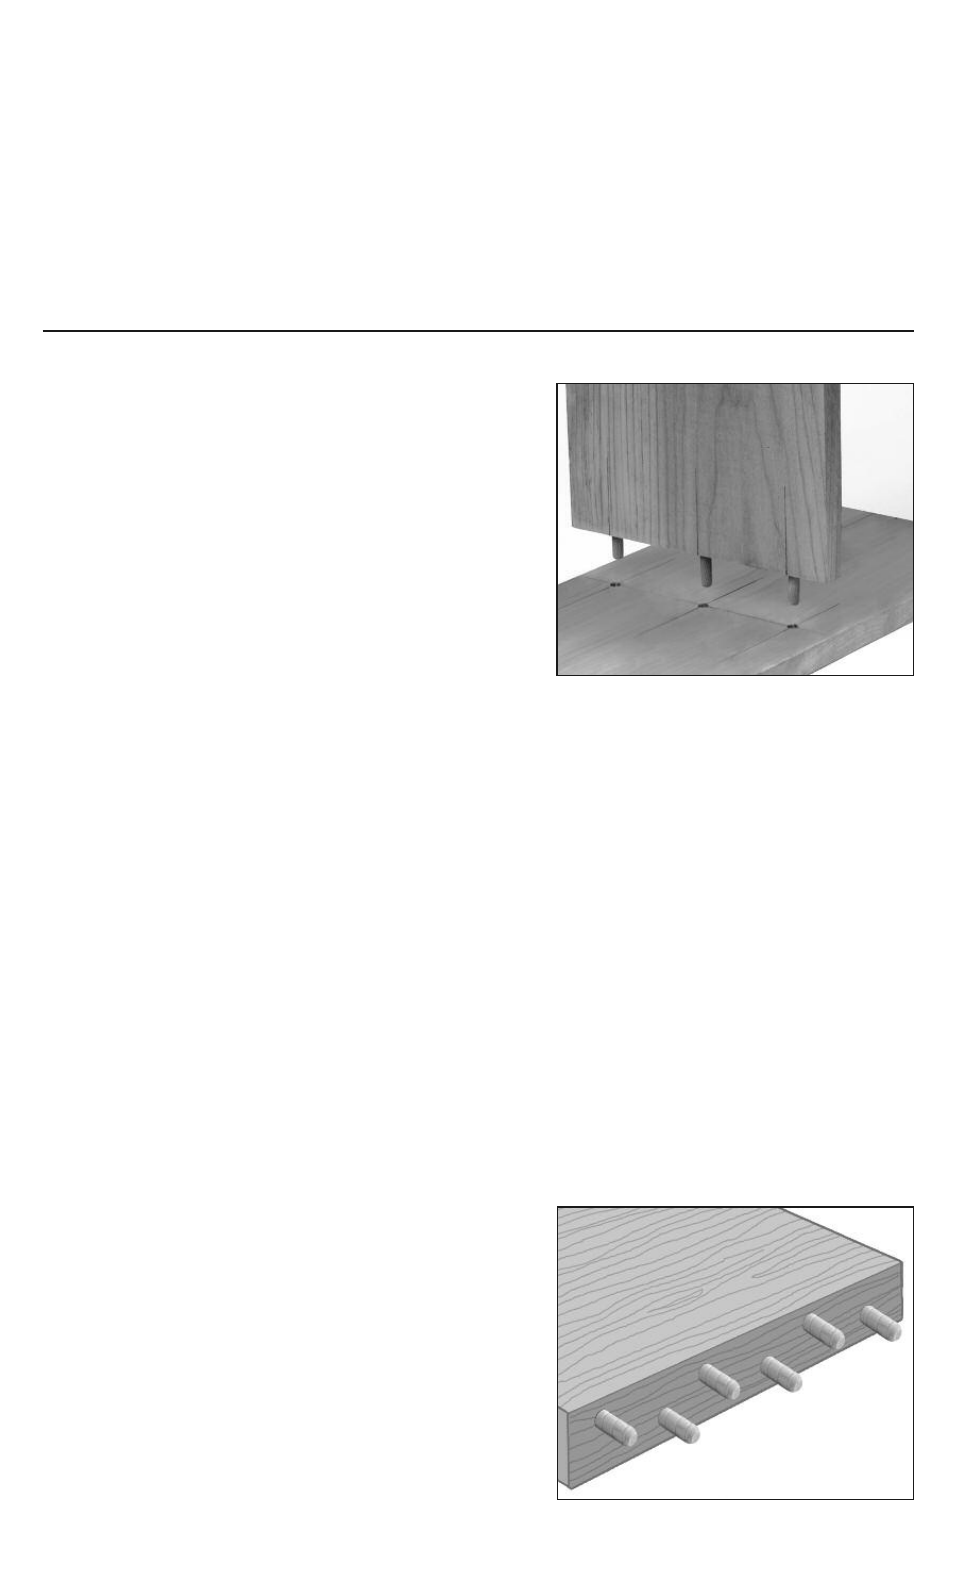
For the surface doweled part:
1. Move the drill bushing to the corresponding location on the top of the E•Z Pro Dowel Jig
(Fig. D).
2. Secure your work piece accordingly; clamp the jig with the appropriate “V” pointer on the
location line (Fig. J).
3. Set your corresponding collar depth (1-1/2") and drill holes for each dowel position. Insert
dowels and assemble dry to check for fit.
Apply glue to dowel pins or drilled holes for a permanent joint. Once assembled, wipe away
excess glue.
SURFACE DOWELING:
NOTE: Surface doweling is the same as right angle
(corner) doweling, except you are not on
the edge.
SETTING THE COLLAR AND DRILL DEPTH
FOR SURFACE DOWELING
The collar settings and the drill depths will be the same
as for right angle doweling.
PREPARING YOUR WORK PIECE
1. In the case of bookcases or cabinets, prepare the
end of the shelf or partition as in EDGE DOWELING
( Fig’s A & B). Attach jig as in edge drilling (Fig. I) and drill holes.
2. On your vertical riser, mark a horizontal line across the full surface where the dowels will
be located (Fig. H). If not already marked, you can transfer the center locations from the
prepared edge to that horizontal line (Fig. K). Extend your marks at least 3-1/2" down the
face to make it visible for alignment to the bottom “V” pointer when the jig is positioned.
3. Mark the jig locating line 15/16" above and parallel to your doweling line (Fig. K). Align
your edge board on this line on the surface of your work piece and clamp both pieces
(Fig. L).
4. Place the Doweling Jig on its back with the thumbscrew toward you, and screw the
desired size drill bushing into the right hand, inside hole (Fig. F). (Note: this is the only
bushing hole to be used when surface doweling.)
5. With the jig still on its back, slide its top edge to the clamped edge piece (Fig. F), or to the
marked line (Fig. K). Align the registration points on both ends of the jig with the extended
location lines, hold or clamp the jig firmly and drill your dowel hole.
Re-align the E•Z Pro jig and drill holes for each dowel position. Insert dowels; Assemble dry to
check for fit.
Apply glue to dowel pins or drilled holes for a permanent joint. Once assembled, wipe away
excess glue.
NOTE: When doweling stock that is greater than
1 inch thick, registration may be alternated
between the top and the bottom surfaces to
achieve balanced doweling (Fig. 1).
3
1