Direct Lift PP9 Plus User Manual
Page 8
8
lift to adjust for leveling. Each post has this adjustment. Adjust the proper columns to level the
lift. Place level on each runway and crossbeam and check for proper levelness.
NOTE: YOU MAY HAVE TO LOOSEN THE NUT UNDER TOP PLATE TO MAKE ADJUSTMENTS.
20.
After leveling is complete, tighten the Nut on the Lock Rod underneath the Top Cap on each post. This
will lock the Lock Ladder in position.
21.
Raise lift off all locks until cables are supporting the lift. Adjust the Cable Nylon Lock Nut (Item # 72) lo
cated on the top of each post until lift is level on crossbeams and runways. This will ensure the lift travels
up and down level.
NOTE: YOU MAY NEED TO USE LOCKING PLIERS TO HOLD THE CABLE FROM TURNING WHEN ADJUSTING THE
NYLON NUT. MAKE SURE THAT THREADS ENGAGE THROUGH NYLON ON EACH NYLON NUT.
22.
Reinstall Crossbeam Covers (Items # 24, 25 & 26) Figure # 7 and the bottom Runway Cover (Item # 97)
Figure # 4 onto the underside of the Mainside Runway.
23.
Install front Wheel Stops (Item # 27) and Foot Plate (Item # 23) with provided hardware as shown in Figure
# 7.
24.
Install the Drive On Ramps (Item # 20) with Connecting Frame (Item # 21) as shown if Figure # 6.
NOTE:
BE SURE TO LUBRICATE ALL CABLE SHEAVES, BEARINGS, AND SHAFTS WITH A GREASE GUN PRIOR TO OPER-
ATING THE LIFT.
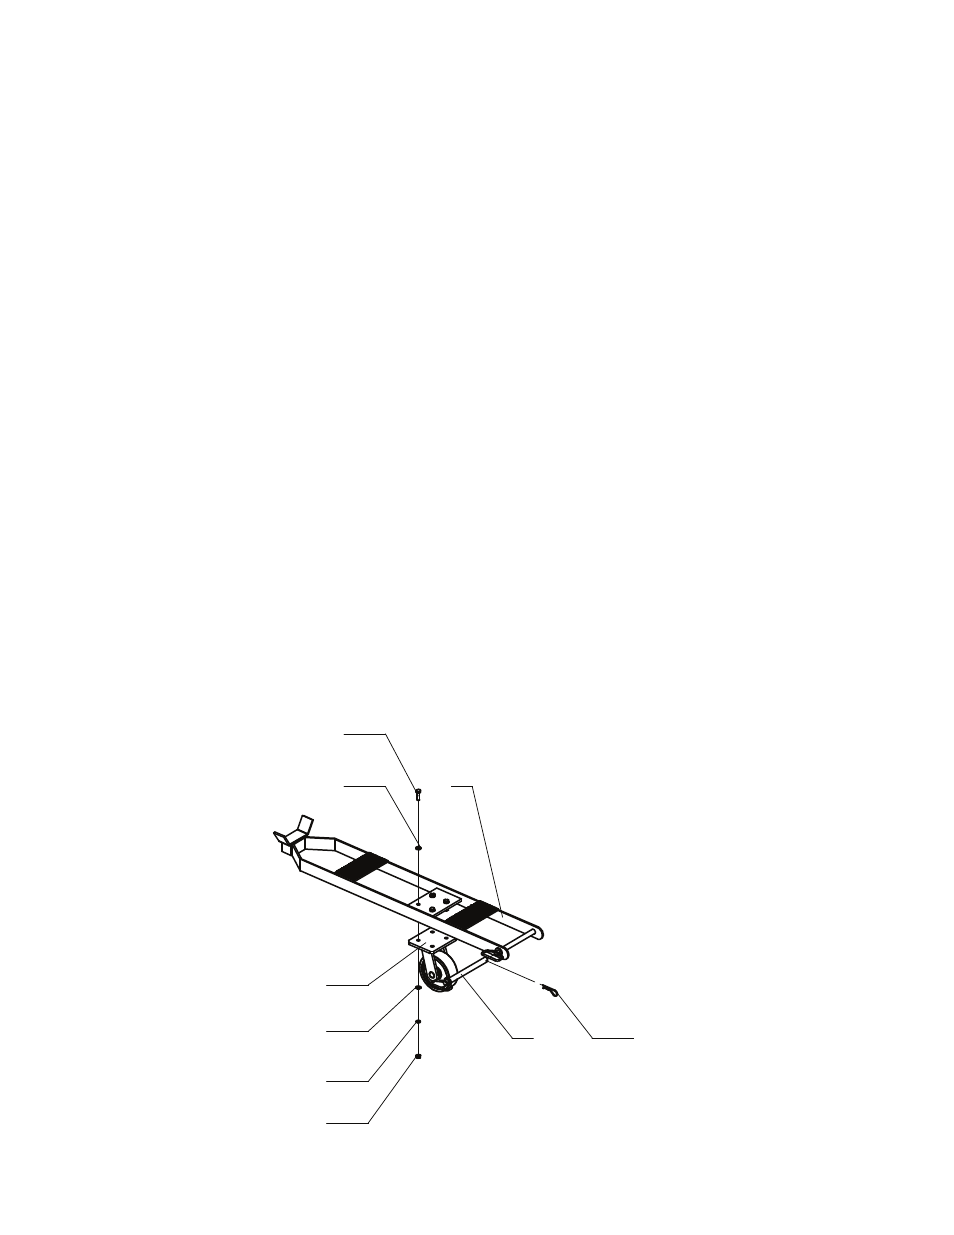
14
8
9
10
13
15
13
12
11