Demonstration 1: magnetic induction, Setup, Procedure – PASCO EM-8642A Magnetic Force Accessory User Manual
Page 9
®
E M - 8 6 4 4 B
0 1 2 -1 2 7 2 2 A
D e m o n s t r a t i o n 1 : M a g n e t i c I n d u c t i o n
5
Demonstration 1: Magnetic Induction
Use the eddy current blades and the Variable Gap Magnet to demonstrate magnetic induction.
Setup
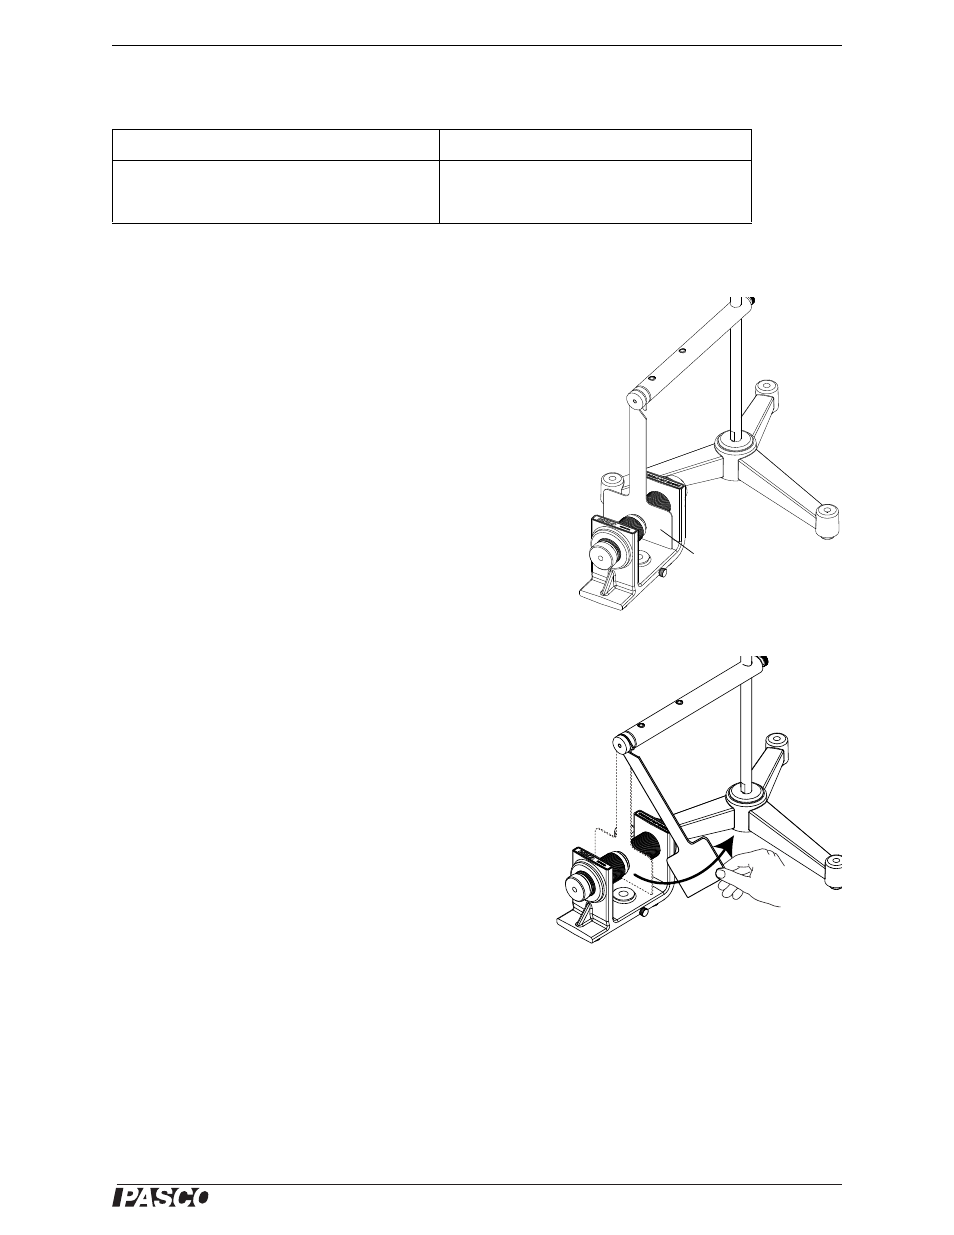
1.
Slide the mounting rod onto a support rod and tighten the set
screw at the end of the mounting rod to hold it in place.
2.
Hang the solid eddy current blade on the end of the mount-
ing bar by placing the hooked end of the blade into one of
the slots at the end of the bar.
3.
Raise or lower the mounting bar so that the blade is centered
between the two magnets.
4.
Adjust the magnets so that the gap between the magnets is
just wide enough to allow the blade to fit between the mag-
nets without touching.
5.
Slide the Variable Gap Magnet away enough away from the
blade so that the blade can swing freely.
Explain to the class that the eddy current blades are made of alu-
minum, which is a non-ferromagnetic material and is not attracted
to magnets.
Procedure
1.
With the magnet away from the blade, swing the blade to
show that it swings freely on the mounting bar.
2.
Slowly slide the Variable Gap Magnet back into position so
that the blade is centered between the magnets. (Go slowly.
If the magnet is moved into place too quickly, the blade will
move.)
3.
With the magnet in place, swing the blade to show that the
oscillations are now damped because of the induced eddy
currents in the moving blade.
4.
Repeat the procedure for the eddy current blade with slots and the eddy current blade with slits.
The blade with slots is less damped than the solid eddy current blade. The blade with slits is only slightly damped.
Equipment Needed
Equipment Needed
Variable Gap Magnet (EM-8618)
Large Base and Rod (ME-9355)
Magnetic Force Accessory (EM-8642A)
Figure: Demo Setup
Solid eddy
current blade
Figure: Swing the Blade