Equipment setup – PASCO ME-6664 Photogate Tape Set User Manual
Page 7
Photogate Tape Set
Model No. ME-6664
6
®
Equipment Setup
1. Mount a Photogate Head (ME-9498A) to the experimental
apparatus used in your experiment.
2. Slide the Photogate Tape
Bracket over one of the arms
of a Photogate.
3. Cut a piece of photogate
tape to the appropriate
length for your experiment.
Note: Be sure to cut enough
tape for the distance you
want to measure. If the tape
runs out early, critical data
from the latter portion of the
experiment may be lost.
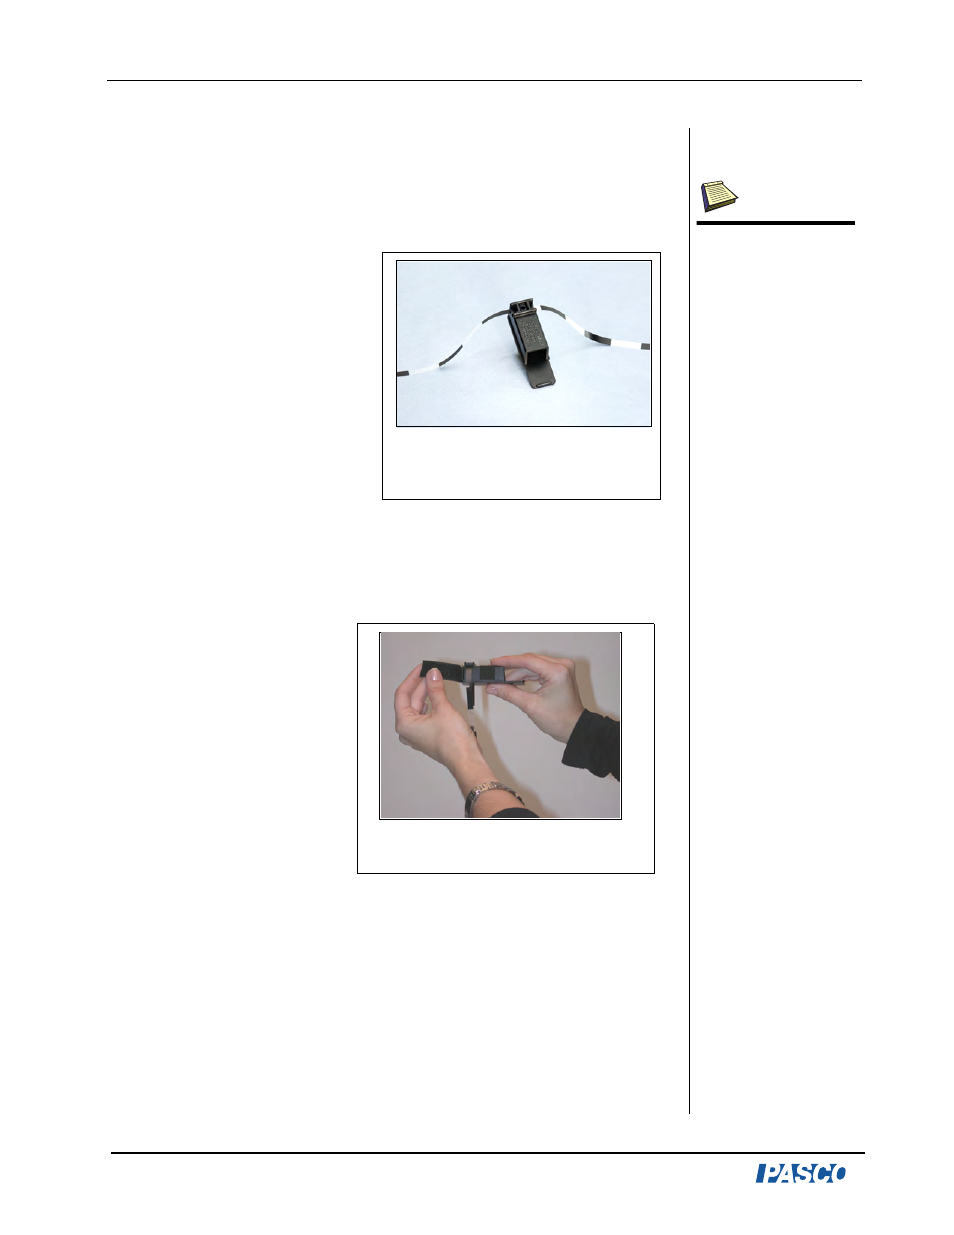
4. Thread the Photogate Tape through the Photogate Tape Bracket
(Figure 2a).
5. Fasten the Velcro over
the Photogate Tape
Bracket. The Velcro
helps to guide the tape
through the bracket and
keeps the tape taut
(Figure 2b).
6. Connect the Photogate to
either a PASPORT or
ScienceWorkshop
interface. (Note:
PASPORT interfaces
requires a PASPORT Photogate Port. For DataStudio Setup
instructions, see Appendix A of this manual.)
7. In DataStudio, click the Start button to begin collecting data.
Figure 2a: Threading the
Photogate Tape through the
Photogate Bracket
Figure 2b: Fastening the
Velcro over the Photogate
Note: When using a pho-
togate for timing, you do
not need to set the sample
rate in Xplorer. For
instructions on using a
PASPORT Xplorer, see the
Xplorer User’s Guide.