Waveforms – PASCO PI-8127 Function Generator User Manual
Page 4
®
Function Generator
Operation
4
Voltage Adjust: To move the underline from the Frequency part of the
LCD to the Voltage part of the LCD, turn the Voltage Adjust knob one
“click” to the left or right. Notice that the underline is below the “ones”
place in the display (0.00 V). Turn the knob one “click” to the right
(clockwise) to increase the voltage output.
Each “click” to the right (clockwise) or left (counterclockwise) will incre-
ment or decrement the digit that is underlined in the display. When you
reach 9.00 V the next “click” to the right will change the voltage to 10.00
V. Notice that the underline stays below the “ones” place.
Resolution Selection: Use the Resolution Selection buttons below the Frequency
Adjust knob to change the active (underlined) digit in the voltage display. Pushing the
left button moves the underline to the left and pushing the right button moves the
underline to the right.
Use both the Voltage Adjust knob and the Resolution Selection buttons to set the volt-
age. Remember that you can push the OUTPUT STANDBY button to disable the out-
put while you adjust the voltage, and then push the button again to enable the output
when you have the voltage set the way you want.
To move the underline back to the Frequency part of the LCD, turn the Frequency
Adjust knob one “click” to the left or right.
Waveforms
Press the WAVEFORM button to open the first waveform menu. The menu shows
five choices (Sine, Square, Triangle, Positive Ramp, and Negative Ramp) with the
pointer at Sine. Turn the Voltage Adjust knob one “click” to the left (counterclock-
wise) to move the pointer from Sine to Square. Press the Voltage Adjust knob as if it
were a button to select the choice. The LCD will show the Square wave icon in the
lower left corner.
Press the WAVEFORM button again to return to the first waveform menu. Notice the
down pointing arrow at the lower left corner. This indicates that there are more
choices on the menu. Turn the Voltage Adjust knob counterclockwise to move the
pointer to Negative Ramp. Turn the knob one more “click” counterclockwise to show
the next choice in the menu, DC (or direct current). Notice that the menu now has an
“up” pointing arrow at the upper left corner as well as the down pointing arrow in the
lower left corner.
DC: Press the Voltage Adjust knob to select the DC choice. Notice that the LCD
shows only voltage and current. Turn the Voltage Adjust knob to increase or decrease
the voltage (±10 V maximum).
Voltage Adjust display
Resolution Selection buttons
First WAVEFORM menu
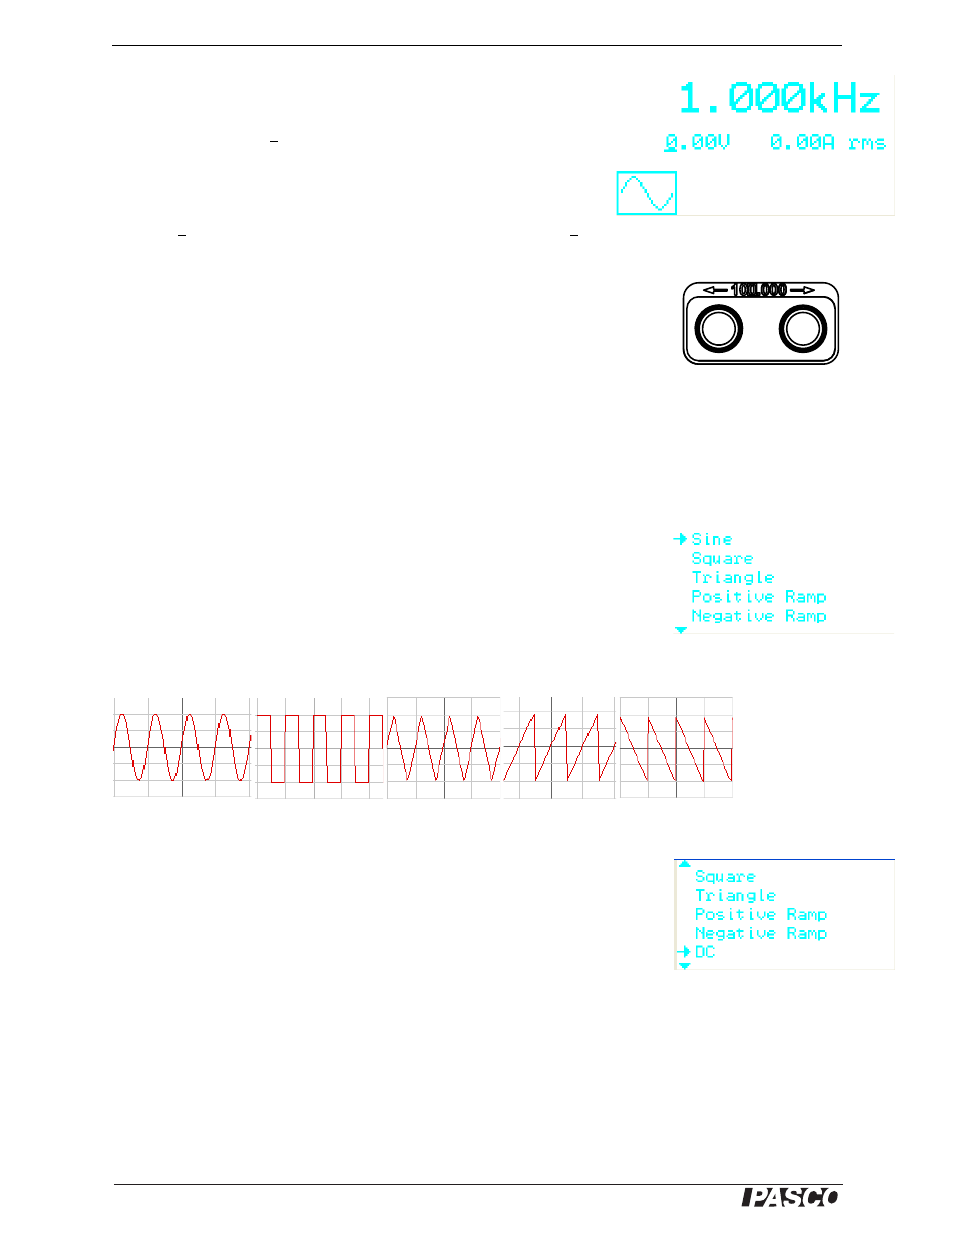
Sine, Square, Triangle, Positive Ramp, and Negative Ramp waveforms. Frequency: 1.000 kHz. Voltage: 2.00 V.
Vertical scale: 1 V/div. Horizontal scale: 1 ms/div.
Next WAVEFORM menu