PASCO PS-2190 1 MHz 2-channel Voltage Sensor User Manual
1 mhz 2-channel voltage sensor, Quick start, Introduction
®
I n s t r u c t i o n S h e e t
0 12 - 1 02 5 3 A
1 MHz 2-channel Voltage Sensor
PS-2190
Included Equipment
•
1 MHz 2-channel Voltage Sensor
Additional Equipment Required
•
Xplorer GLX datalogger (PS-2002)
•
Patch Cords (SE-9750 or SE-9751)
Quick Start
1. Connect the 1 MHz 2-channel Voltage Sensor to your
PASPORT Xplorer GLX datalogger.
2. Use patch cords to connect Channel 1 and Channel 2 to the
parts of the circuit for which you want to measure the volt-
age.
3. On the Xplorer GLX, press the start button (s) to begin
recording data.
4. When data recording is done, press the start button again to
stop recording data.
The sensor measures up to two voltages simultaneously at speeds
up to one million samples per second when used with the GLX in
oscilloscope mode.
Introduction
The 1 MHz 2-channel Voltage Sensor is a high speed, two chan-
nel PASPORT voltage sensor that has a basic voltage range of
±10 volts. It has amplifiers that allow full-scale input ranges of
±1 volt and ±0.1 volt. The sensor uses an oversampling scheme
that allows input sampling at speeds up to one million samples
per second.
The 1 MHz 2-channel Voltage Sensor connects to a PASPORT
Xplorer GLX datalogger. Measurements are recorded and dis-
played by the datalogger.
Set-up
Connecting the Sensor to an Xplorer GLX
Datalogger
Plug the sensor into any port on the top of the PASPORT Xplorer
GLX datalogger. The Xplorer GLX screen will automatically
show a Graph display of voltage versus time.
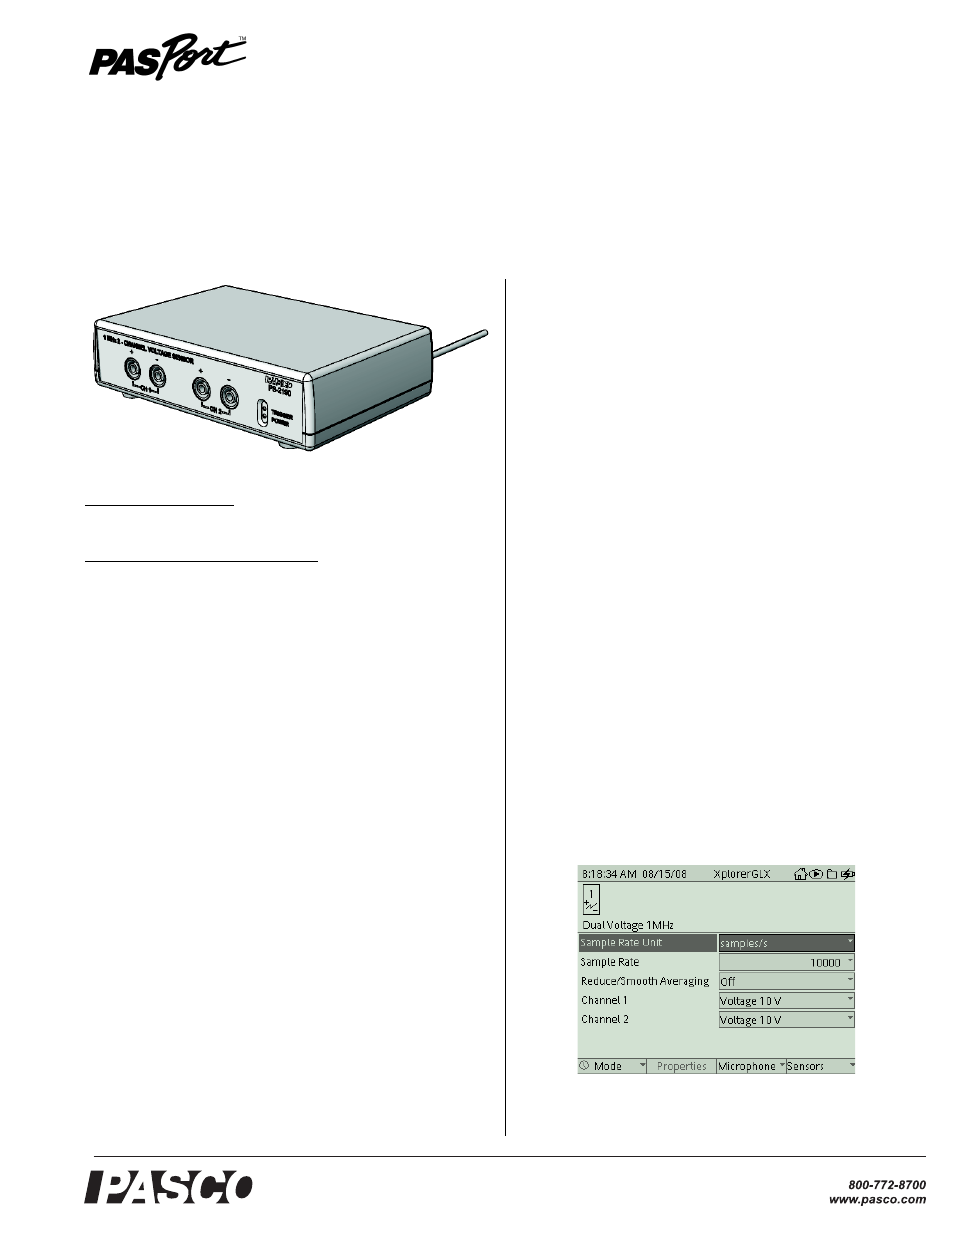
Setting Sensor Parameters
Sample rate, data averaging, and input voltage range are set in the
Sensors screen.
•
Press the Home button (h) to open the Home screen.
•
Press F4 (I) under Sensors in the Home screen to open
the Sensors screen.
Figure 1: Sensor screen