Timing option 2: scienceworkshop interface – PASCO ME-9893 Discover Free Fall Accessory User Manual
Page 6
®
D i s c o v e r F r e e F a l l S y s t e m
T i m i n g O p t i o n 2 : S c i e n c e W o r k s h o p I n t e r f a c e
6
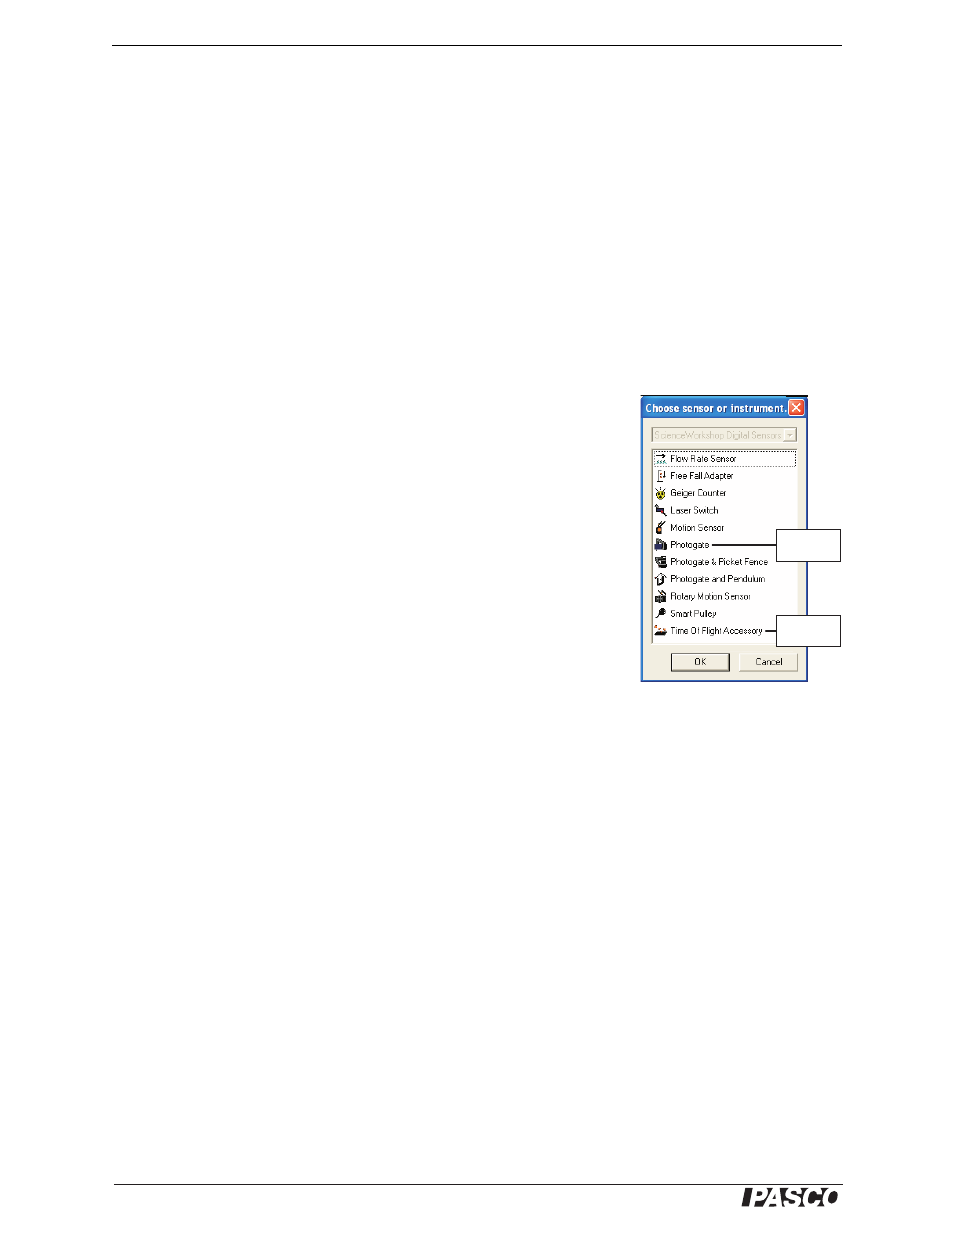
Choose for
Channel 1
Choose for
Channel 2
Timing Option 2: ScienceWorkshop Interface
Set-up
1. Connect your ScienceWorkshop interface to your computer (refer to the instruc-
tions that came with the interface).
2. Start DataStudio. If you see the Welcome to DataStudio window, select Create
Experiment.
3. Connect the remaining plug of the timer switch to Channel 1 of the interface.
4. Connect the time-of-flight pad to Channel 2 of the interface.
5. In the Experiment Setup window, click Channel 1 on the picture of the interface.
Result: The Choose Sensor or Instrument window appears.
Note: If you do not see the Experiment Setup window, click the Setup
button. If you do not see a picture of your interface in the window, click
the Choose Interface button and select your interface.
6. In the Choose Sensor or Instrument window, double-click Photogate.
7. In the Experiment Setup window, deselect the Velocity In Gate mea-
surement.
8. In the Experiment Setup window, click Channel 2 on the picture of the
interface.
Result: The Choose Sensor or Instrument window appears.
9. In the Choose Sensor or Instrument window, double-click Time Of Flight
Accessory.
10. In the Summary Bar (on the left side of the screen), double-click Table.
Result: A table appears configured to display Elapsed Time.
Note: If you do not see the Summary Bar, click the Summary button.
Data Collection
1. In DataStudio, click the Start button.
Result: DataStudio’s experiment clock starts running, indicating that it is ready to
collect data.
2. Press the timer switch button.
Result: The object is released from the drop box. When the object hits the
time-of-flight pad, the table in DataStudio displays the fall time.
To time another object: hang the object from the drop box, wait until the LED on the
drop box stops blinking, and repeat steps 1 and 2.
When you have finished timing all objects, click the Stop button.