PASCO ME-6810 Time of Flight Accessory User Manual
Page 7
®
Model No. ME-6810
Time of Flight Accessory
7
4. Connect the stereo plug of the first photogate into the Timer. Set
the Photogate Timer to PULSE mode to measure the time of the
projectile from the first photogate to the second photogate.
5. Connect the stereo plug of the Time of Flight Accessory into a
second timer or a Smart Timer (ME-8930). (Note: If you do not
wish to measure time of flight, skip this step.)
Set up the Time of Flight Accessory with a
Computer Interface
You can setup the Time of Flight Accessory for use with a computer
interface and either DataStudio
™
or ScienceWorkshop
®
software.
a) Set up for a Time of Flight Study (with interface)
Equipment Required: 1 Photogate with bracket, 1 ScienceWorkshop
®
interface (CI-6400 or CI-6450) OR 1 PASPORT Photogate Port (PS-
2123) with USB Link (PS-2100) and USB-compatible computer, 1
Time of Flight Accessory, 1 Projectile Launcher, DataStudio software
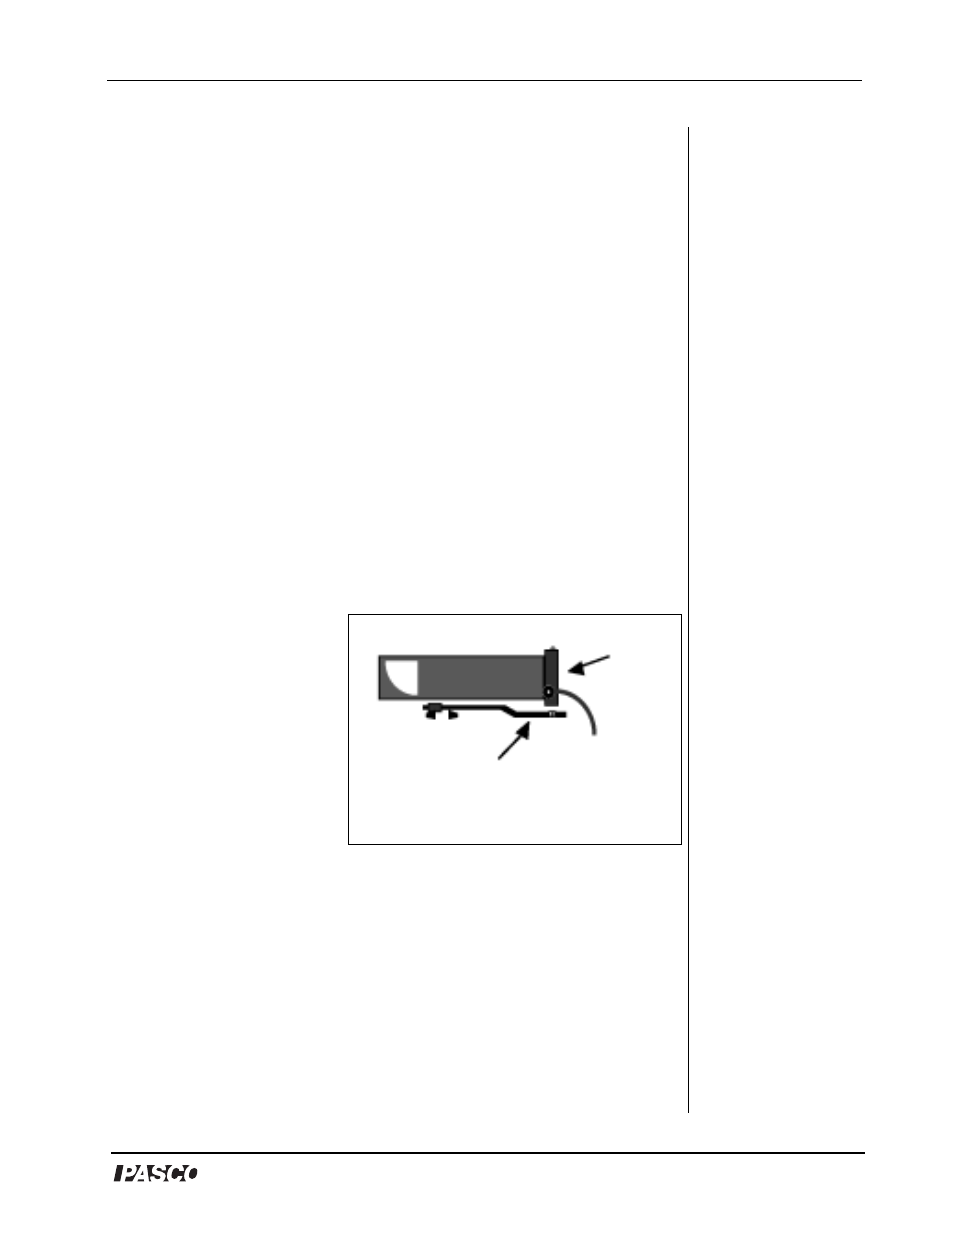
1. Put the Photogate
Mounting Bracket on to
the Projectile Launcher
and mount the
photogate at the front of
the launcher.
2. For ScienceWorkshop
interfaces: Insert the
Photogate’s stereo
phone plug into Digital
Channel 1 and the
Time-of-Flight Accessory stereo phone plug into digital channel 2
on the interface.
OR
For PASPORT interfaces: Insert the stereo plug of the photogate
into Port 1 on the PASPORT Photogate Port and the stereo plug for
the Time of Flight Accessory into Port 2 on the PASPORT
Photogate Port. Connect the Photogate Port to a USB link and USB
port on your computer.
3. Use the computer program that came with your interface to
measure the time of flight of the projectile from the launcher to the
Figure 4: Mounting the Photogate on
the Launcher
Projectile Launcher
Photogate
Head
Photogate
Mounting Bracket
To computer
interface