Local control, Setup, Insteon controllers, responders and links – INSTEON SwitchLinc Relay (Dual-Band) (2477S) Manual User Manual
Page 8: Make switchlinc a responder, Using switchlinc, Leds, Making switchlinc an insteon responder
Page 8 of 18
2477S - Rev: 1/21/2014 7:27 AM
Local Control
Follow these instructions to control the connected light/load (as well as any responders) from the
SwitchLinc paddle.
Setup
SwitchLinc is fully configurable using home automation software (such as HouseLinc). Software will make
it easy to set up controller-responder links, synchronize groups, arrange multi-device scenes and adjust
device properties.
INSTEON Controllers, Responders and Links
Let’s define a few terms:
• The device initiating an INSTEON message is called a controller.
• The device receiving the INSTEON message is called a responder.
• The association between the controller and responder is called a link.
Please note that a link is one way. If you wish to have two-way control, simply repeat the link setup
process from the responder to the controller. Most INSTEON devices can store hundreds of links, and
each individual link can have its own properties (e.g., 50% brightness at a 4-second ramp rate).
Furthermore, a controller can simultaneously control from one to hundreds of responders using groups
and scenes.
Make SwitchLinc a Responder
Configure using home automation software (such as HouseLinc) or follow the steps below to control
SwitchLinc from another INSTEON device.
1) Press and hold controller button until it beeps.
Controller LED will start blinking.
10
If the controller does not have a beeper, wait until its LED begins blinking.
Paddle
Tap
Press and hold
Double-tap
LEDs
Top
On
On
Sends brighten to responders
On
Sends fast-on to responders
Top LED on
Bottom
Off
Off
Sends dim to responders
Off
Sends fast-off to responders
Bottom LED on
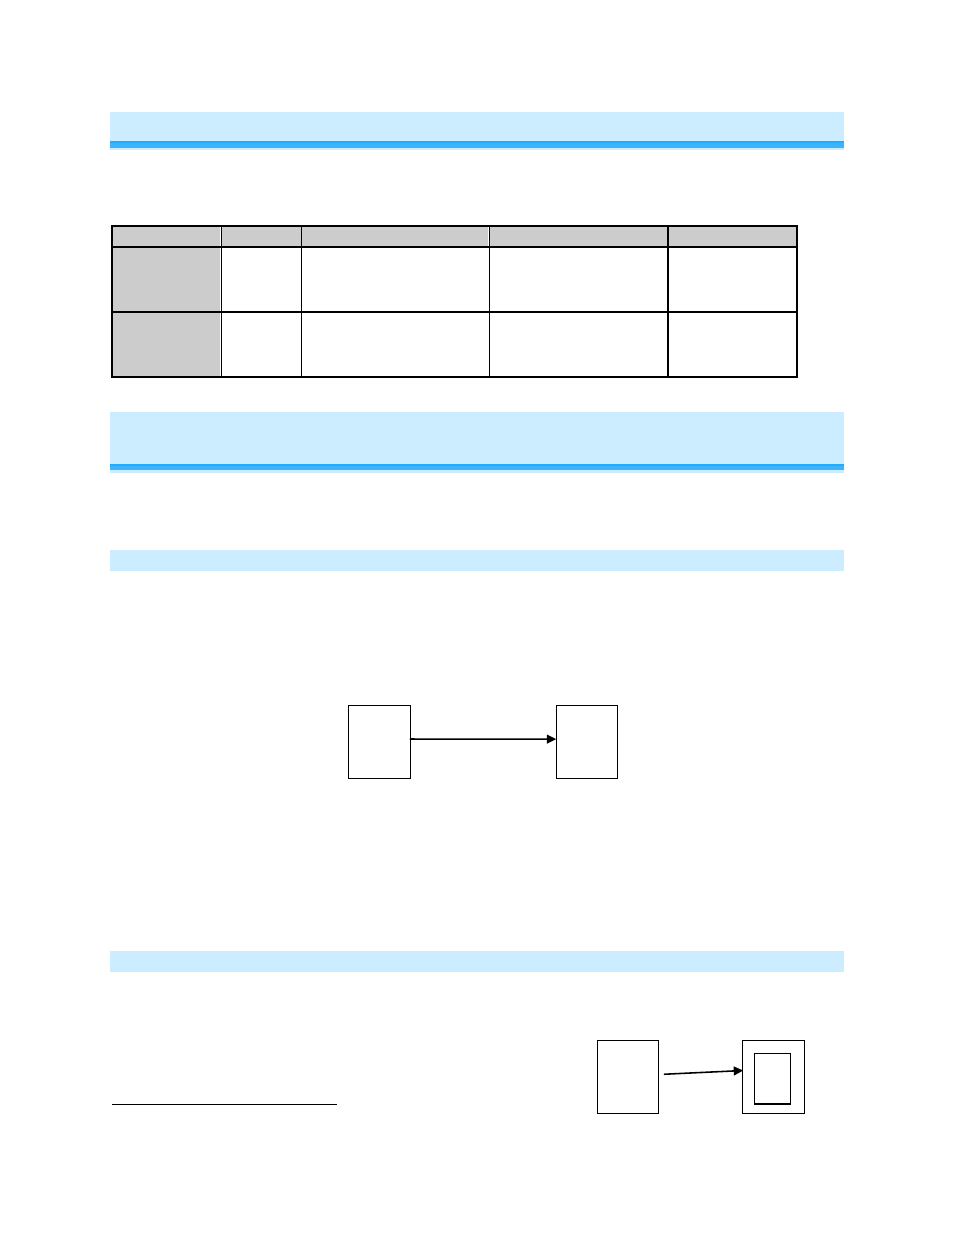
Controller
Responder
Link
SwitchLinc
(Responder)
Controller