Analog Way Smart Vu LE User Manual
Page 41
40
Once your
Smart Vu LE
is wired up to your PC, the first step in
properly configuring your machine is to individually select and
parameter your inputs.
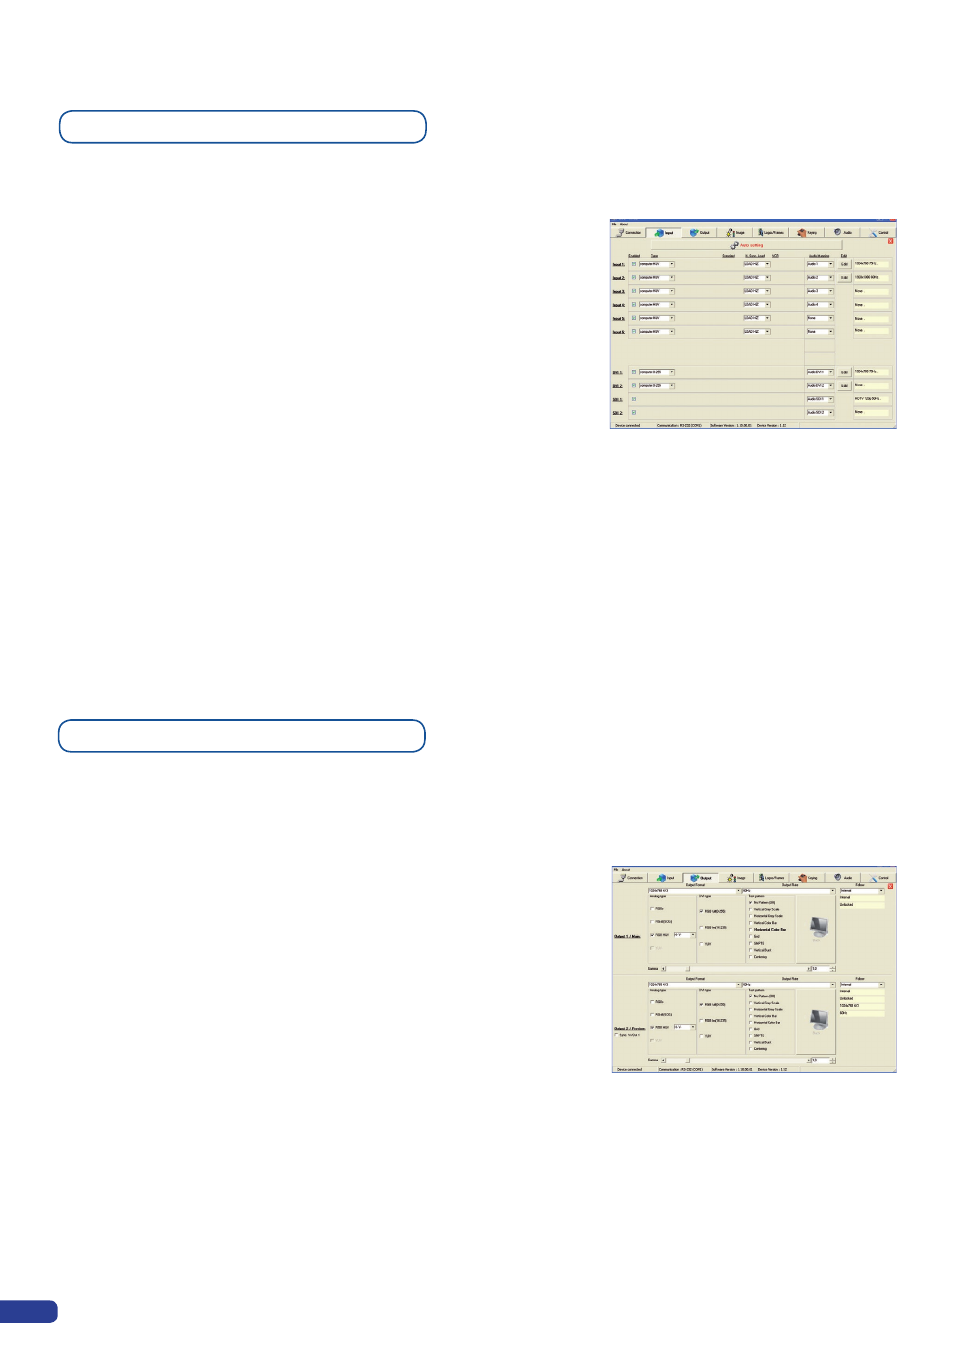
1/ Click on the “Inputs” tab of the RCS.
2/ In the Plug column of the “Input” page, select the plug type by
clicking the appropriate field.
3/ Activate the input in the Enabled column if it is not.
4/ In the scroll-down menu of the Type column, select the signal type
connected to that plug.
5/ Repeat steps 2 to 4 for all sources connected to the rear panel of
your
Smart Vu LE
.
6/ Click on the “Inputs” tab to return to the main screen.
1/ Click on the “Outputs” tab of the RCS.
2/ Select the type of plug which is connected to outputs 1 & 2 of your
Smart Vu LE
by clicking in the appropriate field in Analog Type or
DVI Type for both Main and Preview outputs.
3/ Select the appropriate output format and output rate.
4/ Click on the “Outputs” tab to return to the main screen.
The Output menu also allows you to generate test patterns. The
test patterns available through the Output menu let you quickly and
reliably setup your projectors.
* NOTE * : Be sure to turn the test pattern off to display your sources
again.
5-2. WORKING WITH THE RCS
Source input configuration
Source output configuration