Rough Country 349.24 User Manual
Page 3
10. Adjust the arms to a length of 20” from center to center of the eye. Note: The arms may need to be readjusted for
the alignment. This measurement is a starting point.
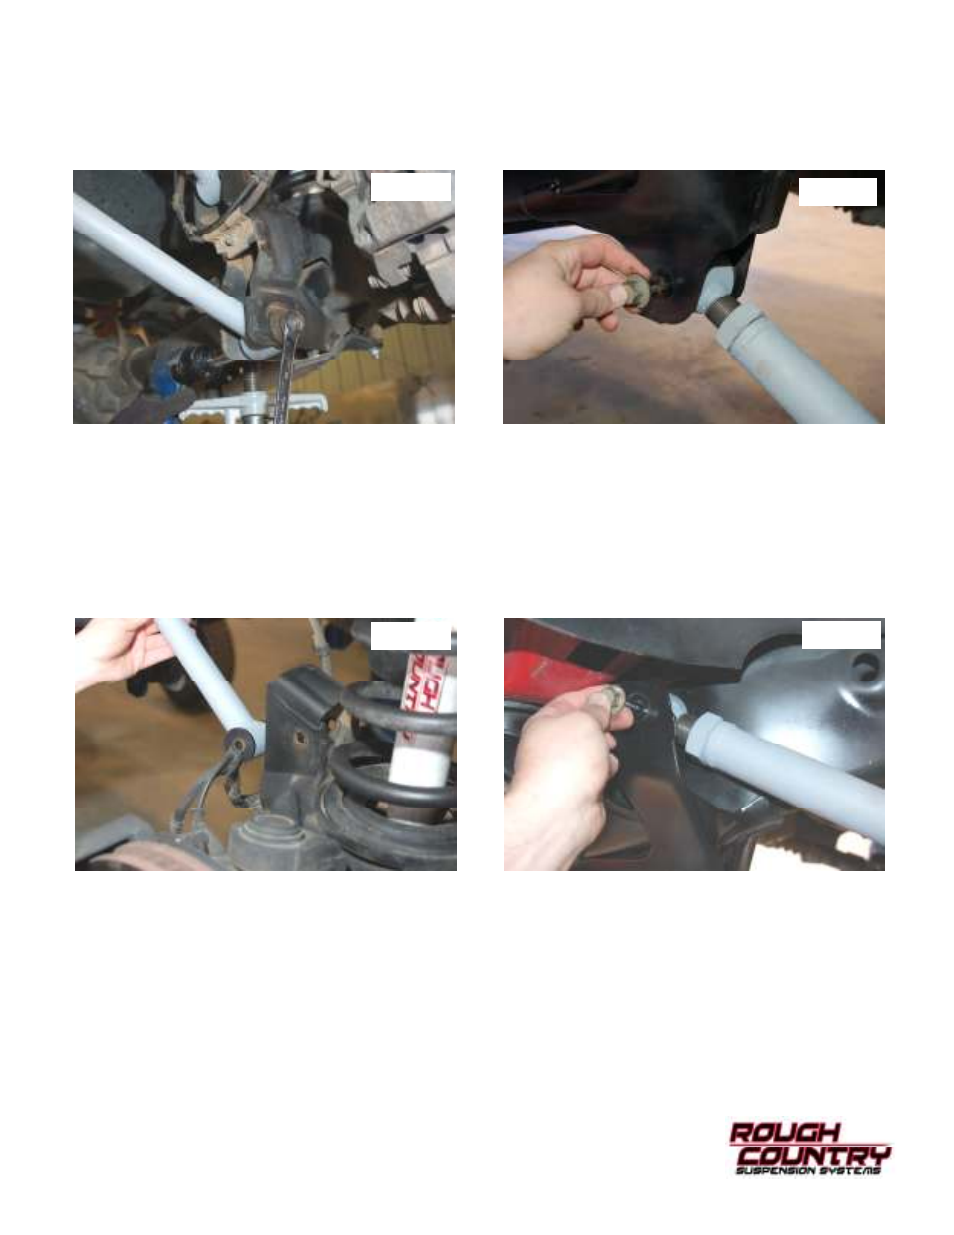
11. Install the new Rough Country lower suspension arms in place of the stock lower suspension arms. See PHOTO 3 &
4. Slight prying of the mounts apart may be necessary for arm installation. Install the original rear suspension arm
bolt and slightly tighten the nut. Install the original front suspension arm bolt and slightly tighten the nut. Refer to the
reference mark on the cam bolt and the axle when installing the cam bolt. Repeat on the other side of the vehicle.
12. Remove the upper suspension arm nut and bolt at the axle. Remove the nut and bolt at the frame and remove the
upper suspension arm. Repeat this step for the opposite side of the vehicle. Note: If your truck has a diesel en-
gine it may be necessary to unbolt the exhaust from the turbo to allow for clearance to remove the upper
front bolt. Retain hardware for reuse.
13. Adjust the arm to a length of 18-5/16 from center to center of the eye. Note: The arms may need to be readjusted
for the alignment. This measurement is a starting point.
14. Install the upper suspension arms in place of the stock upper suspension arms. See PHOTO 5 & 6. Slight prying of
the mounts may be necessary for arm installation. Install the original front and rear suspension arm bolt and slightly
tighten the nuts. Note: Raising the axle to ride height and rotating the lower arm cam adjusters will facilitate
insertion of the upper suspension arms. Repeat steps for the opposite side of the vehicle.
15. Remove the lower shock bolts on the axle, and save for later installation. The shock absorbers will be removed from
the vehicle at the same time the coils are removed from the vehicle.
16. Carefully lower the jack until the coil springs are free (the upper suspension arm will be contacting the axle bracket)
Remove the coil springs and shocks from the vehicle. Note: use of a coil spring compressor may be required for
spring removal.
17. Locate shock absorbers part #658732 or 2.2 upgrade part #660574, and push in sleeves in lower shock mount.
18. Install the Rough Country coil springs and shock absorber in the stock mounts by sliding the shock through the mid-
dle of the coil. The use of a coil spring compressor may be required for installation
19. Lower the axle until the spring can be seated in the mount. Check to be sure the wrap on the coil spring in relation to
the lower mount properly seats the spring by turning the coil spring until it seats.
20. Remove the coil spring compressor at this time.
Photo 3
Photo 4
Photo 3
Photo 5
Photo 4
Photo 6