Rough Country PERF662X User Manual
Page 4
13. Remove the coil spring clip located on the bottom coil seat on the driver side of the vehicle using a 13mm
wrench. Lower the axle and remove the coil spring. A coil spring or strut compressor may be needed to remove
the stock coil spring.
14. Remove the stock lower control arm by removing the nut, cam, and cam bolt (if equipped) from the axle bracket
using a 21mm socket & wrench and then removing the nut and bolt from the frame bracket doing one side at a
time using a 21mm socket & wrench.
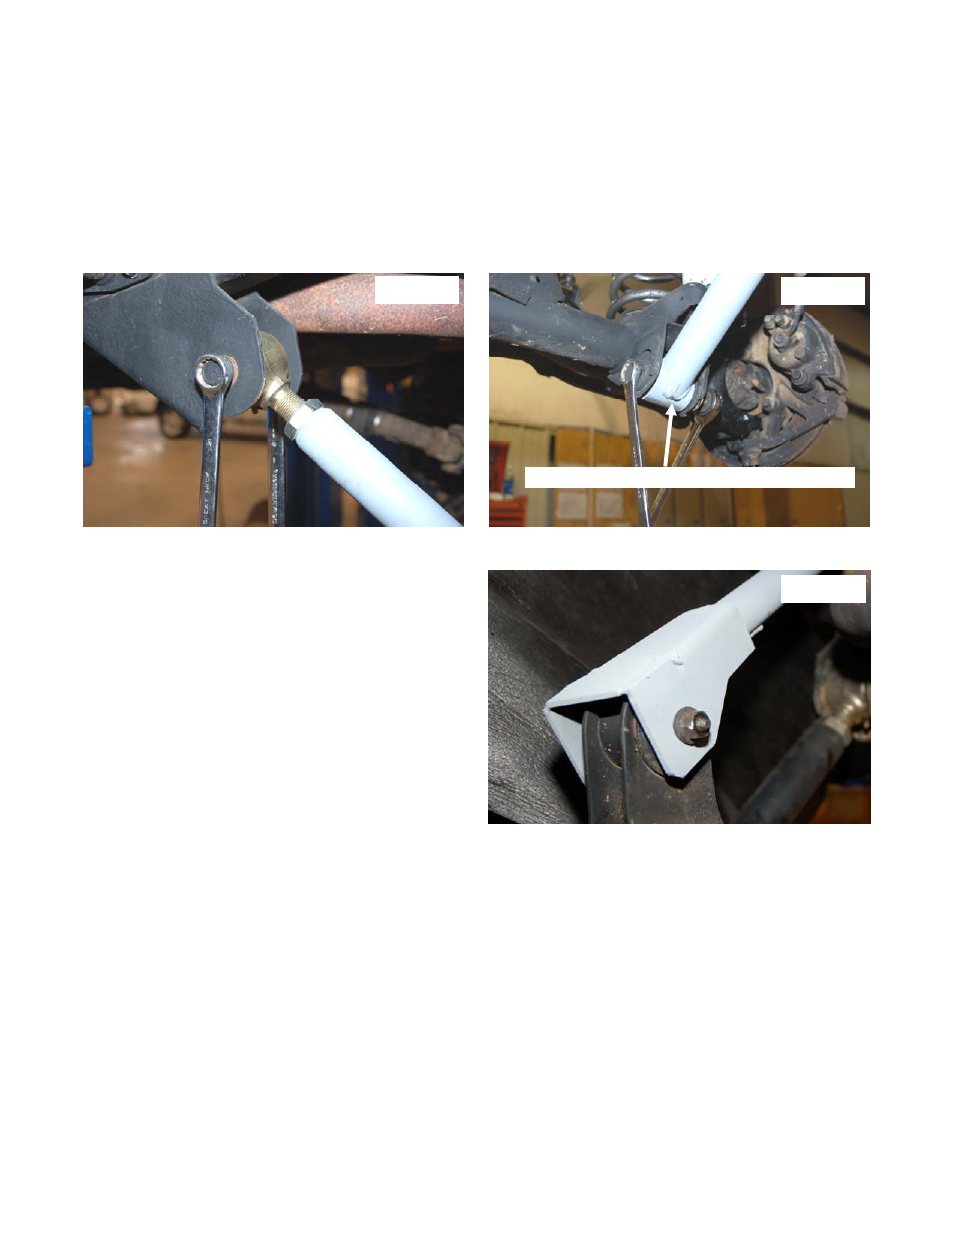
15. Lubricate control arm bushings with a lithium grease or equivalent and install in the Rough Country control arm.
Adjust to 3/8” longer than the stock arm for a pre-alignment starting point. Tighten the jam nut using a 1 13/16”
wrench or a large crescent wrench and install on the vehicle with the offset to the bottom using factory hardware
as shown in Photo 6 & 7. Do not tighten at this time. If applicable, drill a 23/64” hole into each lower link and rein-
stall the ABS sensor wires. Use the original clamps.
16. Remove the stock upper control arm by removing the factory hardware from the axle & frame bracket using a
15mm wrench, doing one side at a time.
17. Adjust arm to 1/4” longer than the stock arm for a pre-
alignment starting point. Tighten the jam nut using a 1
1/8” wrench and install on the vehicle using factory
hardware – See Photo 8. Do not tighten at this time.
18. Install the coil spring. A coil spring or strut compressor
will be needed for the new coil spring installation.
Compress the new coil spring and install the new
spring into the upper and lower spring pockets. Care-
fully remove the compressor and make sure the coil is
seated properly in the coil seat by rotating the spring
so the pig tail end fits in the spring pocket. Install the
coil spring clamp using a 13mmwrench and torque to
16ft.-lbs.
19. Repeat steps on other side.
20. Remove the cotter pin and nut from the drag link at the pitman arm using a 19 wrench. Retain the nut and cotter
pin to be reused. Separate the drag link ball stud from the pitman arm with a puller tool. Do not use a pickle fork.
21. Mark the position of the original pitman arm. Remove the nut and washer from the steering gear box using a
33mm socket. Align and install new pitman arm on the steering gear shaft. Install the washer, nut and tighten to
185 ft. lbs using 33mm socket.
22.Reinstall the drag link to the pitman arm using stock nut & tighten nut using a 19mm wrench. Install cotter pin.
PHOTO 6
PHOTO 7
PHOTO 8
Offset on arm will install to bottom as shown