Navigating a saved track – Garmin GPSMAP 196 User Manual
Page 83
TracBack—navigates the track. You can either navigate the track as
it is saved, or you can navigate the track in reverse.
Delete Track—erases highlighted track from the unit’s memory.
Delete All—erases all tracks from the unit’s memory.
To edit a track:
1. Press
MENU twice to open the Main Menu.
2. Highlight the
Track tab. Press the ROCKER right to highlight
the
Saved sub tab.
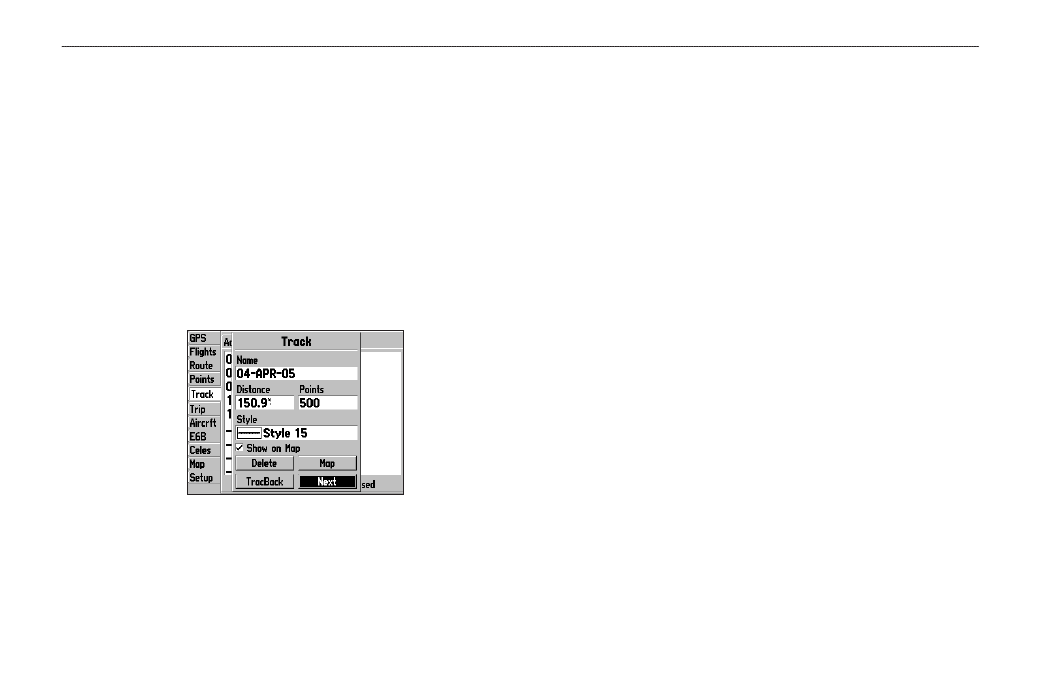
3. Highlight the track you want to edit, and press
ENTER. The
Track Review Page opens. Make changes you want.
Track Review Page
4. Highlight the
Name field, and press ENTER. Use the
ROCKER to change the name, and press ENTER.
5. Select a different screen style when the track appears on the
map.
6. To show this track on the map, highlight the box next to
Show on Map, and press ENTER.
7. To begin a TracBack, highlight
TracBack, and press ENTER.
For more information about the TracBack feature, refer to the
next page.
8. To view the track on the map, highlight
Map, and press
ENTER. Press QUIT to return to the Track tab.
9. Highlight
OK, and press ENTER to save the track. Press
QUIT to exit.
Navigating a Saved Track
The TracBack function allows you to retrace your path using the
track log automatically stored in the receiver’s memory, which
eliminates the need to store waypoints along the way. TracBack
routes are created by reducing your track log into a route with up to
50 turns and activating an inverted route along those points. When
activated, a TracBack route leads you back to the oldest stored track
log point, so it is a good idea to clear the existing track log before
you start your current trip. You must save an active track log before
you can navigate it as a TracBack.
GPSMAP 196 Pilot’s Guide
75
L
AND
M
ODE
P
AGES
AND
F
EATURES
>
M
ANAGING
Y
OUR
T
RACKS