Using switch web gui & sanit, 1 exasan switch web gui, 1 entering exasan switch web gui – Accusys ExaSAN SWF16 User Manual
Page 50: Exasan switch web gui, Entering exasan switch web gui, Figure 38: web gui “main screen
4. How to Use
User Guide
Page 4-1
4. Using Switch Web GUI & SANit
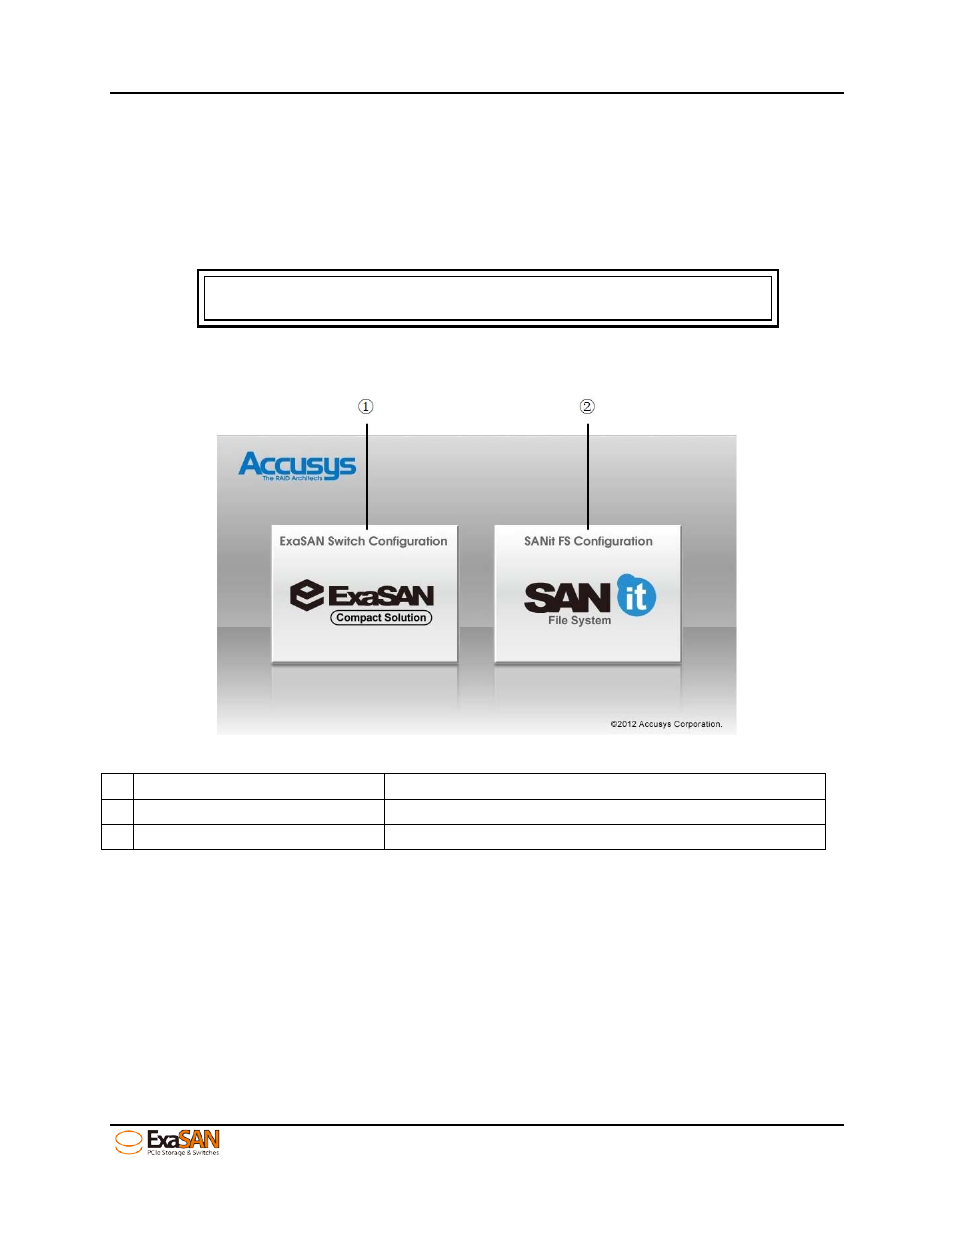
After you have connected all your ExaSAN components, powered the system on, and
used a web browser in a computer, which is in the same network, we will first need to
perform some basic configuration and setup before the ExaSAN SAN environment is
fully operational.
Note
The default IP of eth0 is 192.168.0.25 and eth1 is 192.168.1.25.
Please type the default IP in your browser and then you’ll see the screen as following
Figure 38: Web GUI “Main screen”
Function
Description
1 Switch Web GUI
To configure SWF16
2 SANit FS Web GUI
To Configure SANit in the SWF16
4.1 ExaSAN switch web GUI
4.1.1 Entering ExaSAN switch web GUI
Please move the console arrow on “ExaSAN Switch Configuration” and then click it.