3 indoor unit installation, 5 antenna alignment – ZyXEL Communications ZyXEL ZyAIR A-6000 User Manual
Page 24
A-6000 High Speed, Long Range Ethernet Wireless Bridge
Hardware Installation
2-9
2.3 Indoor
Unit
Installation
After the outdoor unit installation is completed, you may follow the procedures below to install the indoor unit.
1. Choose an appropriate place for the network/power injector. You might hang it on the wall or just place it on the desk.
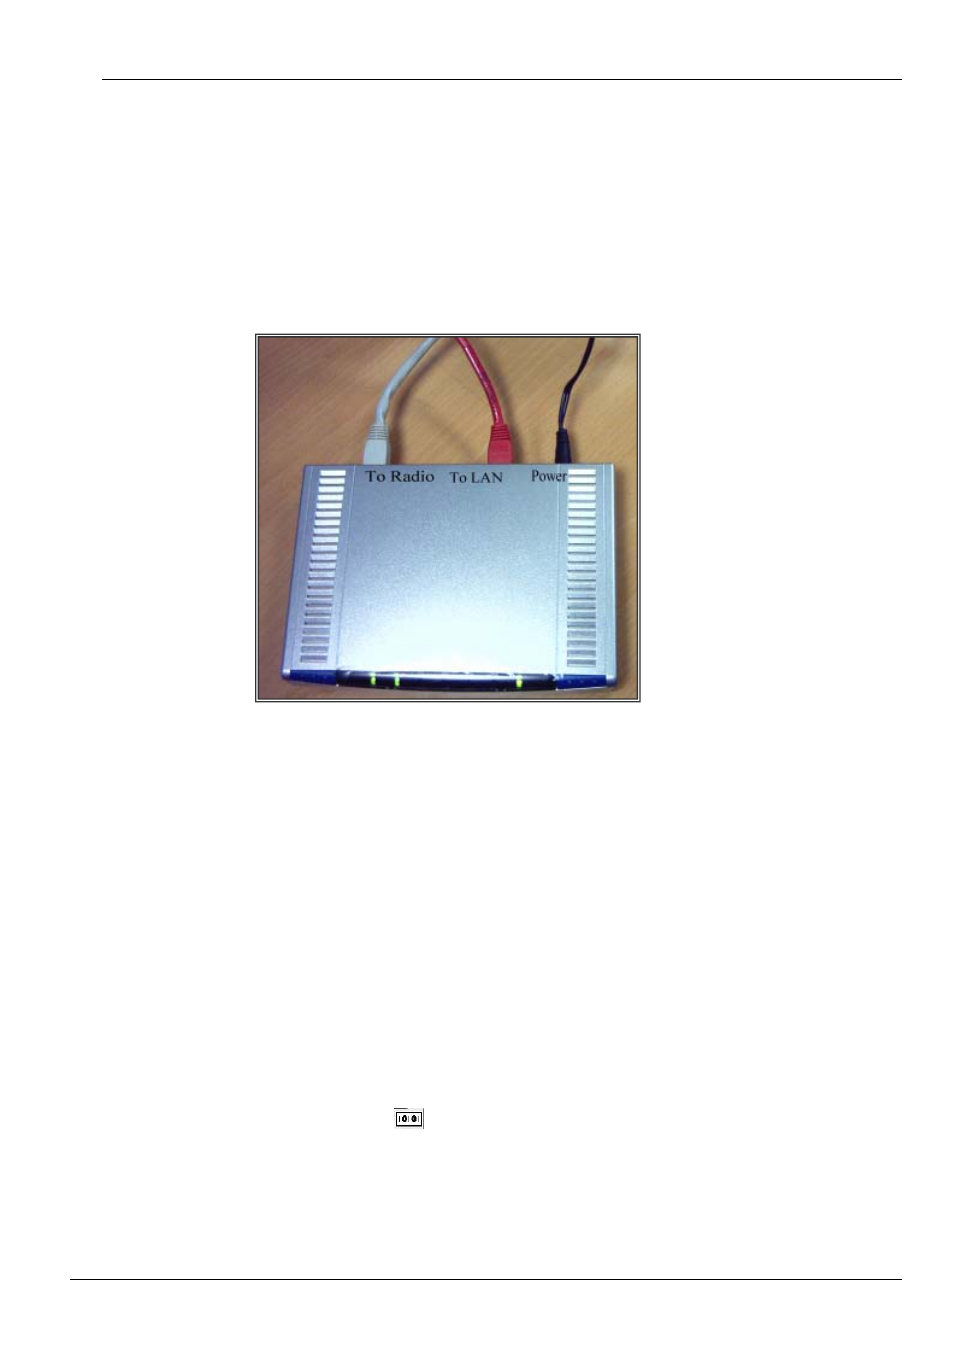
Connect the other end of category-5 cable to the “TO RADIO” RJ-45 connector of network/power injector.
2. Connect one end of Ethernet cable to the “TO LAN” RJ-45 port of the network/power injector. Connect the other end of
Ethernet cable to the workstation directly or through a switch/hub/router.
3. Connect the power jack of switching power adaptor to the power port labeled as ” POWER” on the network/power injector.
Figure 2-21 Cable Connections of Network/Power Injector
2.4 Initializing the A-6000
1. When plugging the switching power adapter into the 110V/220V wall outlet, the LED named PWR on the network/power
injector will light on.
2. When the power and signal connection to outdoor unit are complete, the SYS LED of the network/power injector will light
on.
2.5 Antenna
Alignment
To maximize the signal quality for A-6000 system , you had better align the directional antennas for both BU and RU. To
perform the antenna alignment, you can use AK-100 which will show you the signal strength and link quality on its panel. The
system data rate will drop to 6Mbps while using AK-100 to align the A-6000. After the alignment is completed, it is required to
reboot both BU and RU for regular data rate recovery. To do the alignment, follow the steps as below:
1. Open the cover of the console port labeled
on the bottom of the remote unit/basestation unit (RU/BU) and well
reserve the cover.
2. Connect the RS-232 cable to this console port.