Scan a document to the desktop – Xerox 255 DC User Manual
Page 68
Page 56
Xerox Document Centre User Guide
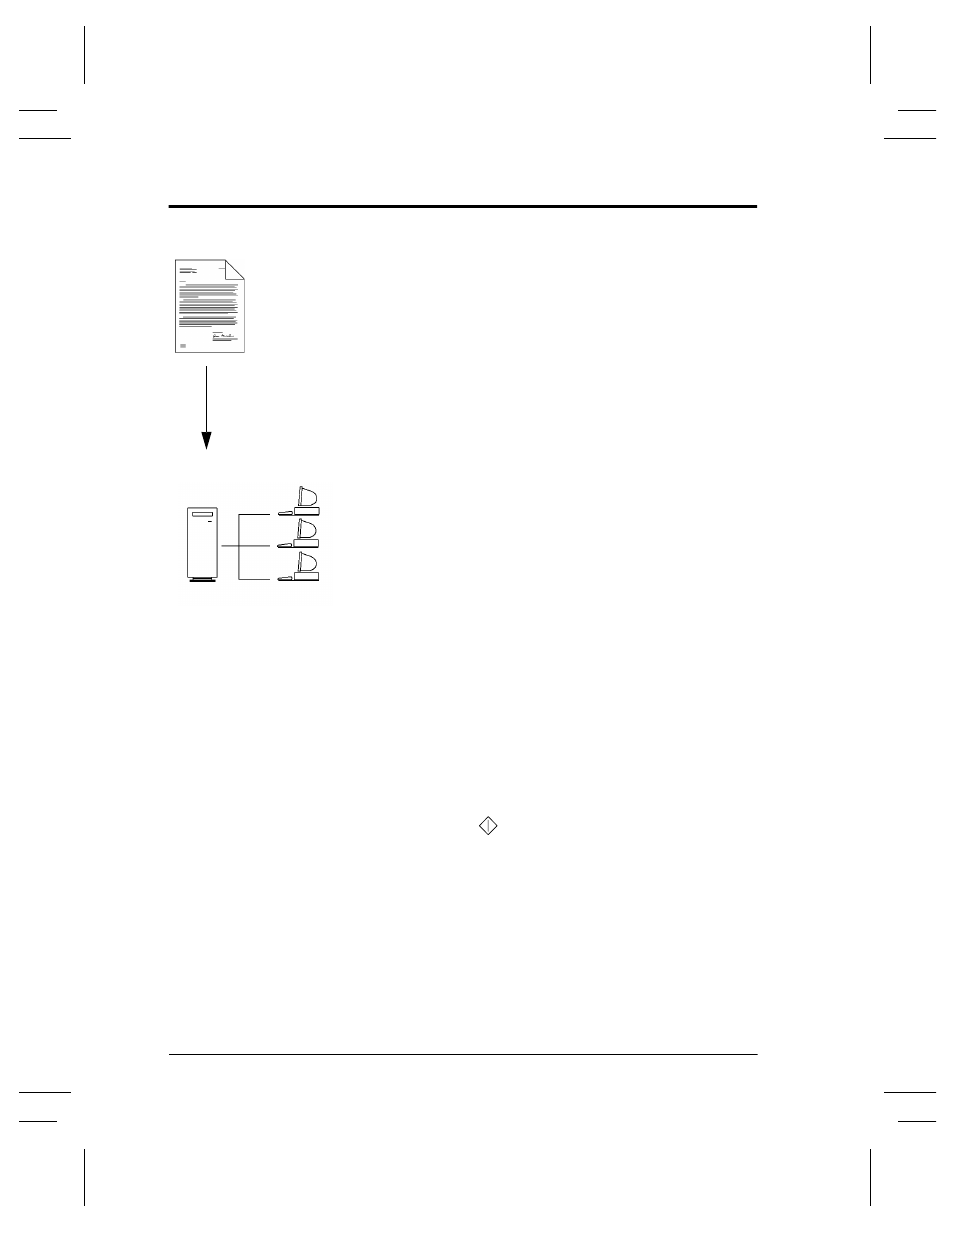
Scan a Document to the Desktop
Application
Scan a document to your workstation.
Procedure
1. Load your originals.
2. Press the Network Scanning button on the Touch
Screen.
3. If you have recently created a new template or
modified an existing one using CentreWare Network
Scanning services tools, you can update the template
list at the machine so it reflects the latest information.
Press the More Scan Features Tab then the Update
Template List button. Press the Update Template List
button then the Confirm button.
Select the desired template in the Template Name
List. If the desired template does not exist, refer to the
CentreWare Network Scanning Services guide for
information on creating a template.
4. Press the Sides Scanned button to select 1 sided, 2
sided, or 2 sided, Rotate Side 2.
5. Press the Image Orientation button that corresponds
to the correct image orientation of your originals then
press the Save button.
6. Press the Start (
) button.
7. If enabled, you will receive a message at your
workstation indicating a scanned document is in your
folder.
8. Use the PaperPort
TM
software included with the
Document Centre to OCR, edit, or process scanned
images.