Rack-mounted installation, 2 rack-mounted, Installation -4 – ZyXEL Communications EES-1024AF User Manual
Page 32: 2 rack-mounted installation
EES-1024AF Intelligent Ethernet Switch
2-4
Hardware Connections
Step 4.
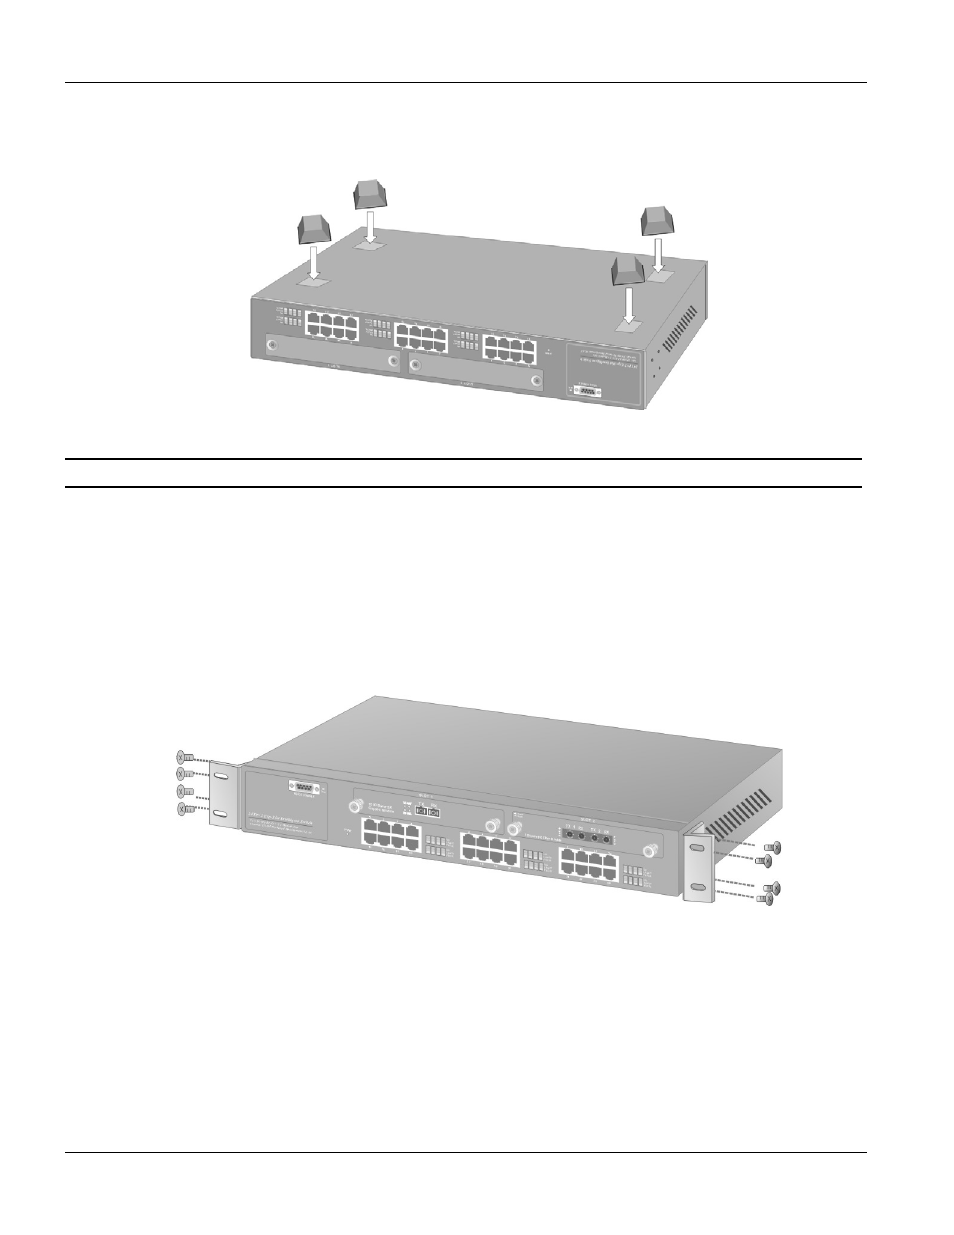
Remove the adhesive backing from the supplied rubber feet.
Step 5.
Attach the rubber feet to each corner on the bottom of the EES-1024AF. These rubber feet help protect
the EES-1024AF from shock or vibration and ensure space between devices when stacking.
Figure 2-4 Attaching Rubber Feet to each corner on the bottom of the switch
Do not block the ventilation holes. Leave space between switches when stacking.
2.2.2
Rack-mounted Installation
The EES-1024AF can be mounted on a 19-inch rack or in a wiring closet with other equipment. Follow the steps
below to mount your EES-1024AF on a 19-inch rack using the included rack-mounting kit.
Step 1.
Align one bracket with the holes on one side of the EES-1024AF and secure it with the bracket screws
smaller than the rack-mouting screws. Similarly, attach the other brackets
Figure 2-5 Attach mounting brackets with screws
Step 2.
After attaching both mounting brackets, position the EES-1024AF in the rack by lining up the holes in
the brackets with the appropriate holes on the rack. Secure the EES-1024AF to the rack with the rack-
mounting screws.